
Add Leave
This tutorial guides you through managing leave requests using OfficeOne.
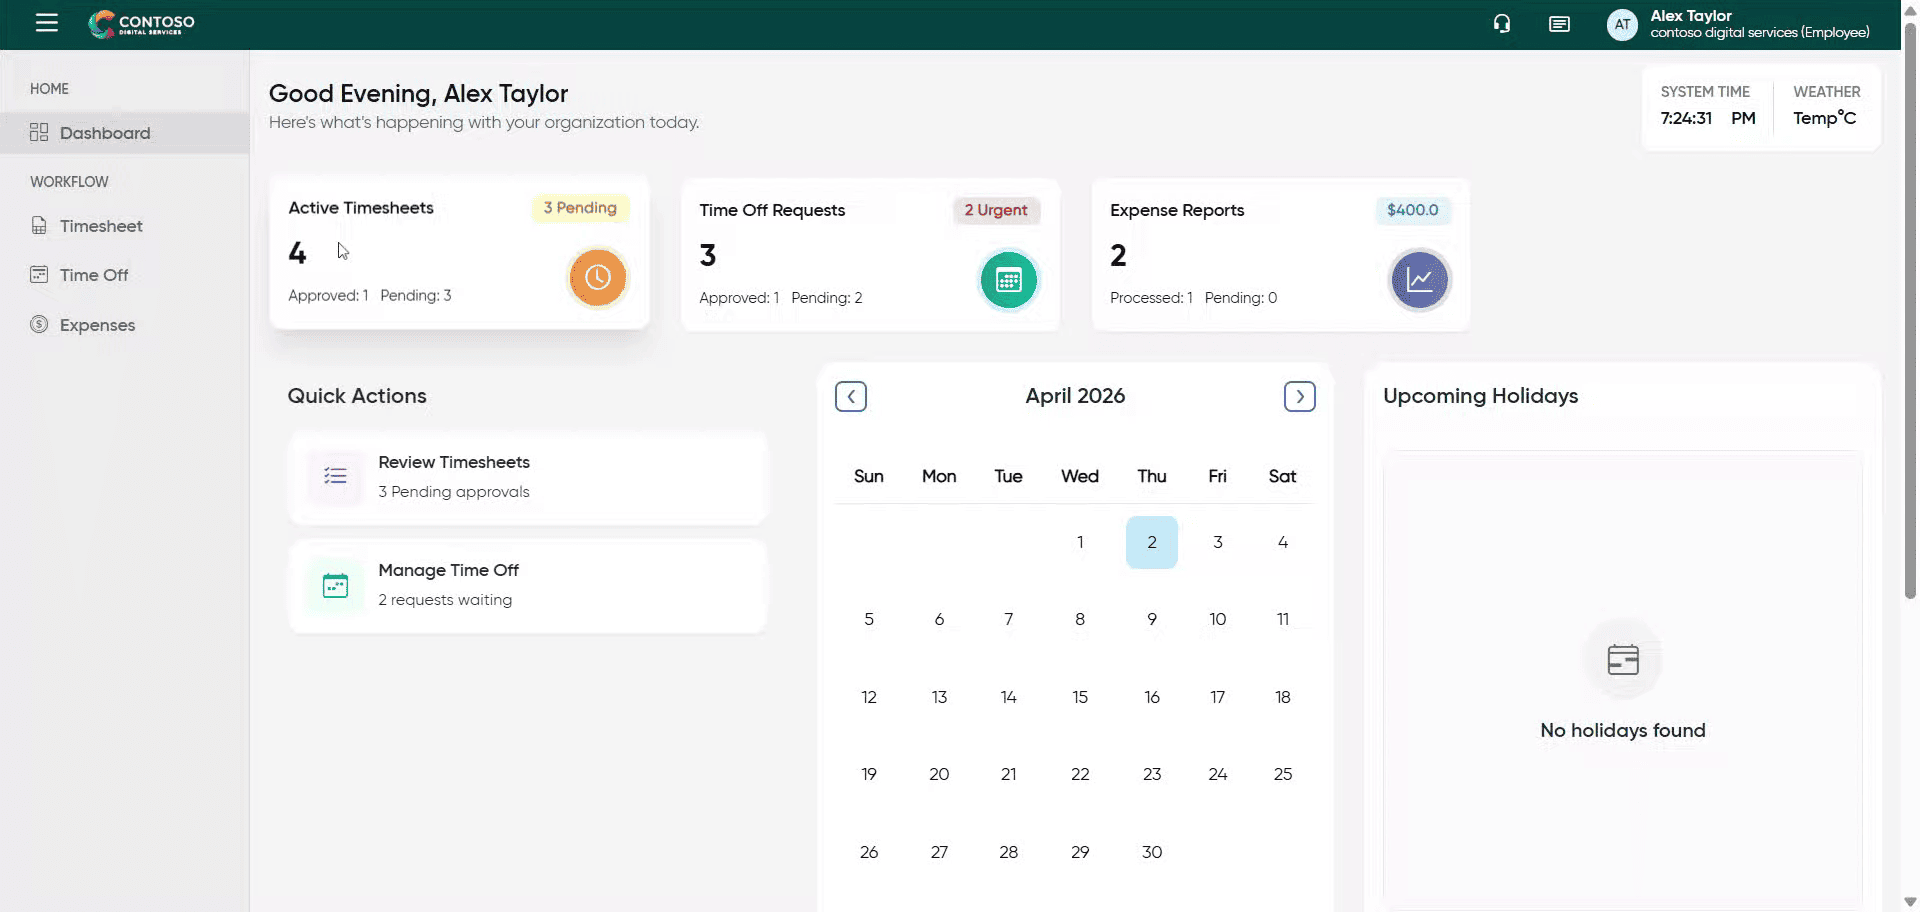
Go to app.office1solution.com
1. Introduction
You will learn how to add, edit, and delete leave entries effectively.
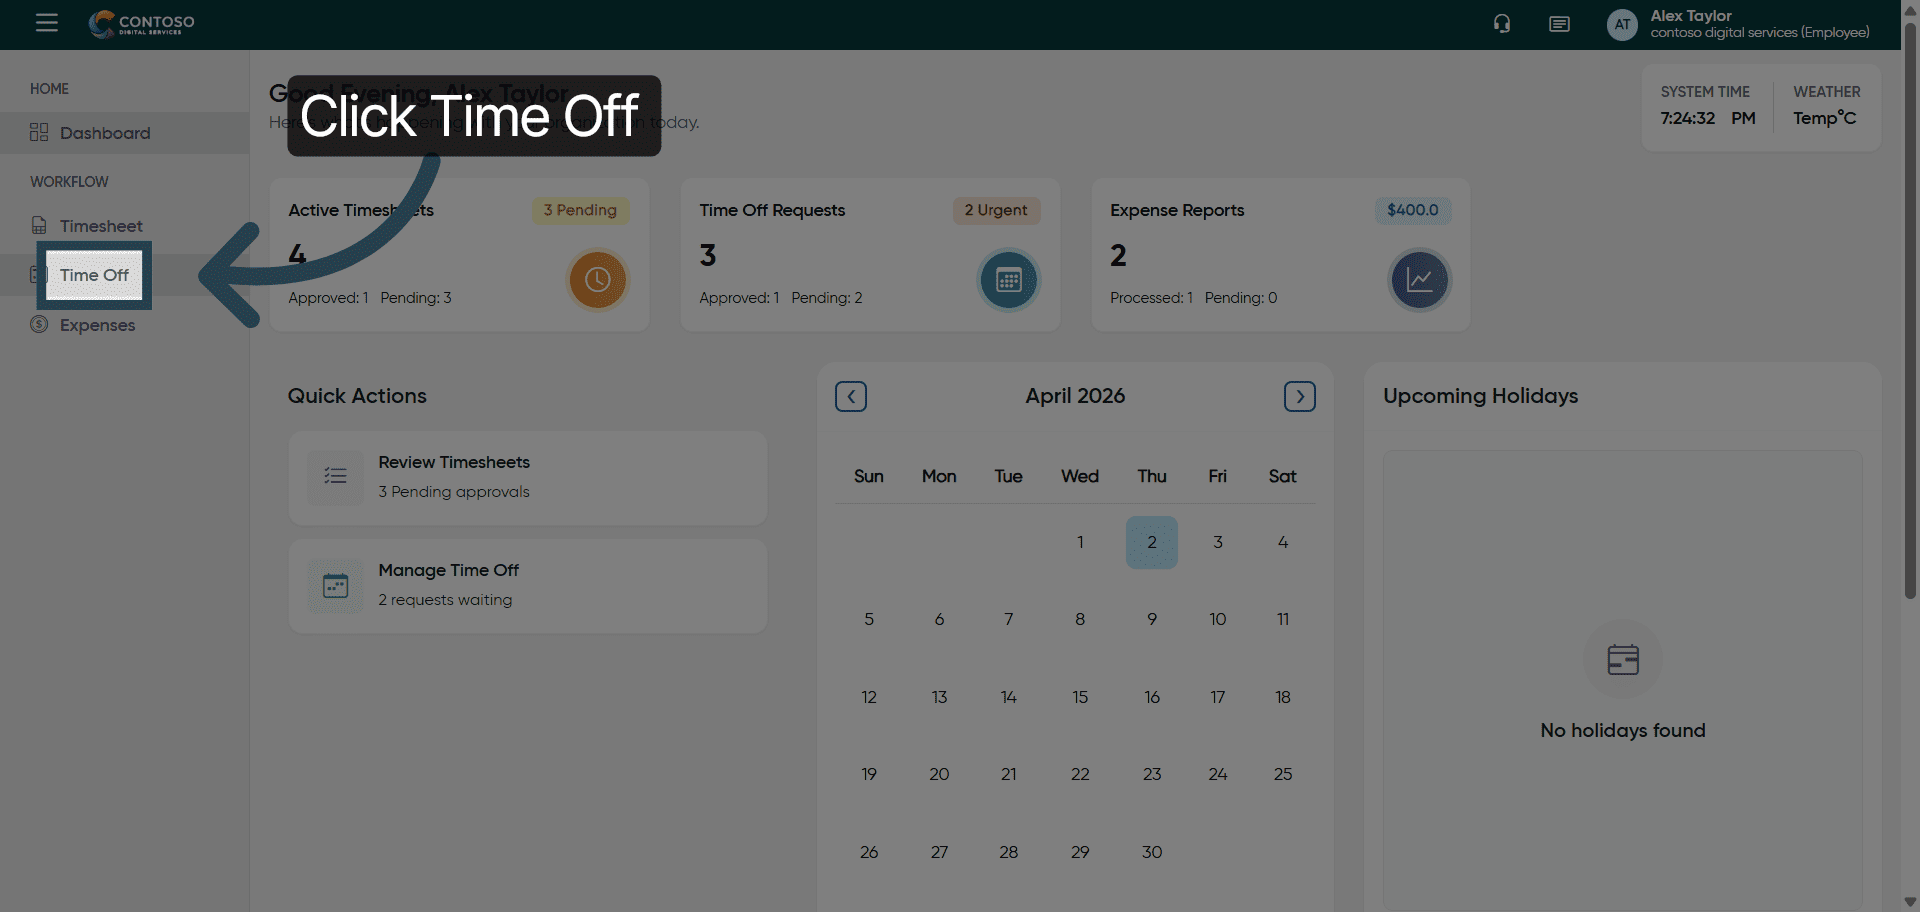
2. Access Time Off Section
Click the Time Off section to view and manage your leave requests.
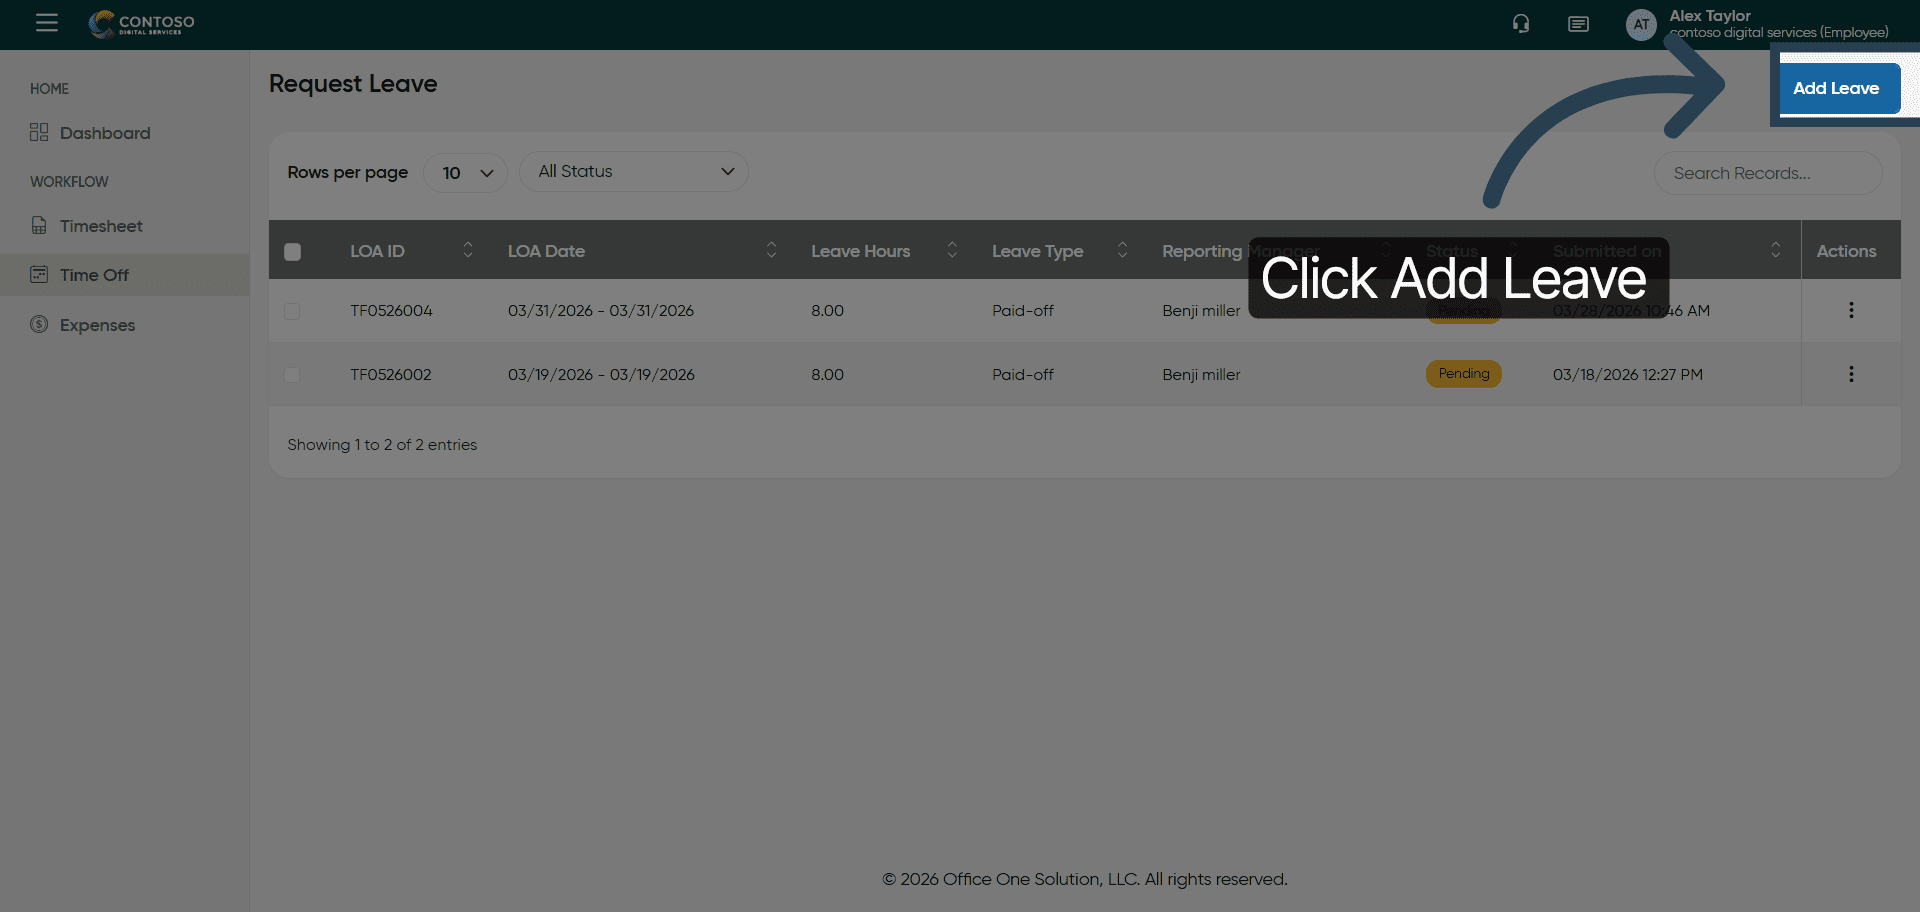
3. Open Add Leave Form
Click the Add Leave button to start a new leave request.
4. Initiate Leave Date Selection
Select the dates you are applying for leave.

5. Enter Leave Start Date
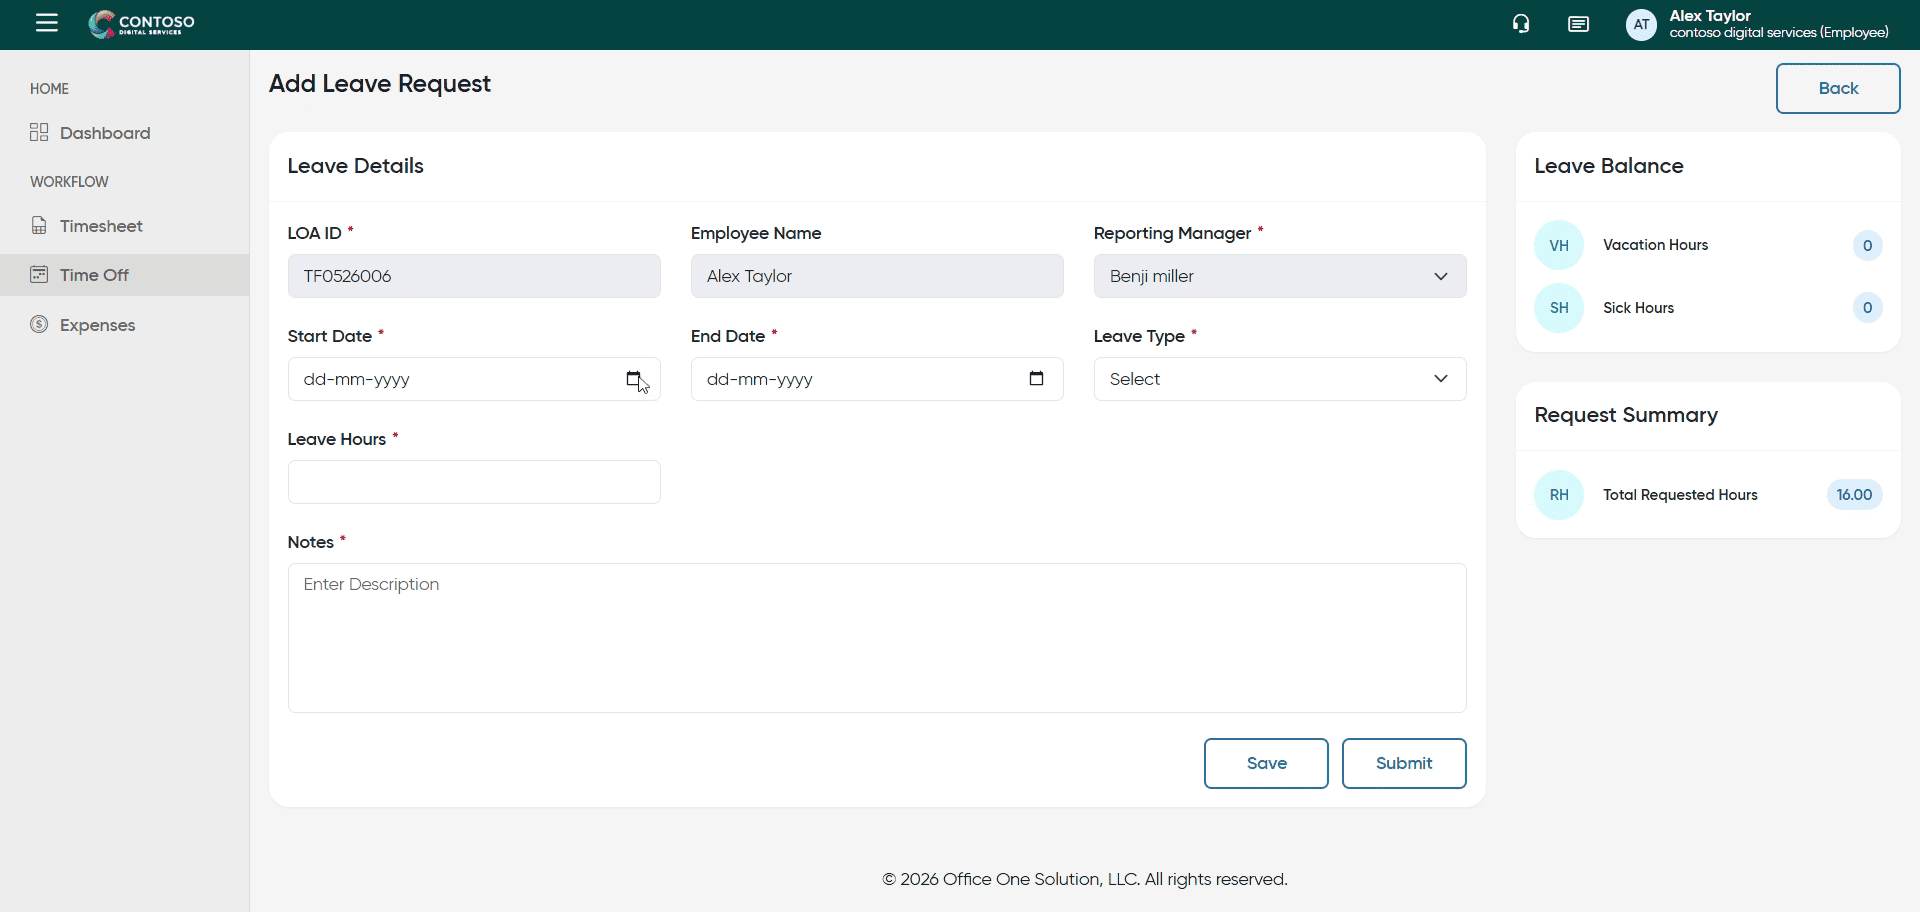
6. Open Leave Type Dropdown
Click the leave type dropdown to select the category of your leave such as Sick, Vacation, or Paid-off. And select one.
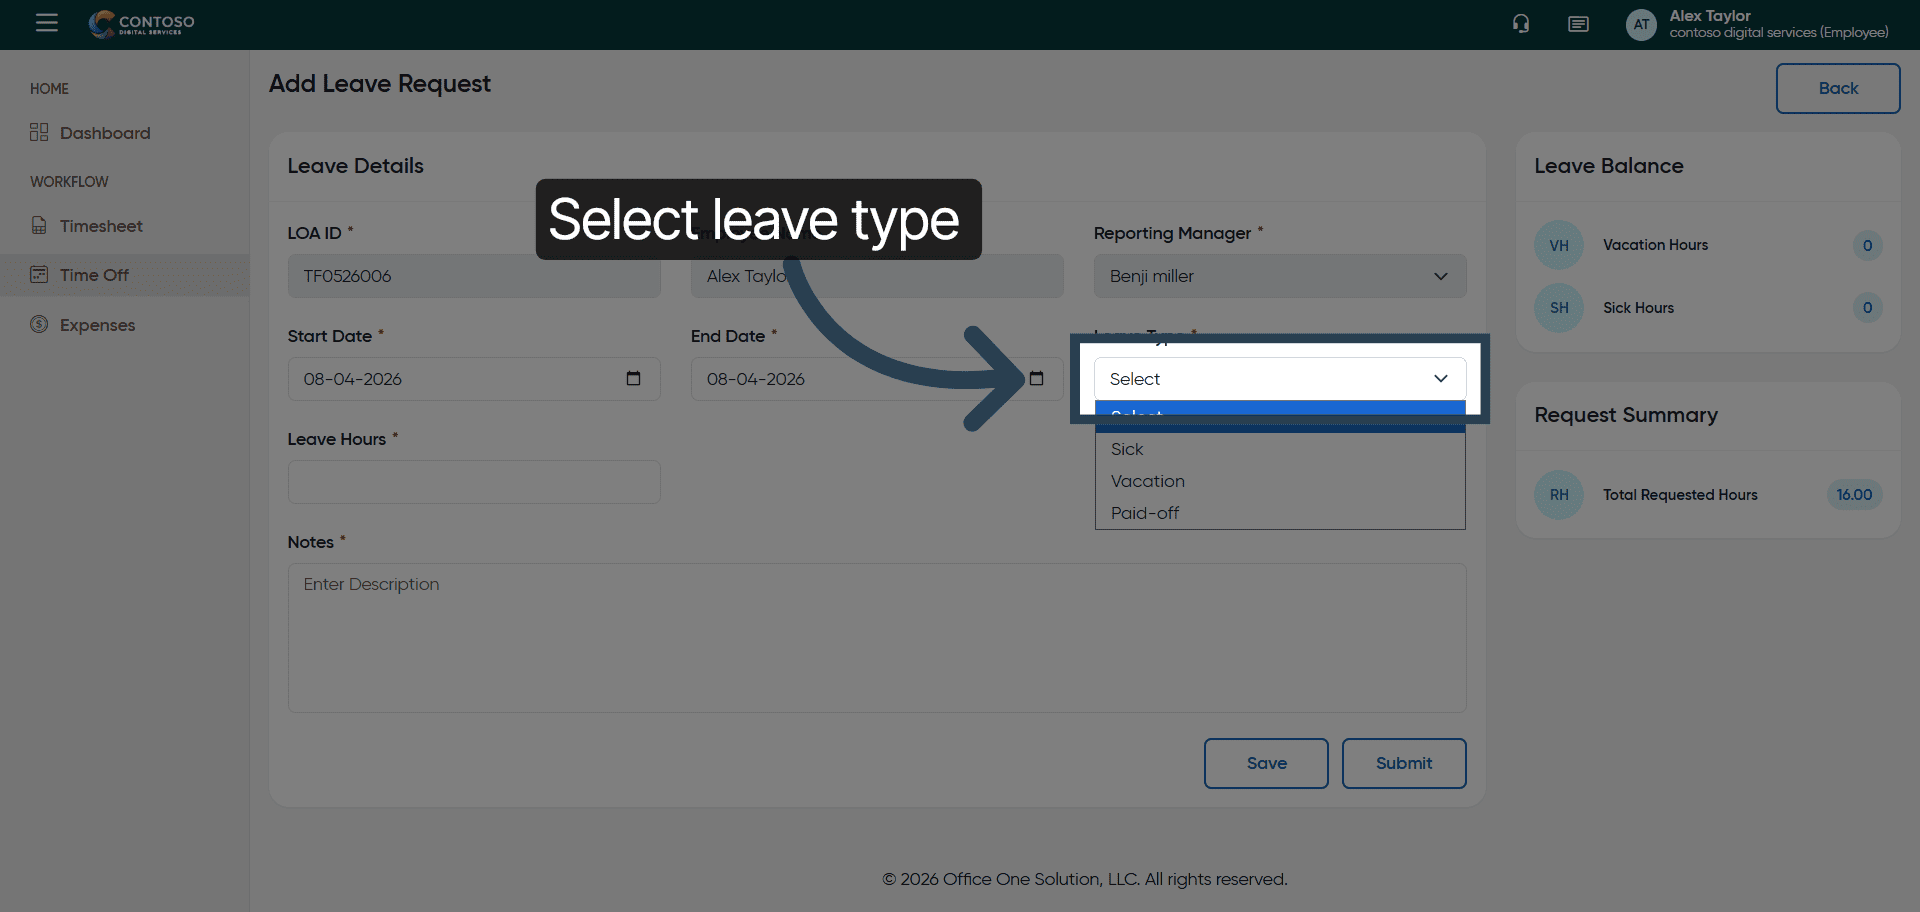
7. Choose Leave Category
Fill all the required details

8. Confirm Leave Type Selection
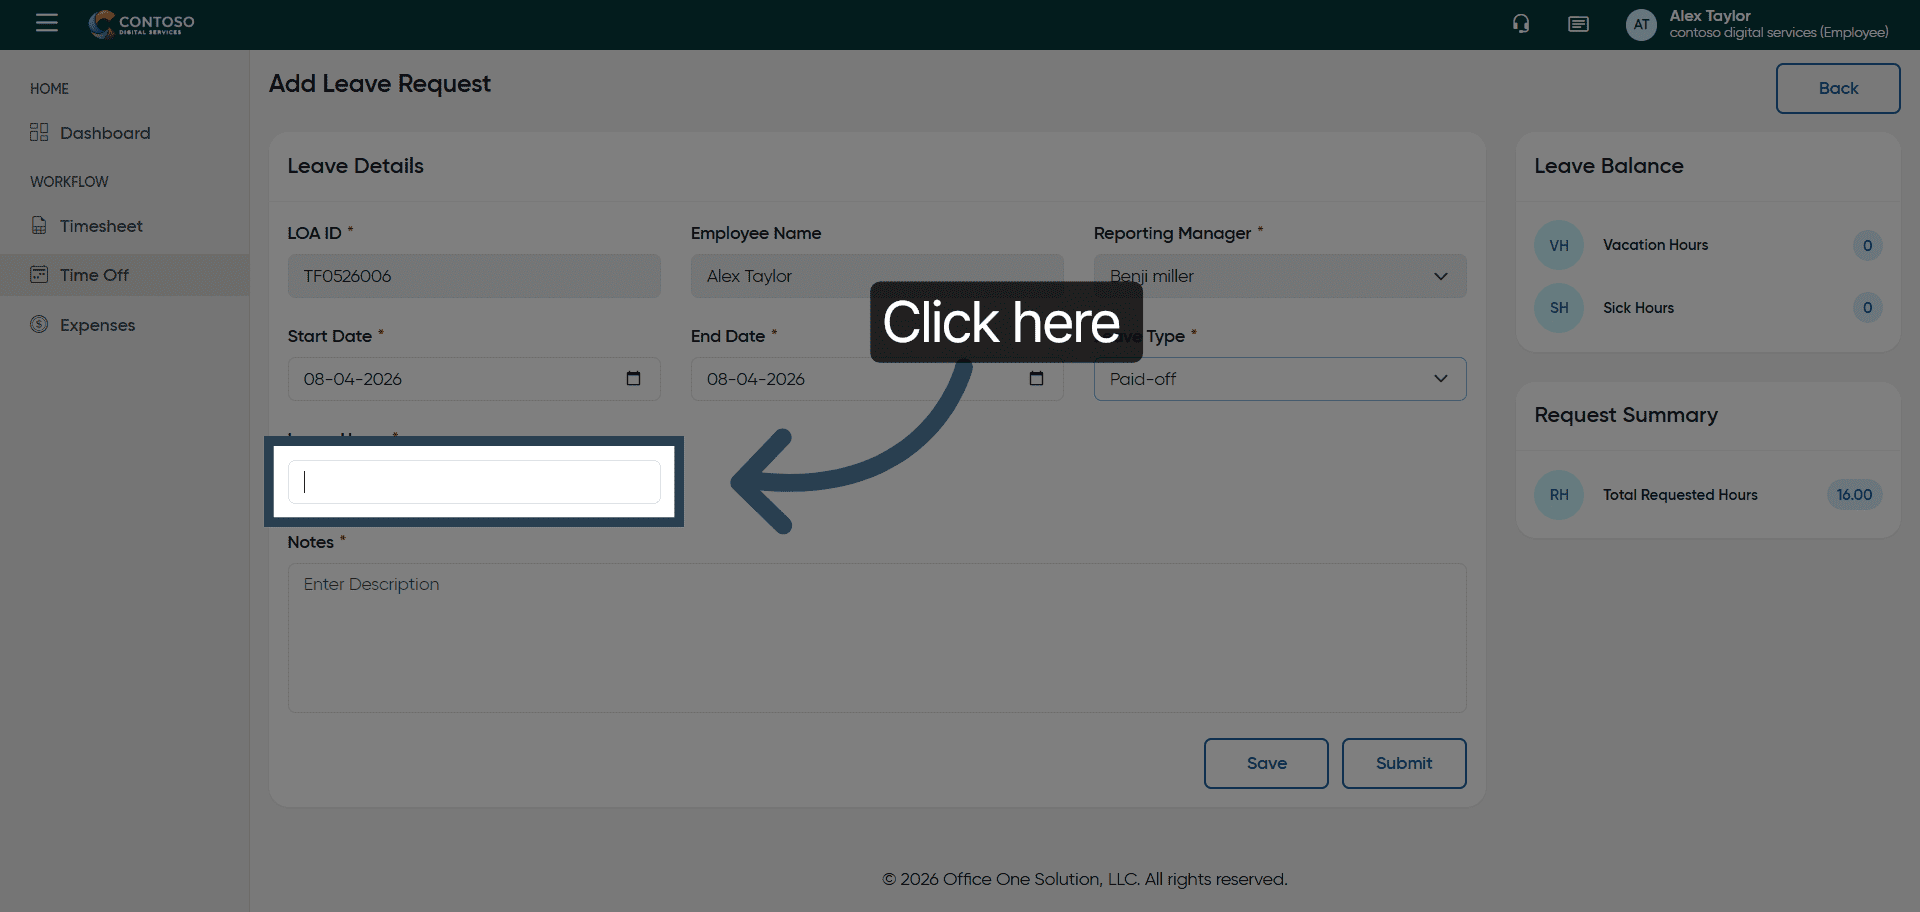
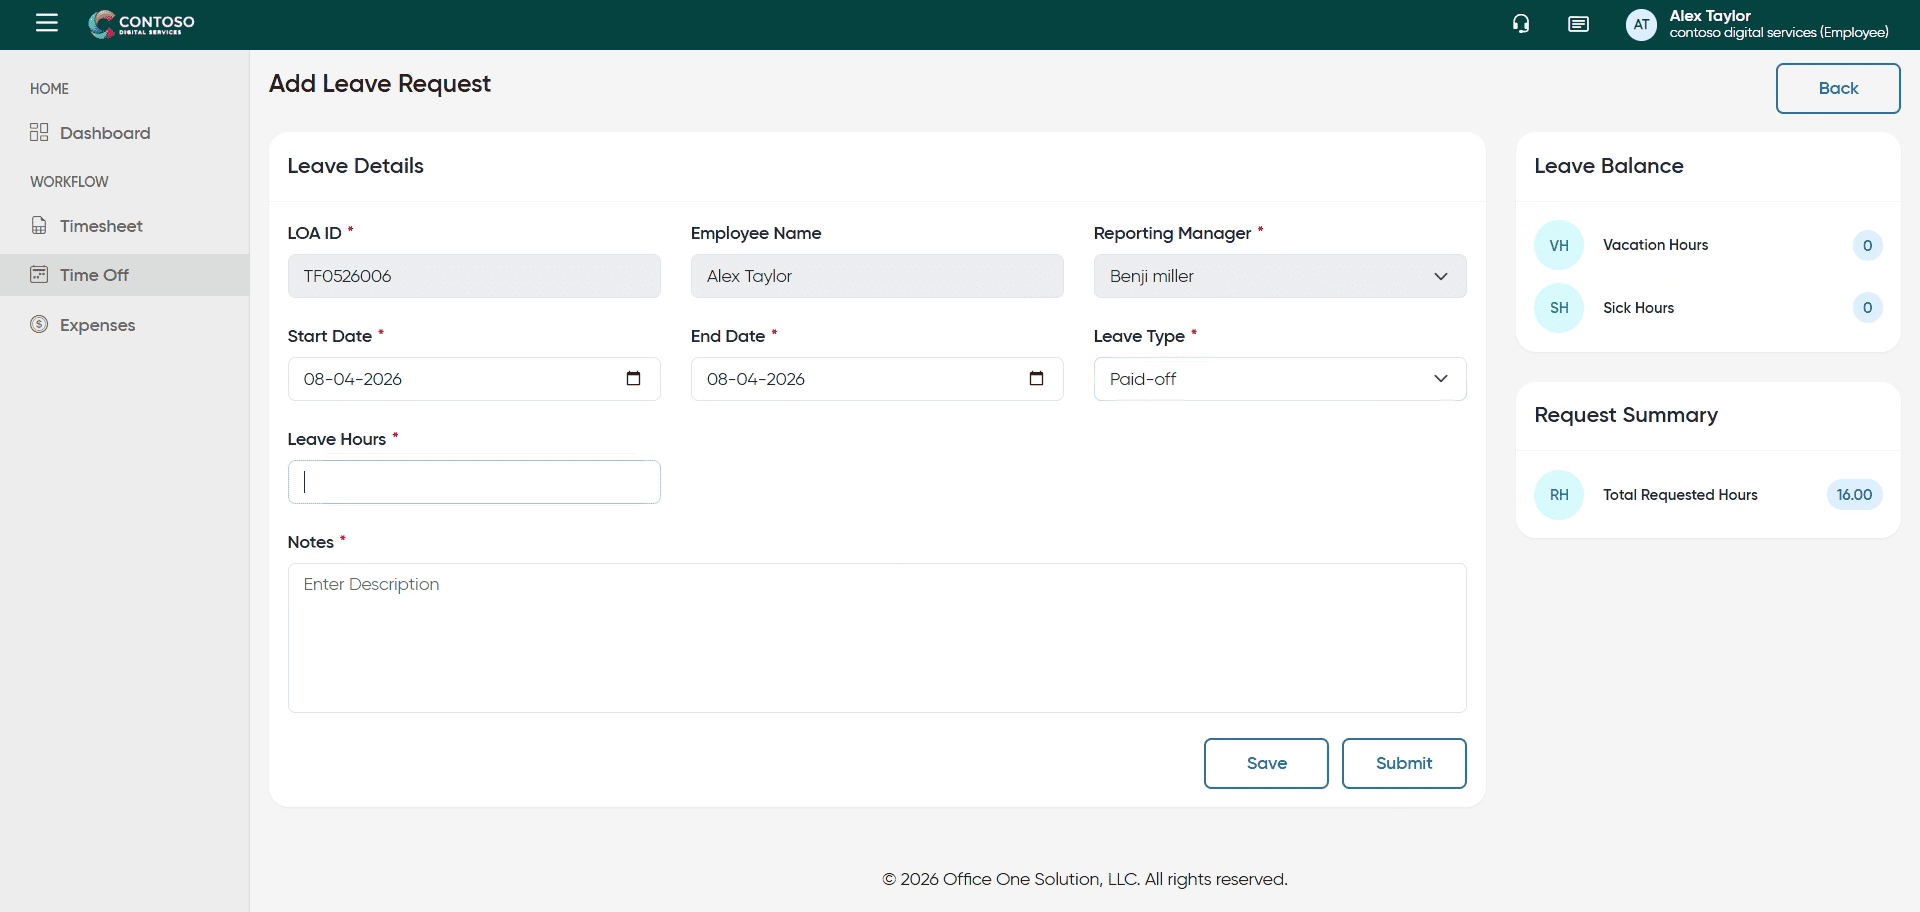
9. Specify Leave Duration
10. Access Description Field
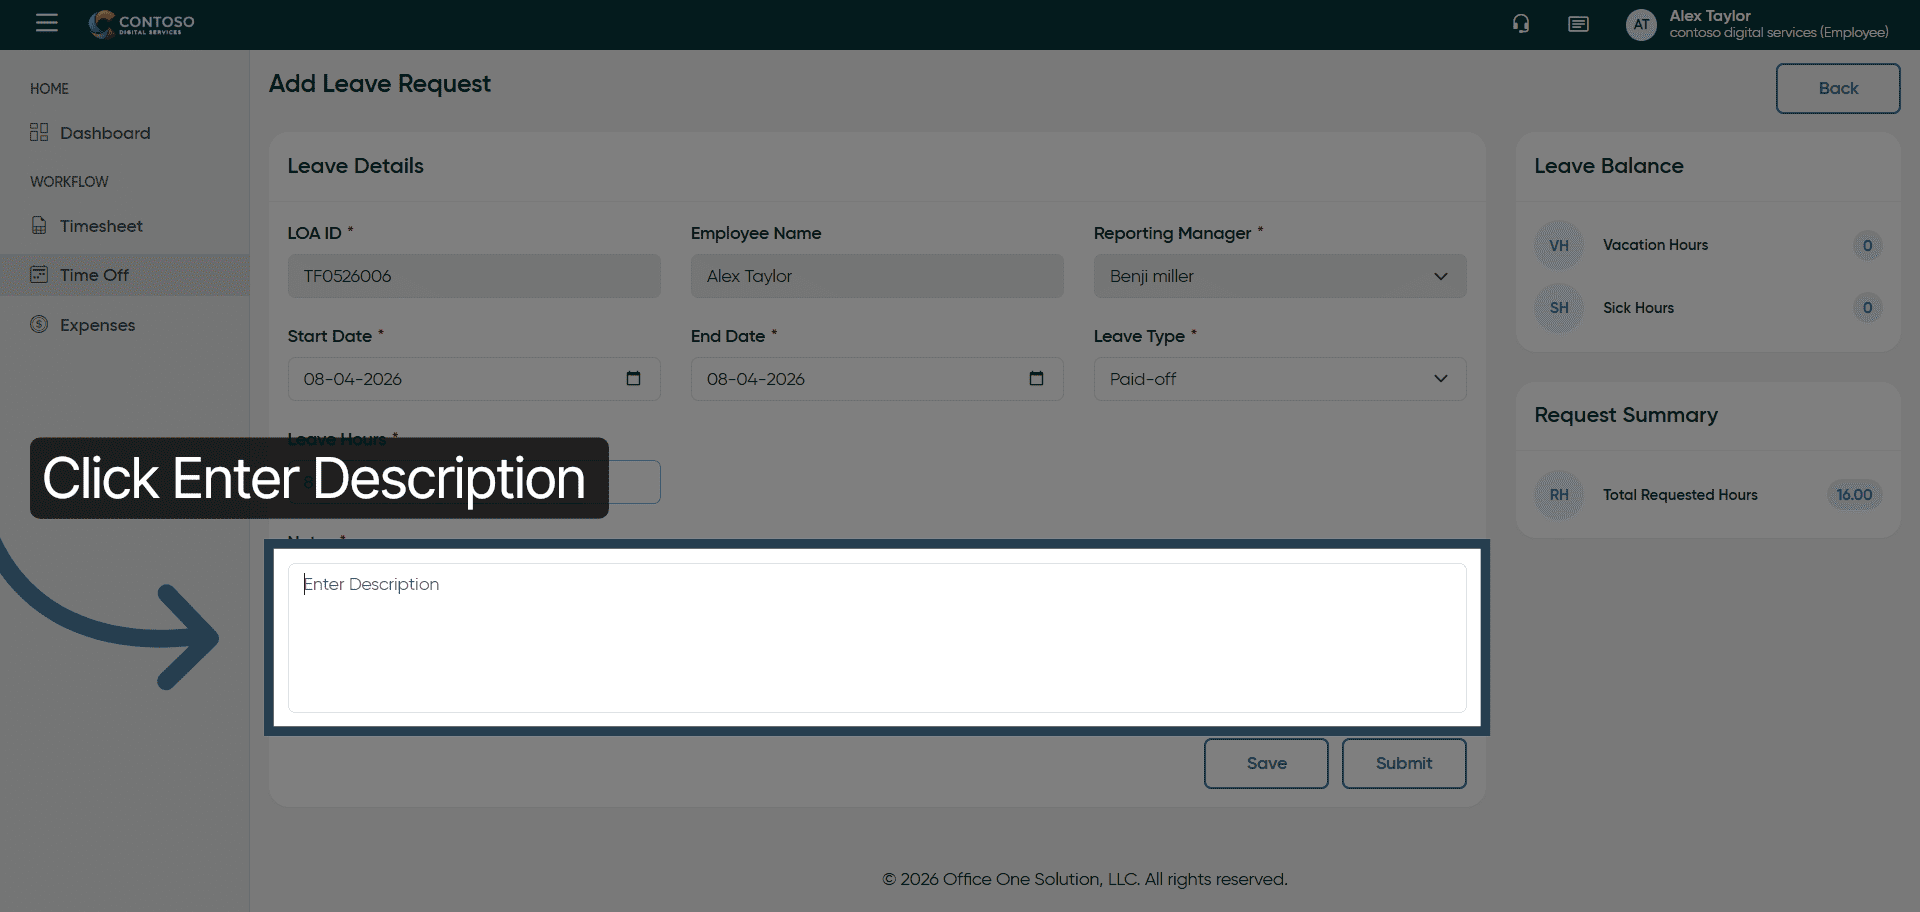
11. Add Leave Description

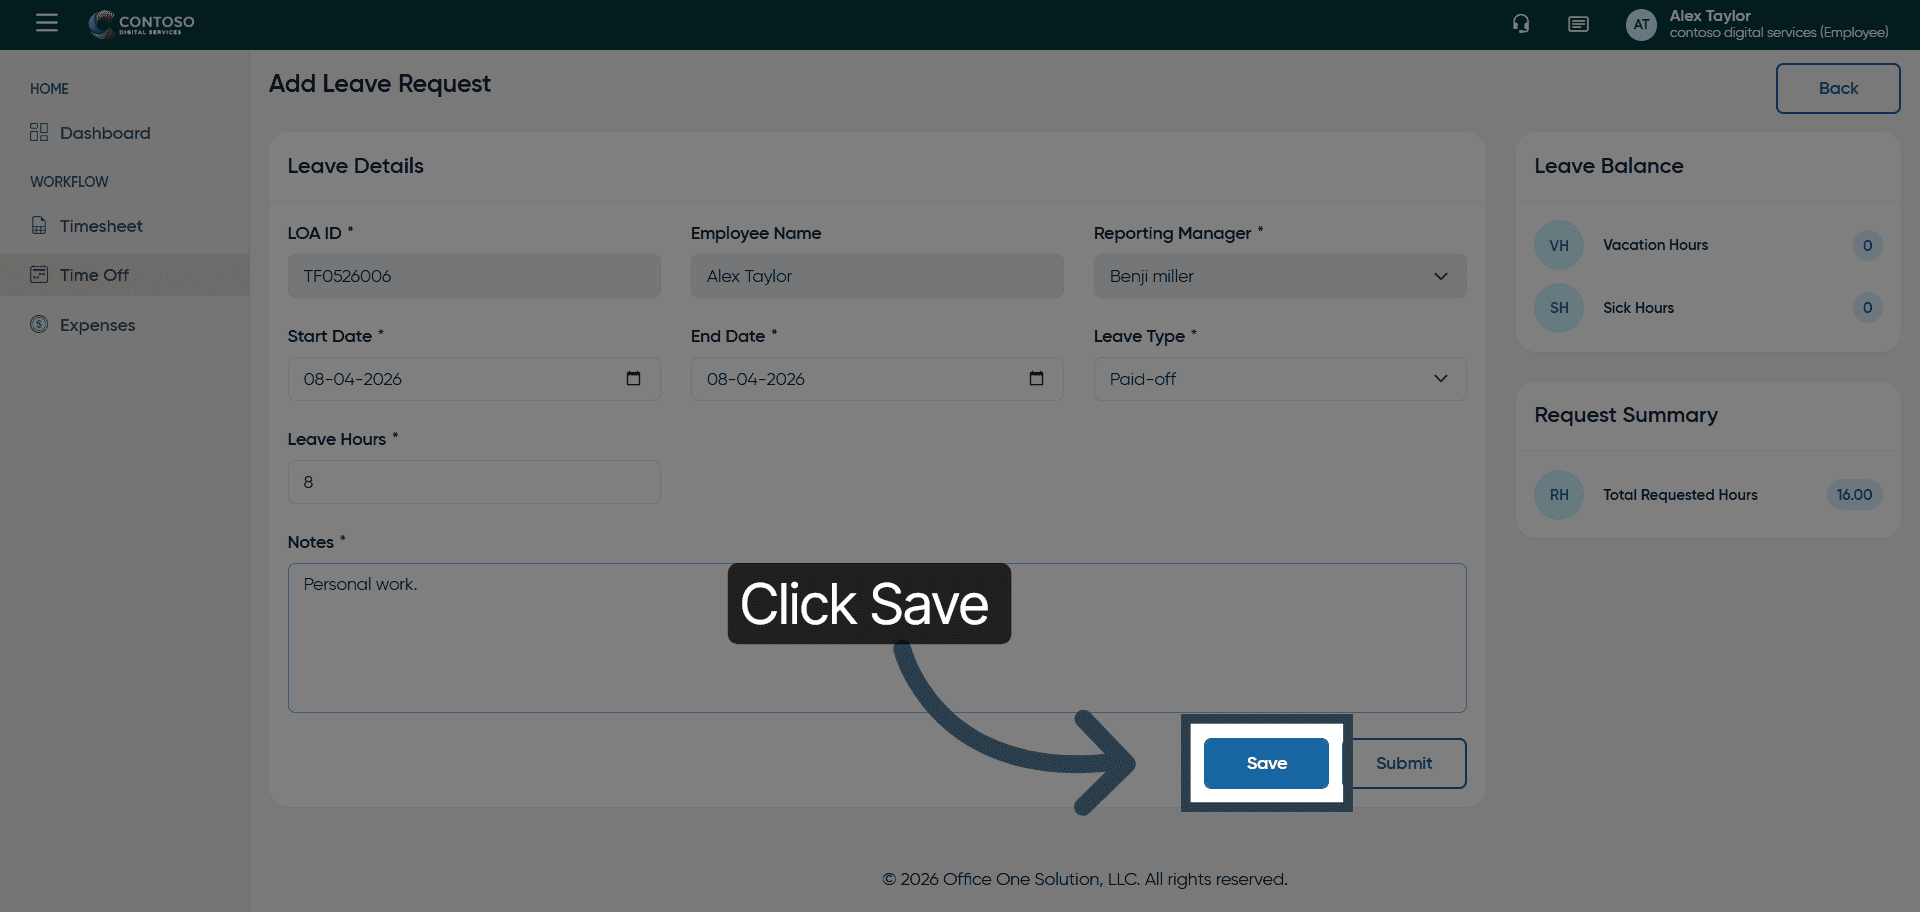
12. Save Leave Request
Click the Save button to store your leave request.
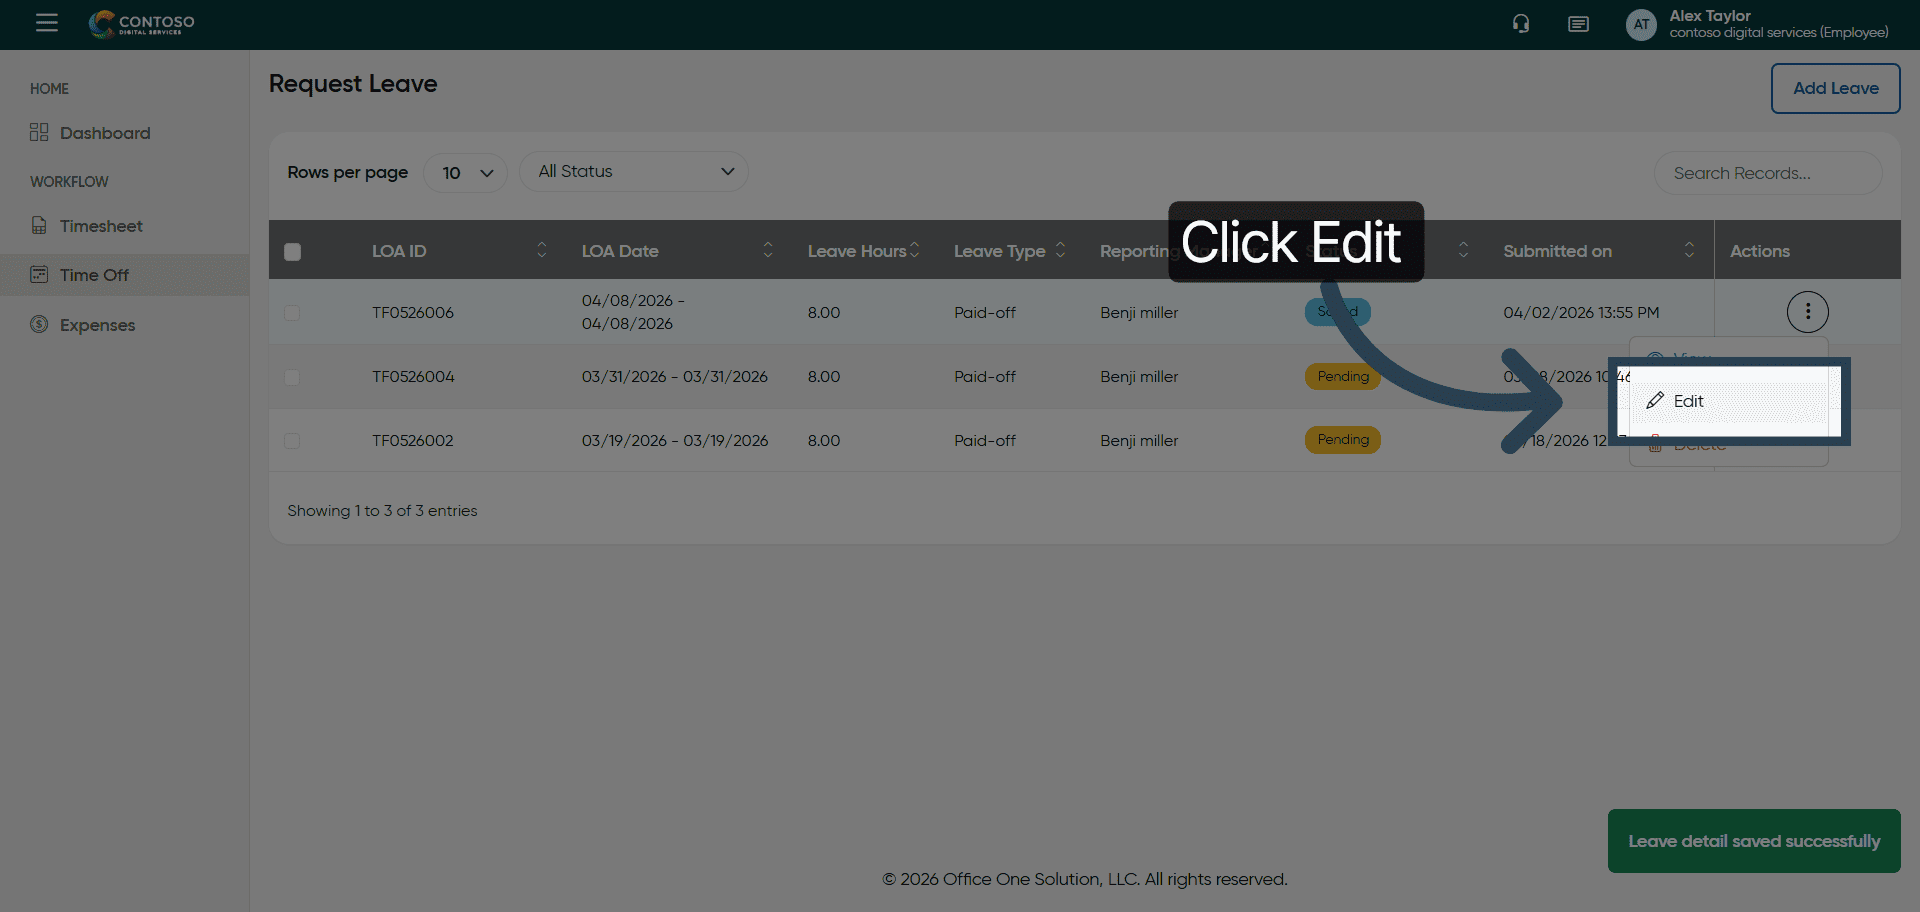
13. Select Leave Entry
Click to select the leave entry you want to modify under actions.

14. Open Edit Leave Mode
Click the Edit button to modify the selected leave request.
15. Access Leave Start Date
Update the required information.
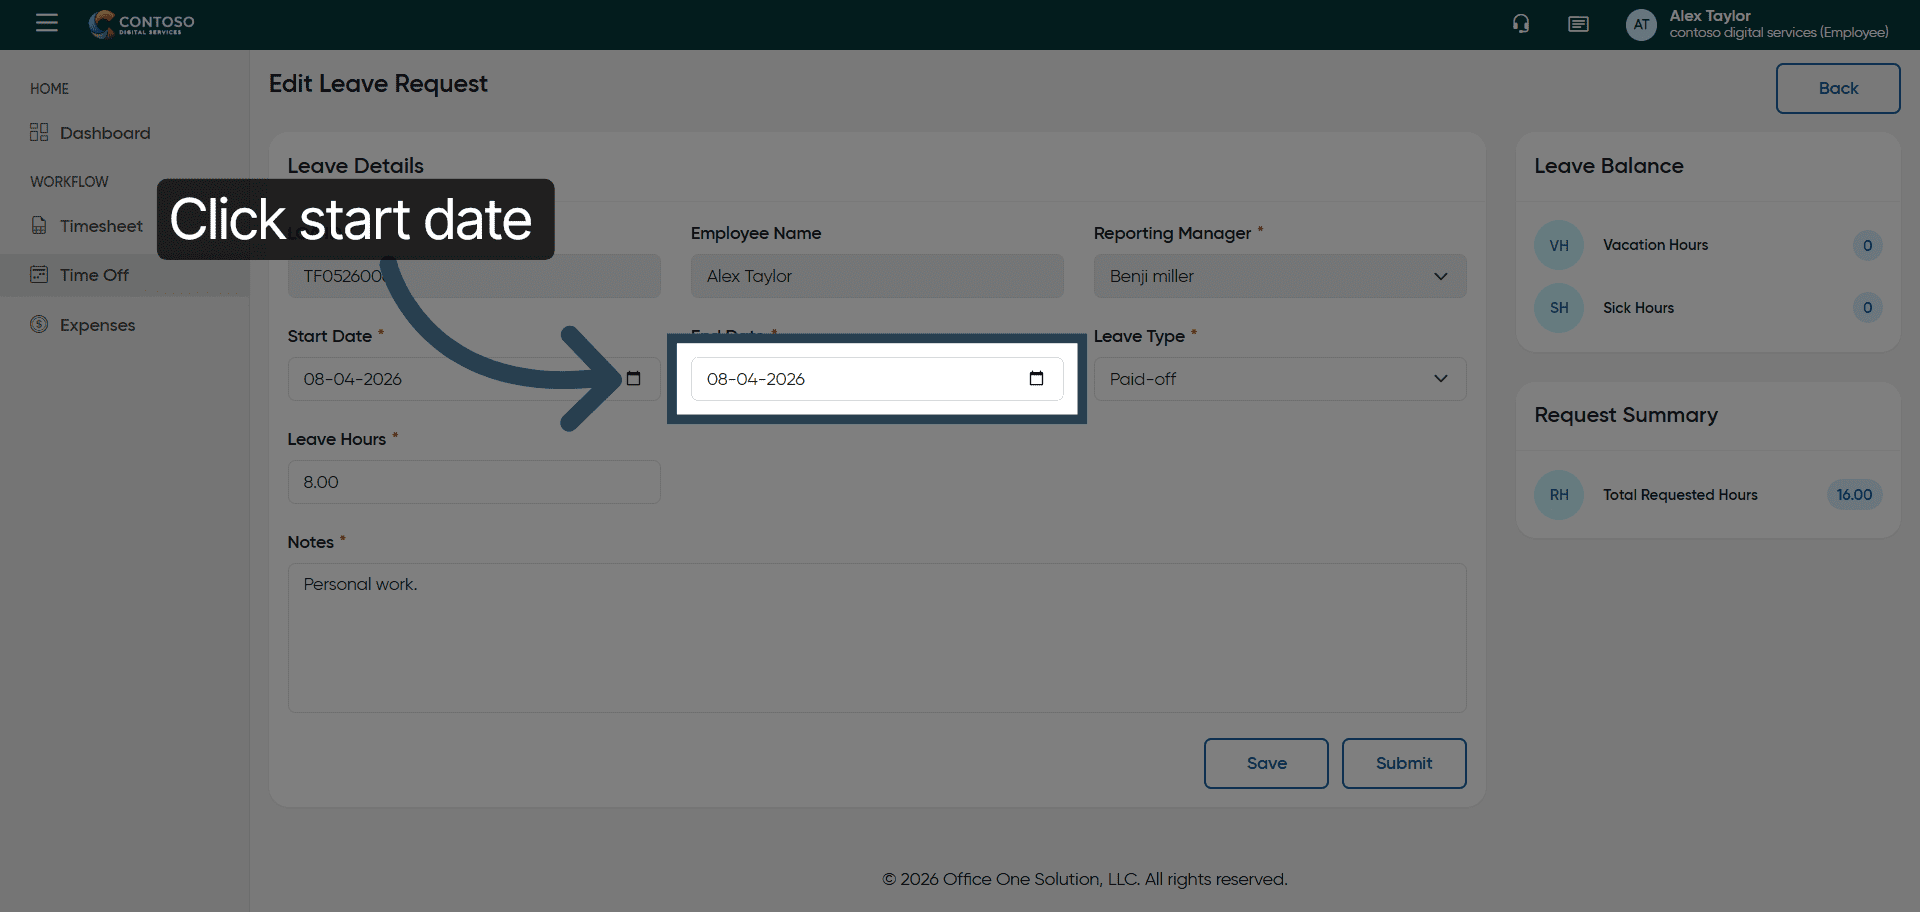
16. Update Leave Start Date

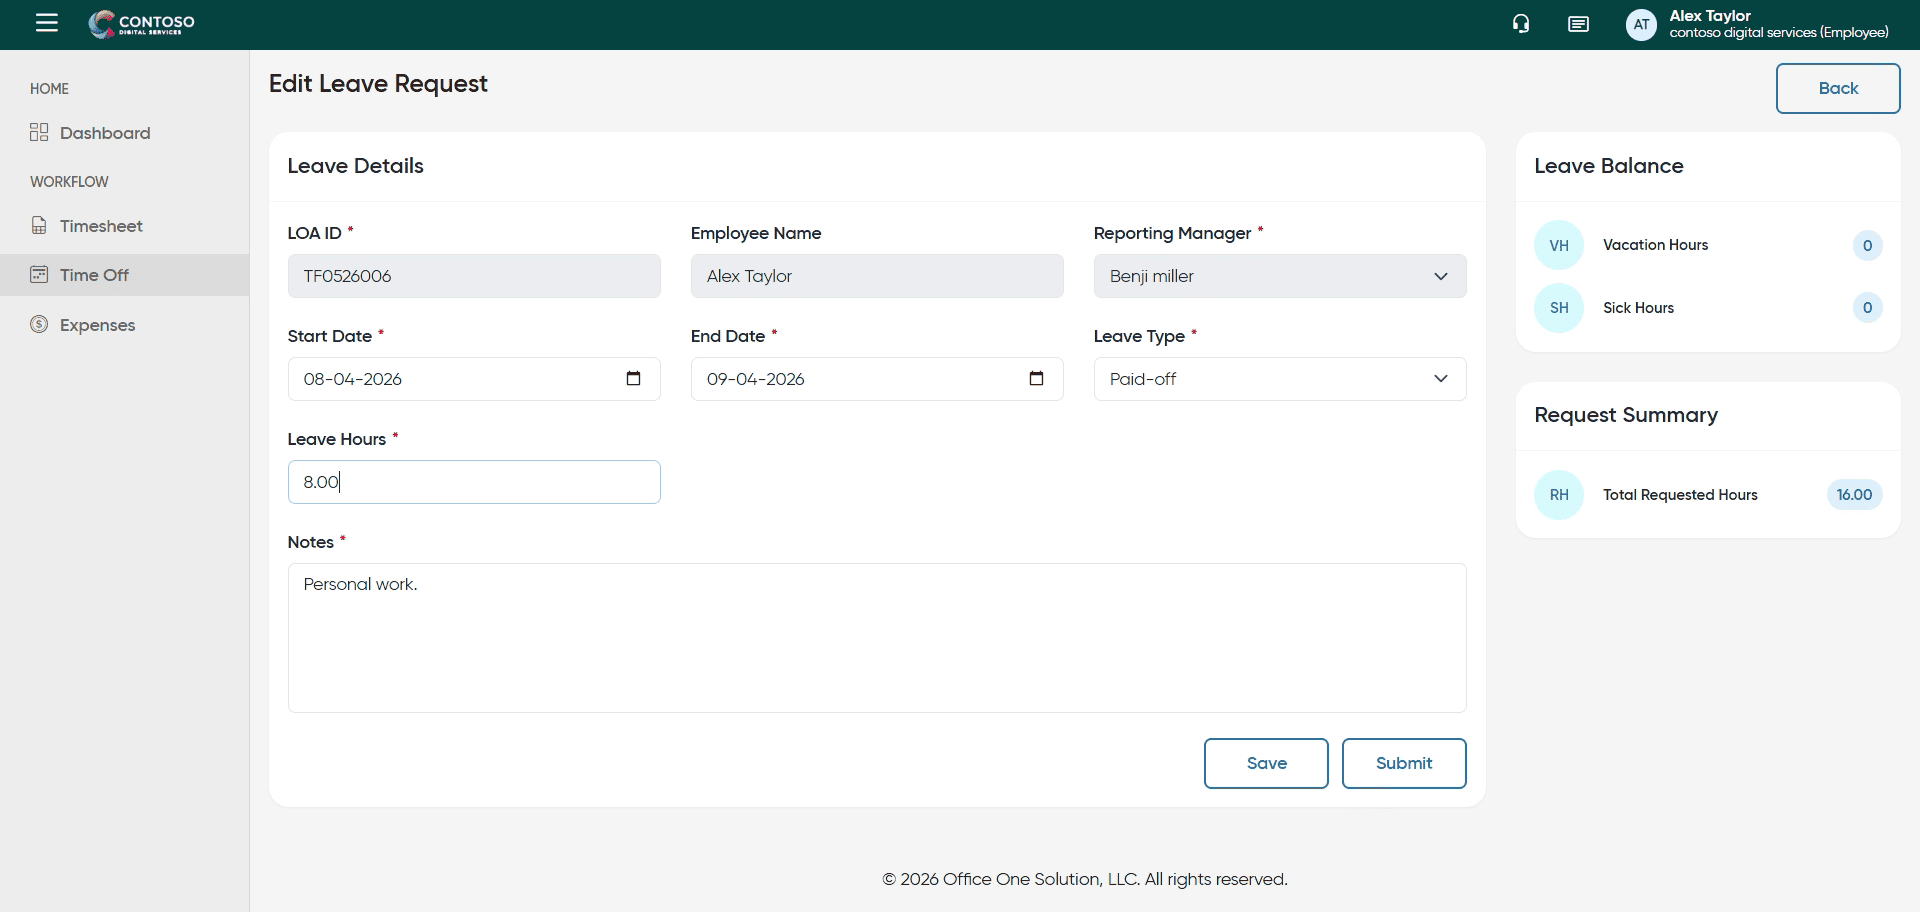
17. Access Leave Hours Field
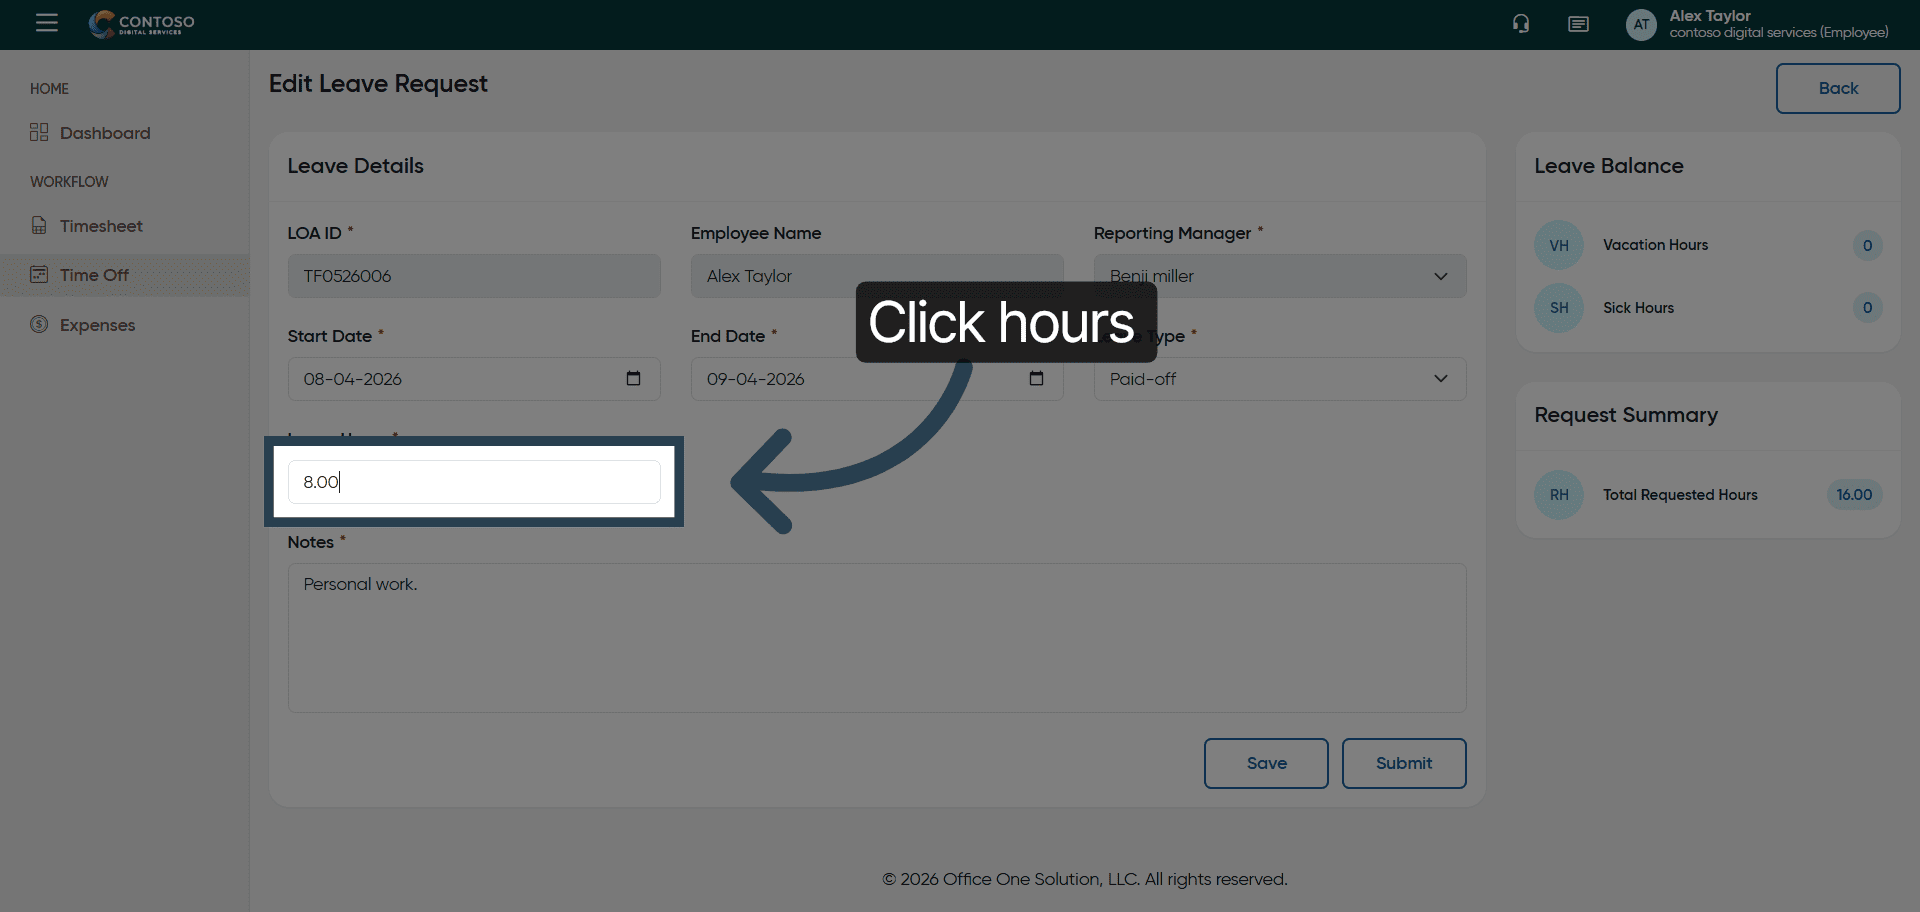
18. Update Leave Hours
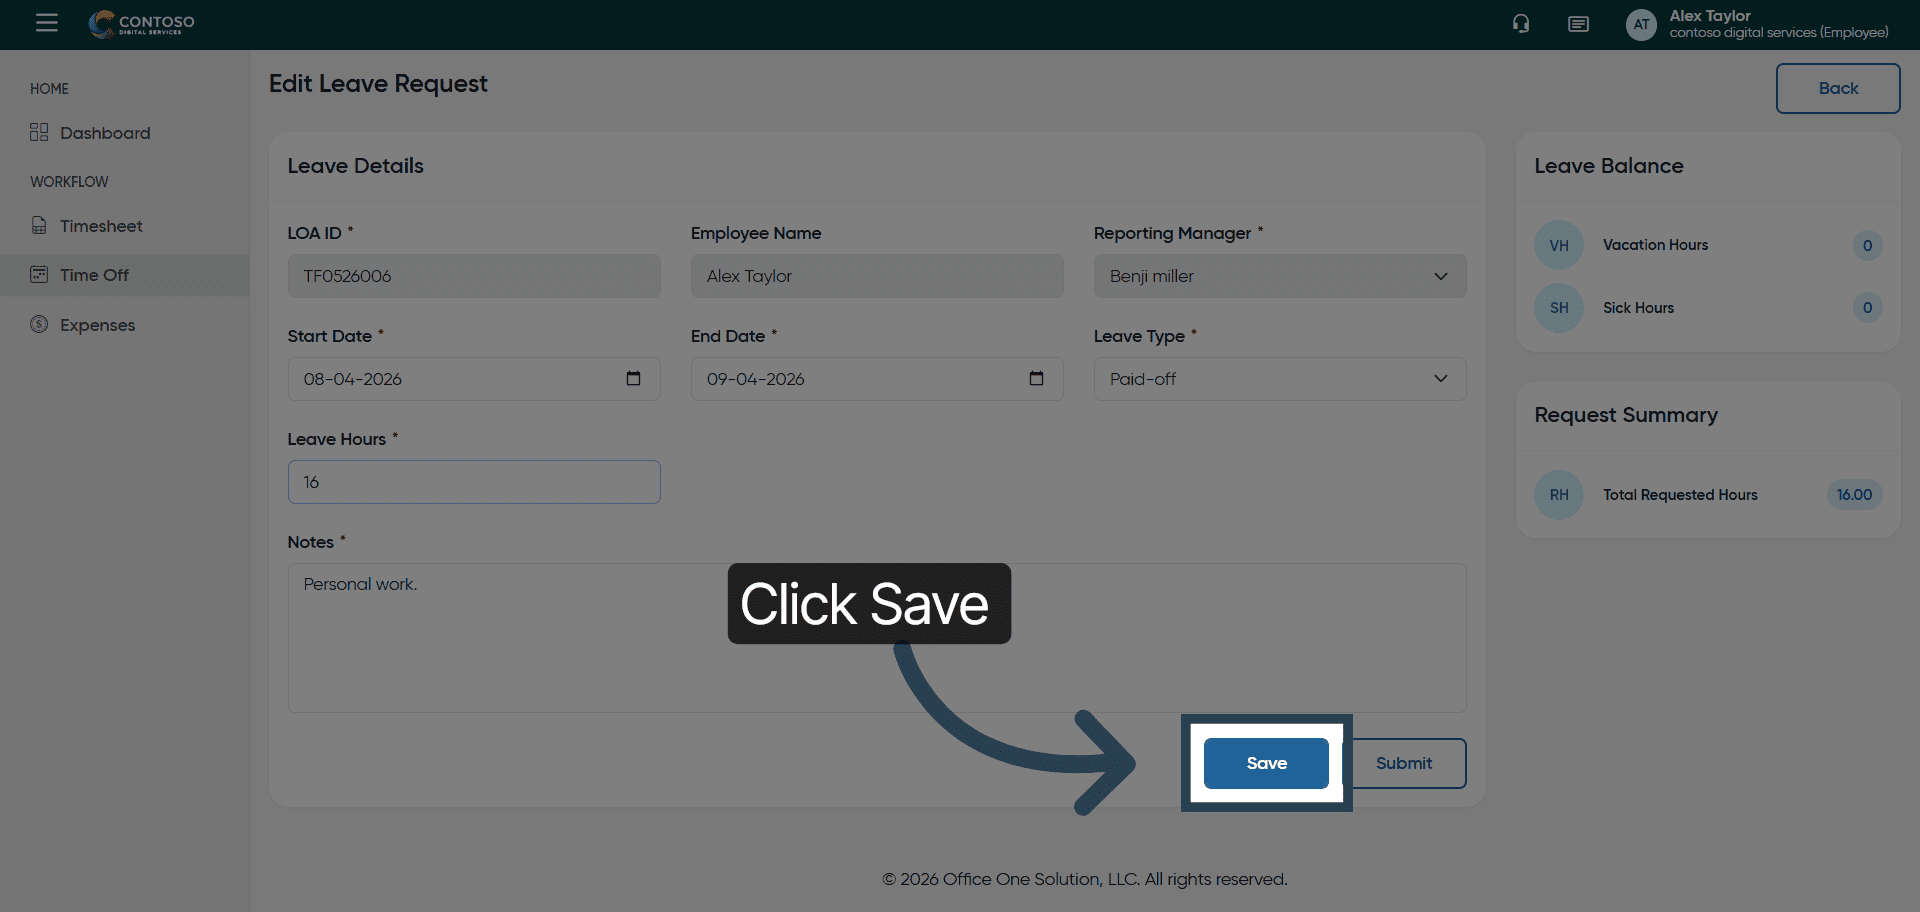
19. Save Leave Changes
Click the Save button to apply your leave modifications.
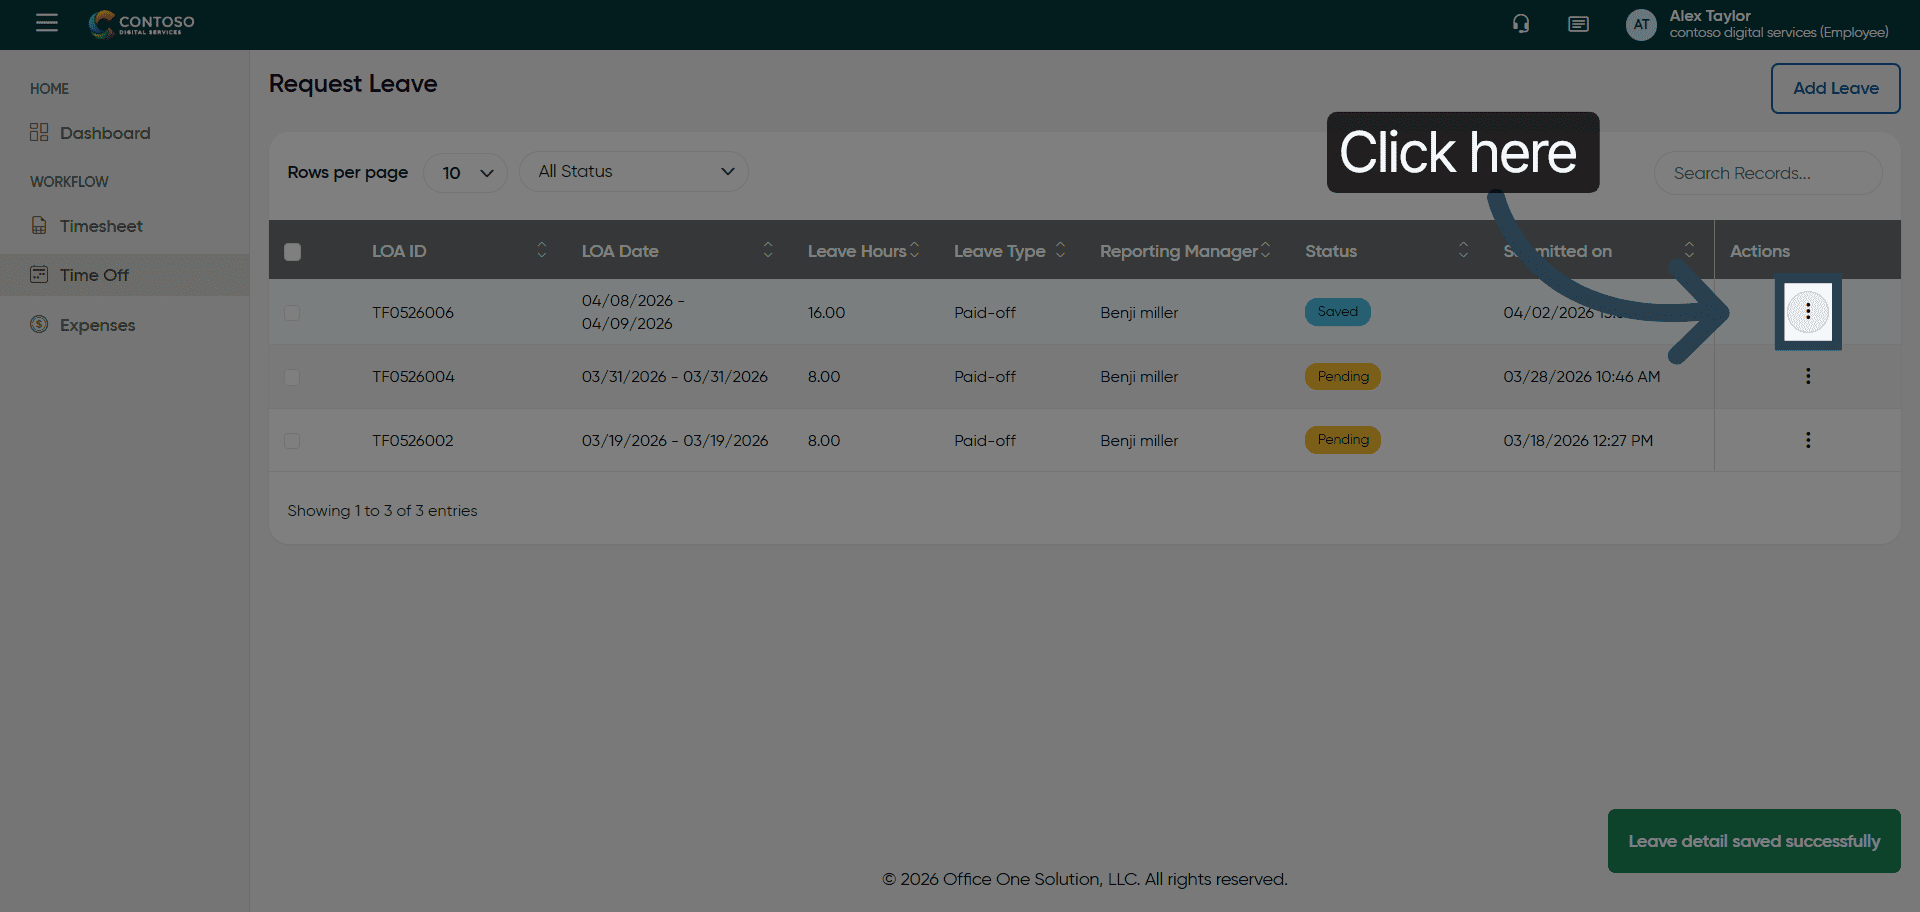
20. Select Leave Entry for Deletion
Click to select the leave entry you want to delete.
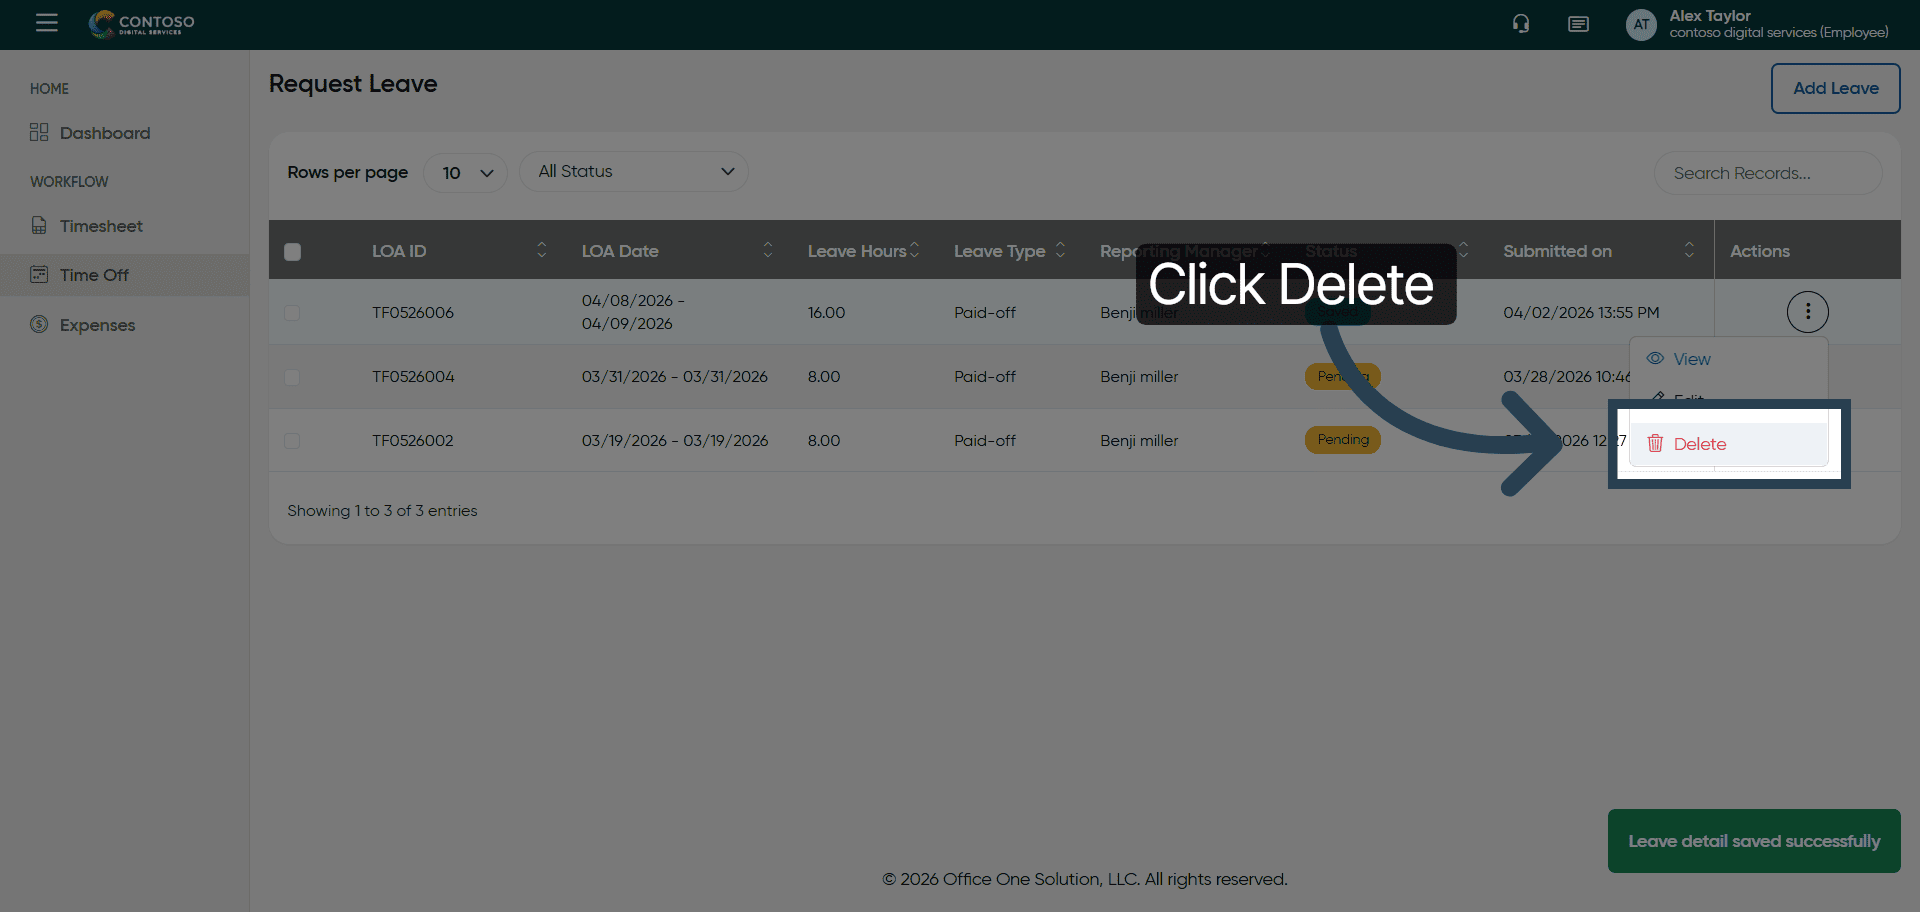
21. Delete Leave Request
Click the Delete button to remove the selected leave request.
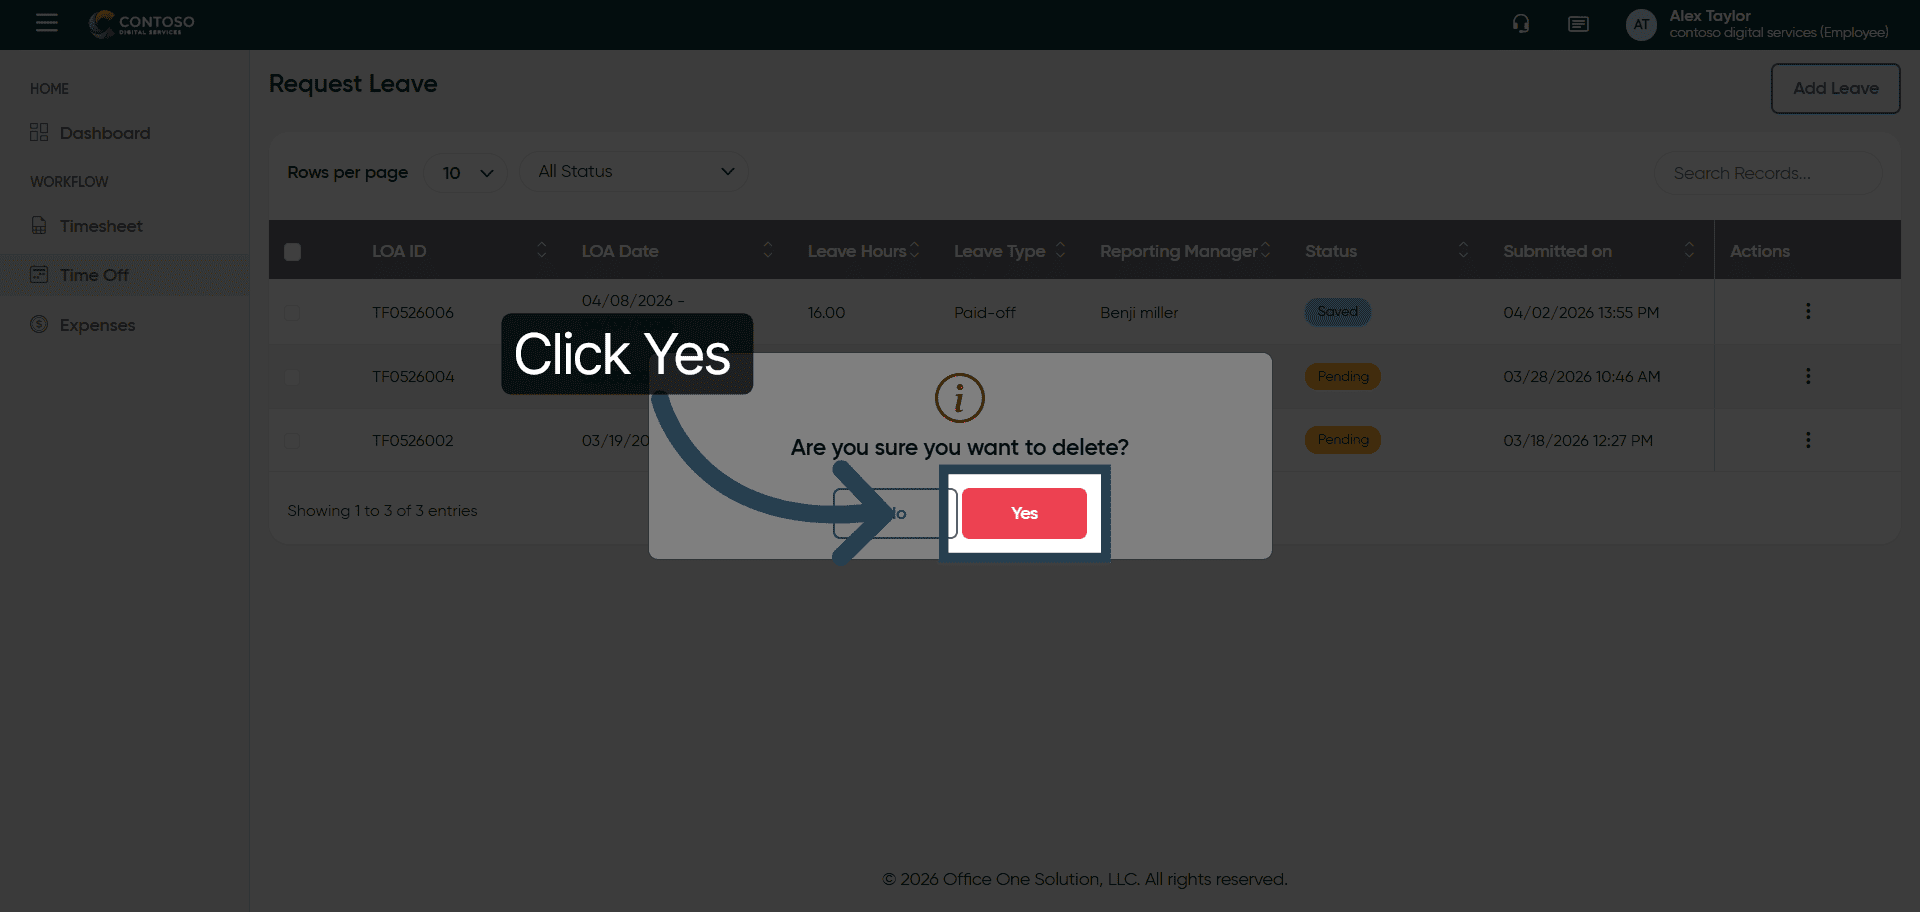
22. Confirm Leave Deletion
Click Yes to confirm the deletion of the leave request.
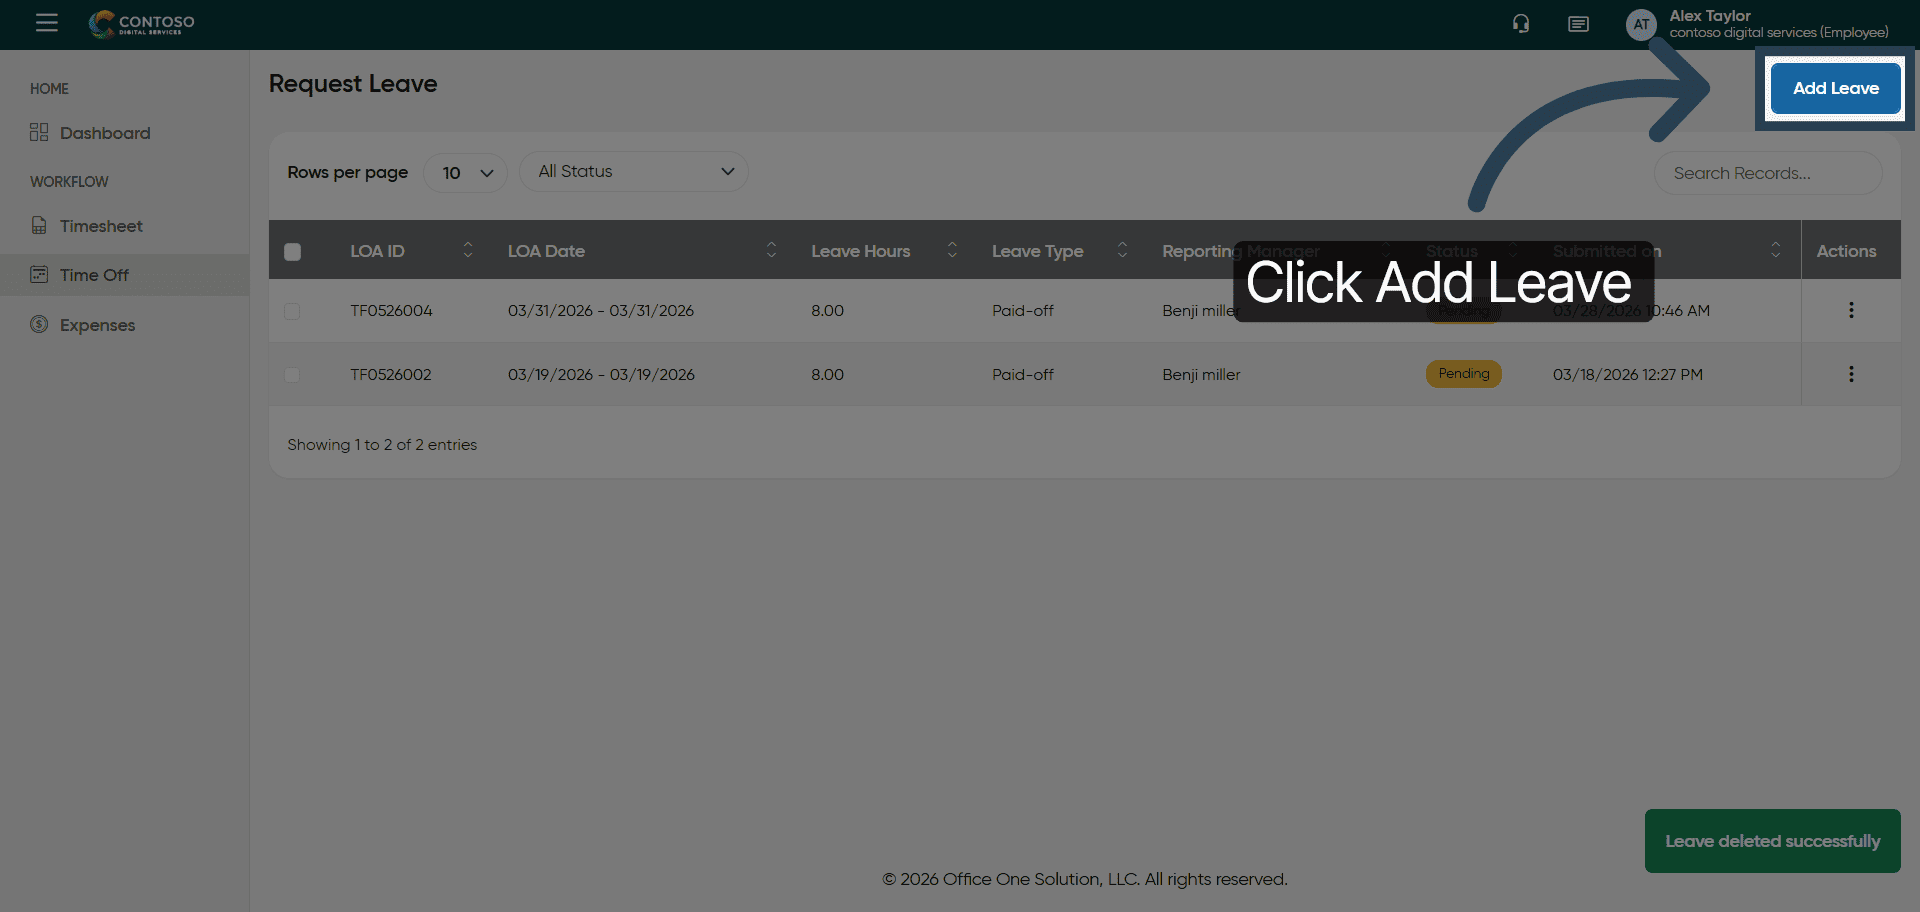
23. Open Add Leave Form Again
Click the Add Leave button to create another leave request.
24. Initiate New Leave Date Selection
Fill all the mandatory fields to submit a leave reques
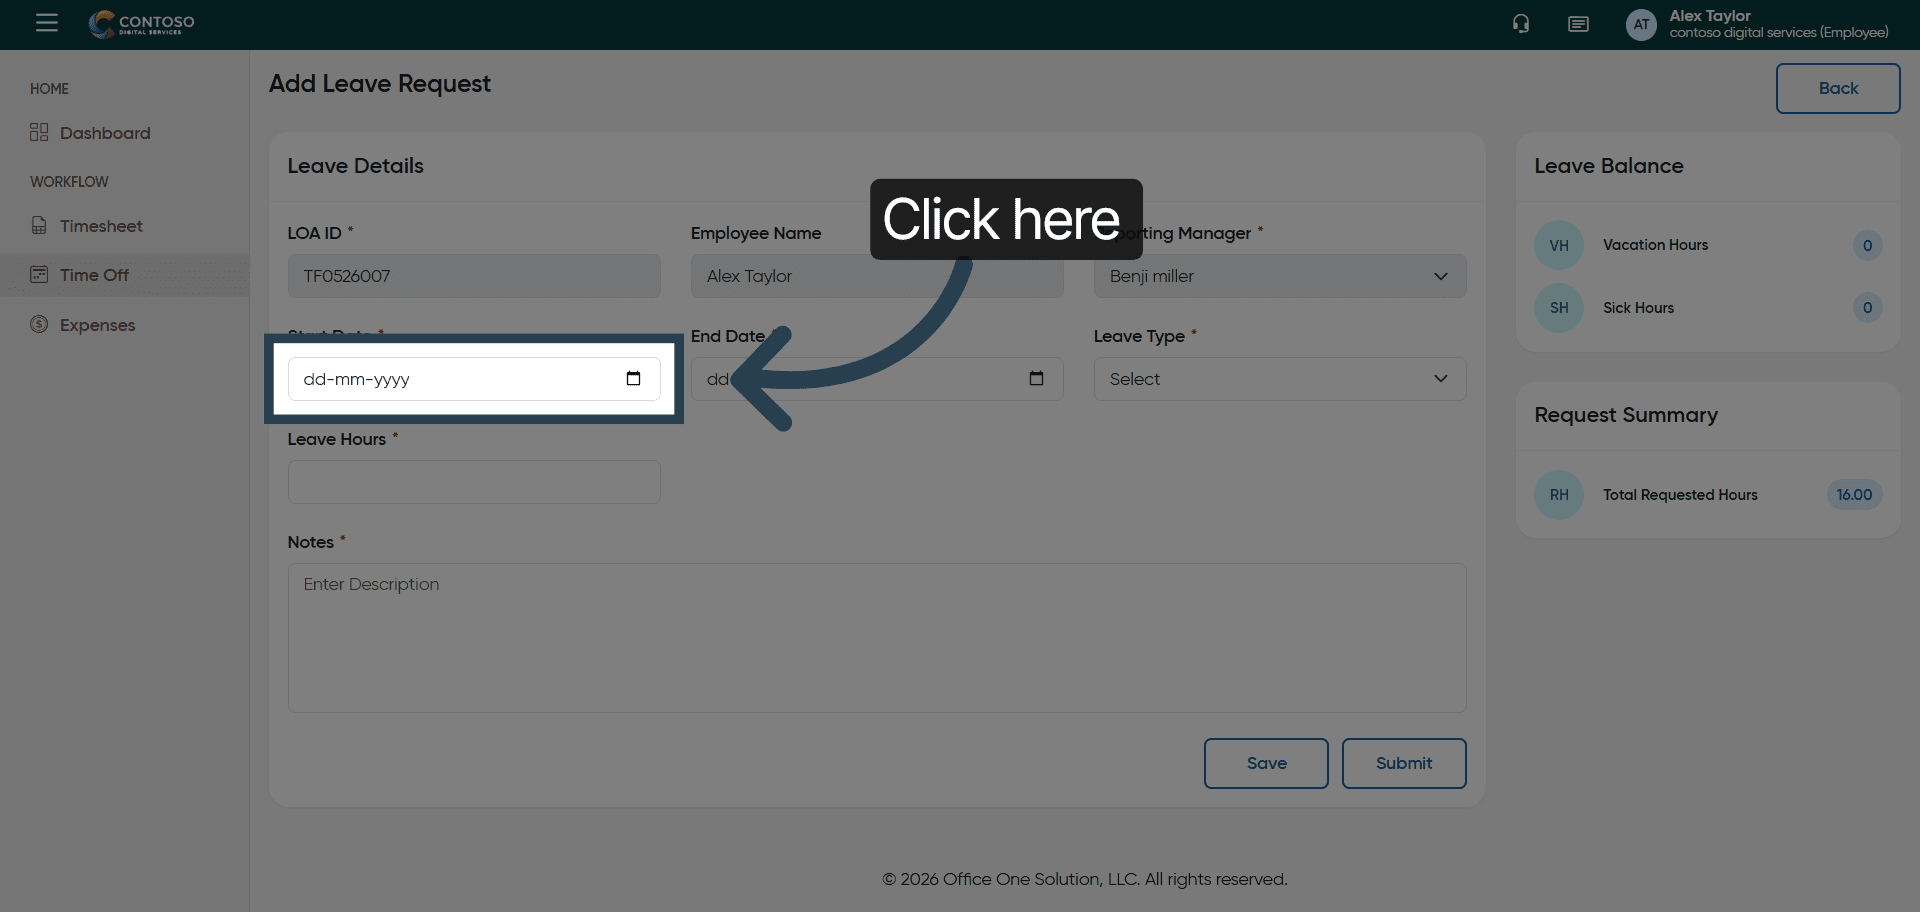
25. Enter New Leave Start Date

26. Open Leave Type Dropdown

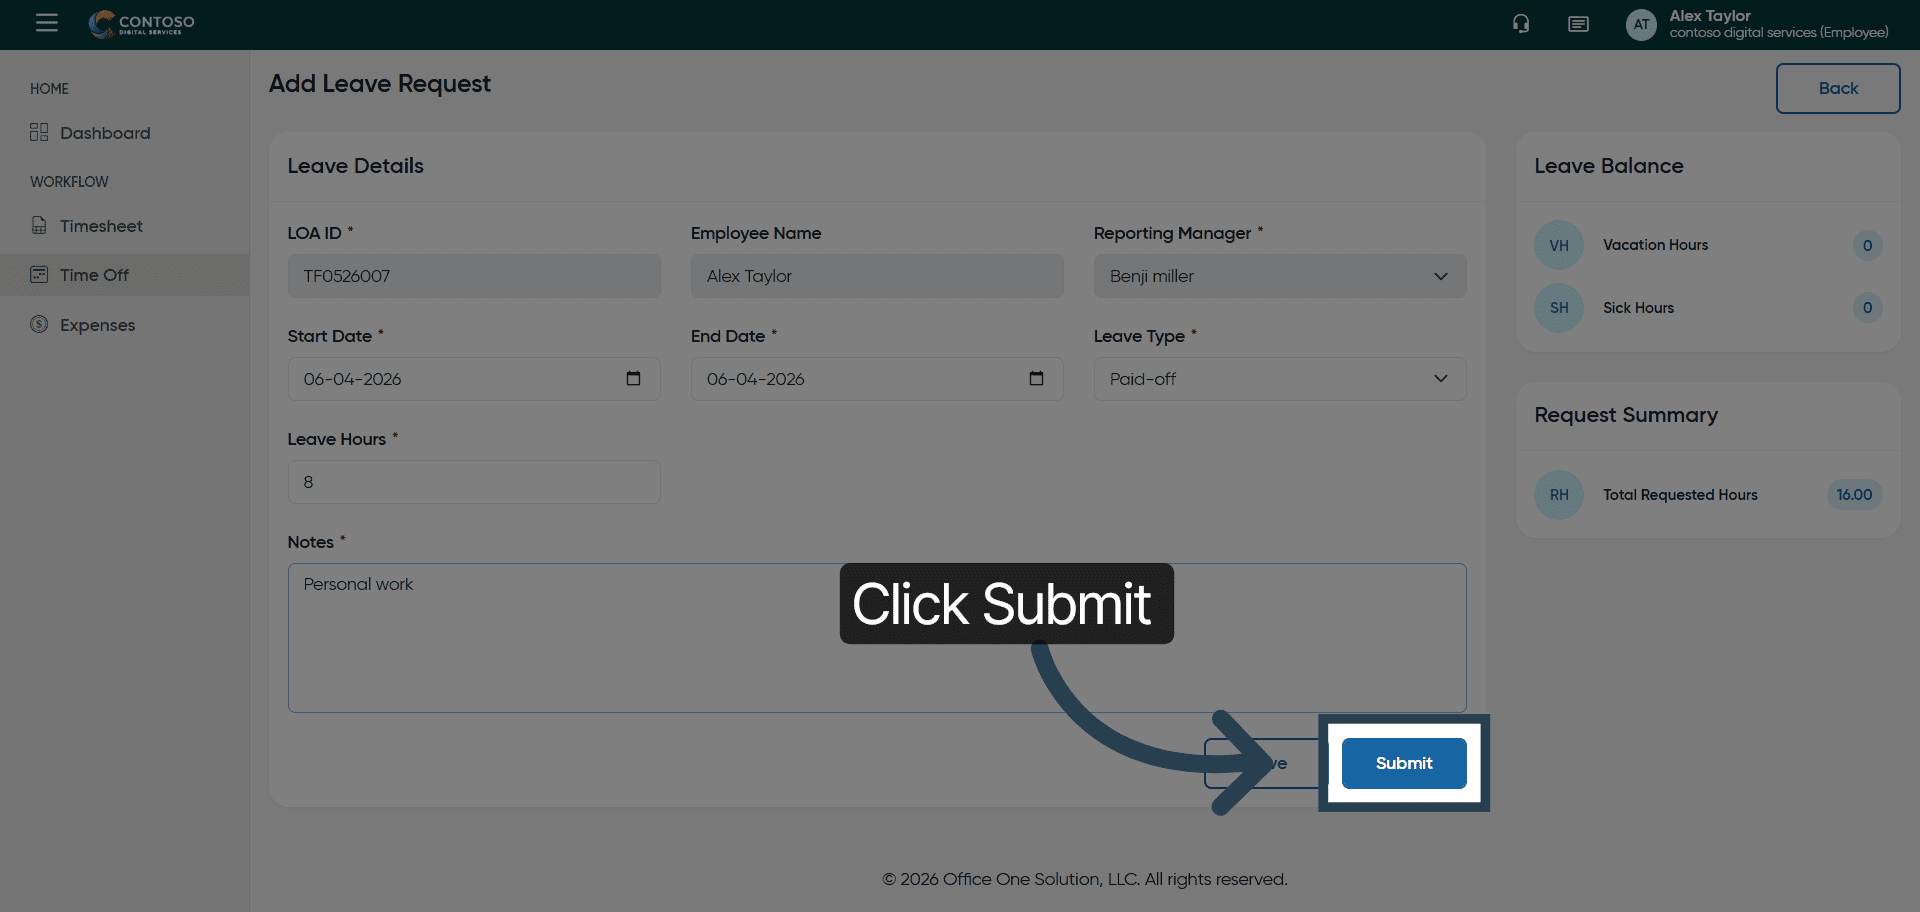
27. Submit Leave Request
Click the Submit button to finalize and send your leave request.
You have successfully managed leave requests by adding, editing, and deleting entries in OfficeOne Solution.