
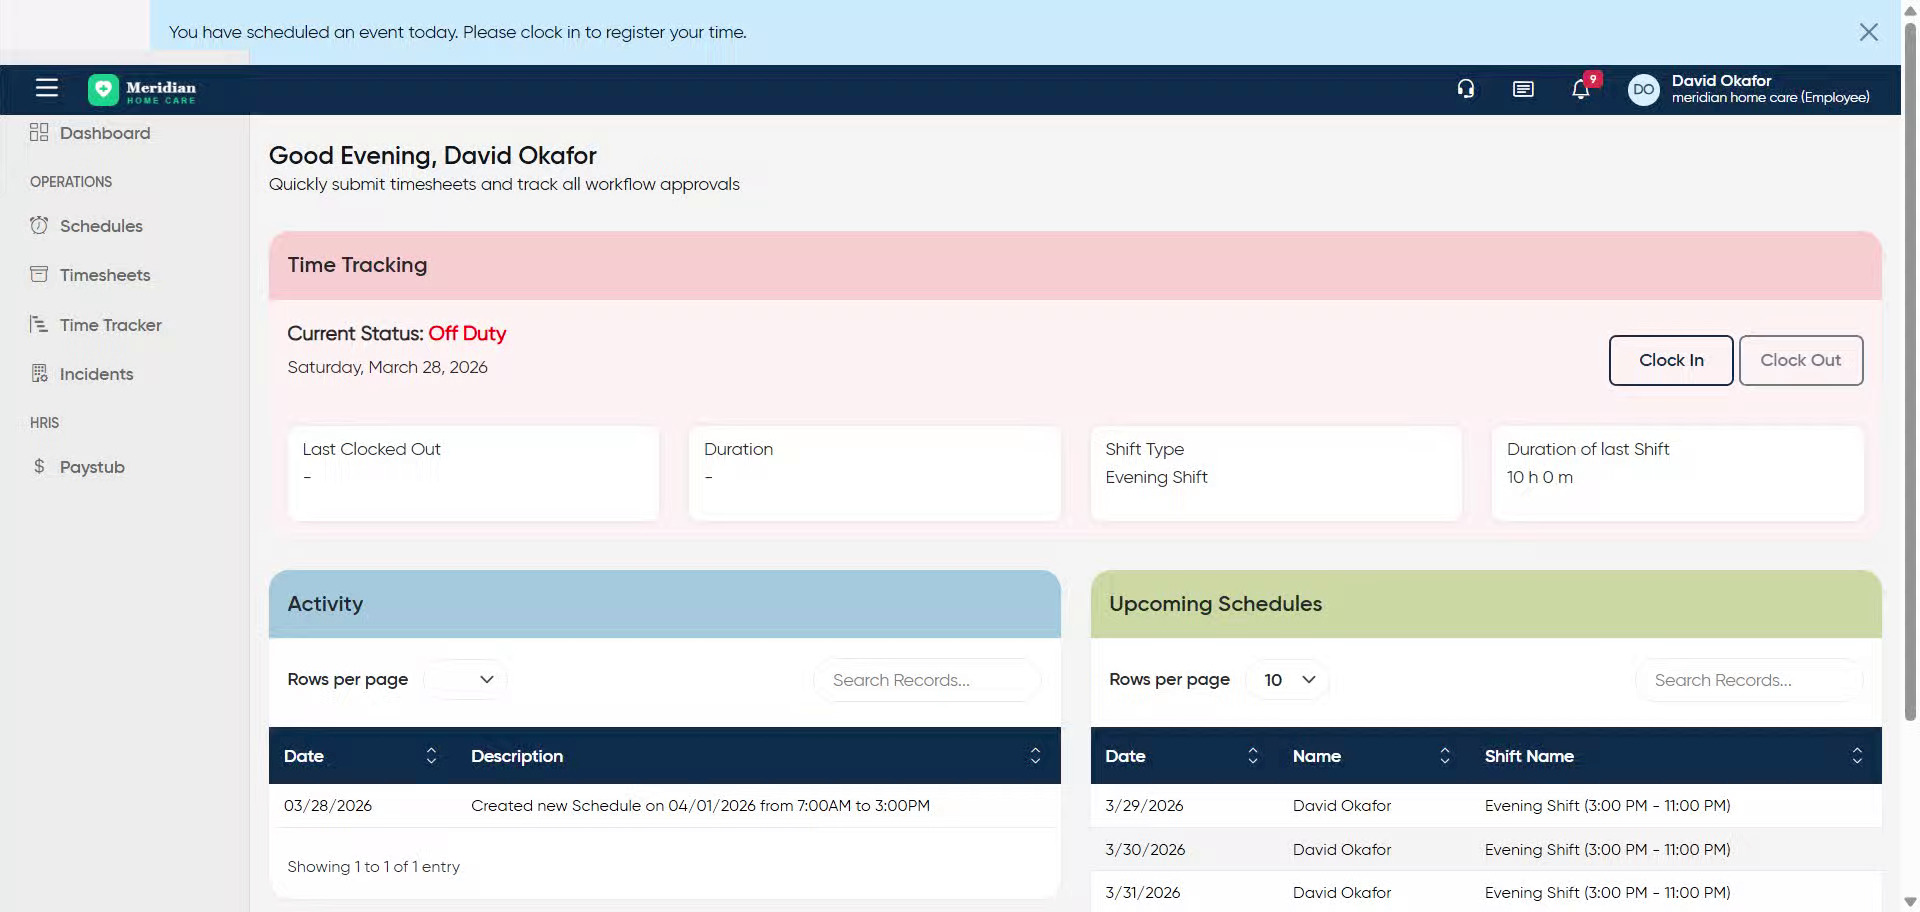
Time Tracking Overview
This training will equip you with the skills to accurately track your work hours and manage incidents using Office1solution.
Go to app.office1solution.com
1. Introduction
You will learn how to clock in and out, record incidents, and handle scheduling effectively.
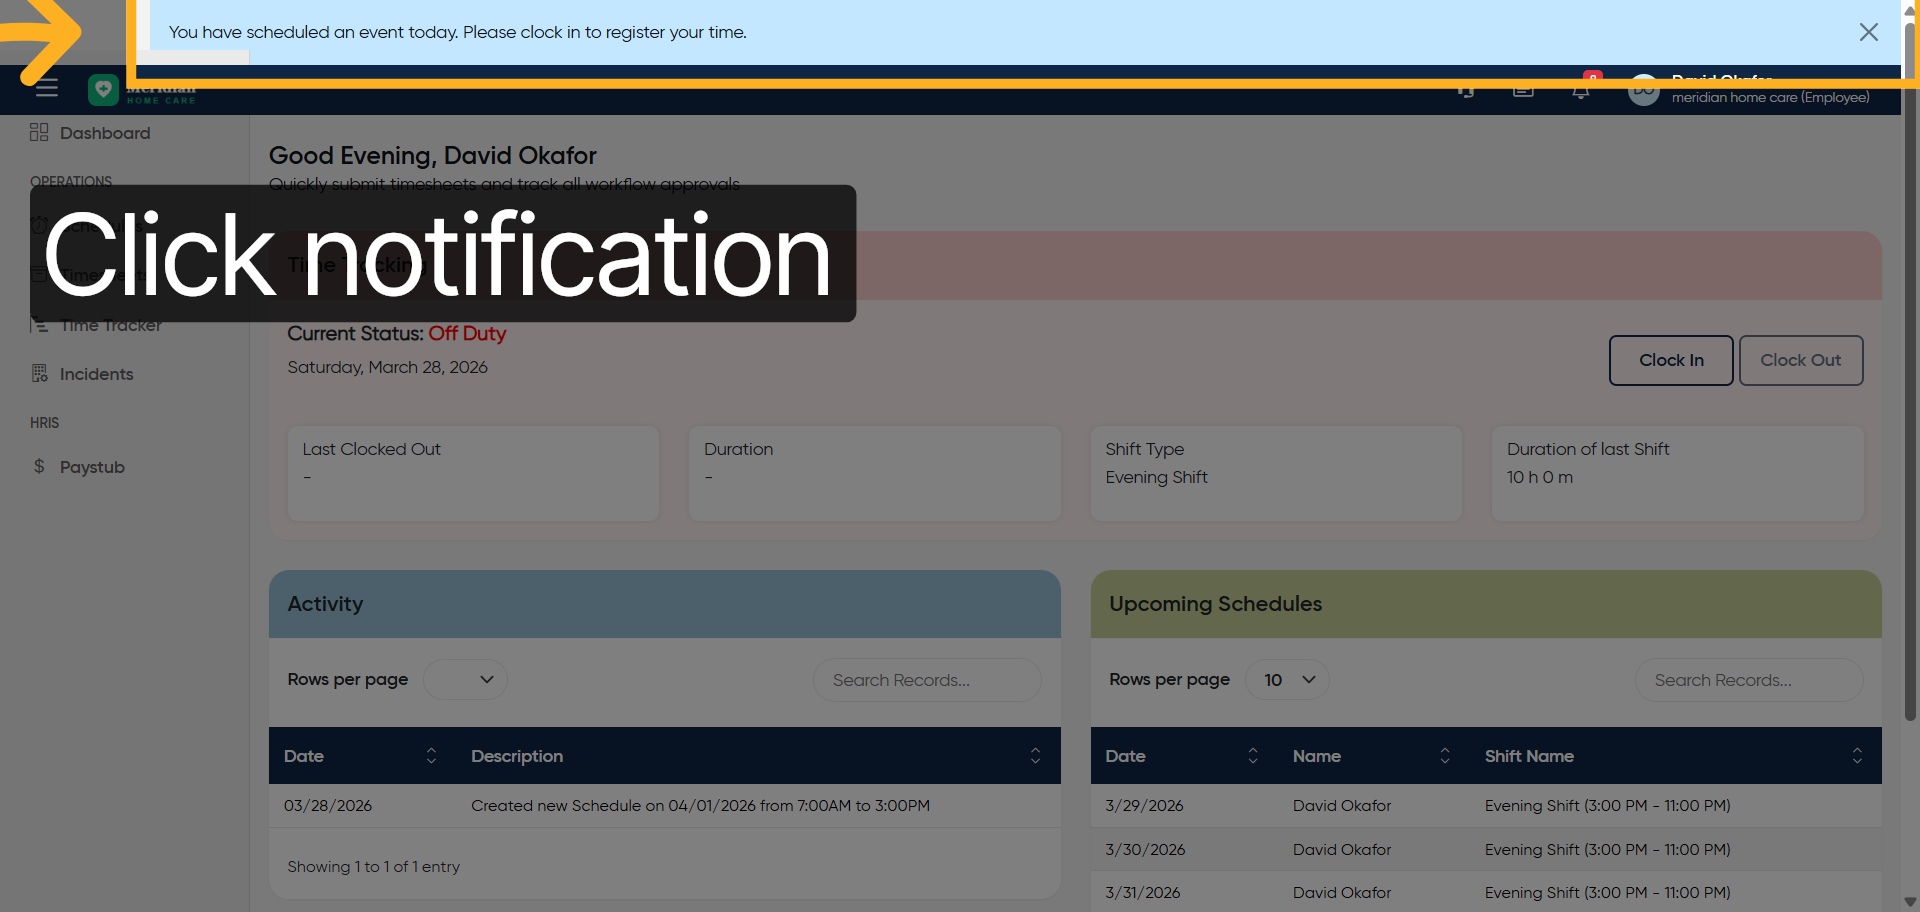
2. Acknowledge Scheduled Event
Click “You have scheduled an event today. Please clock in to register your time.”
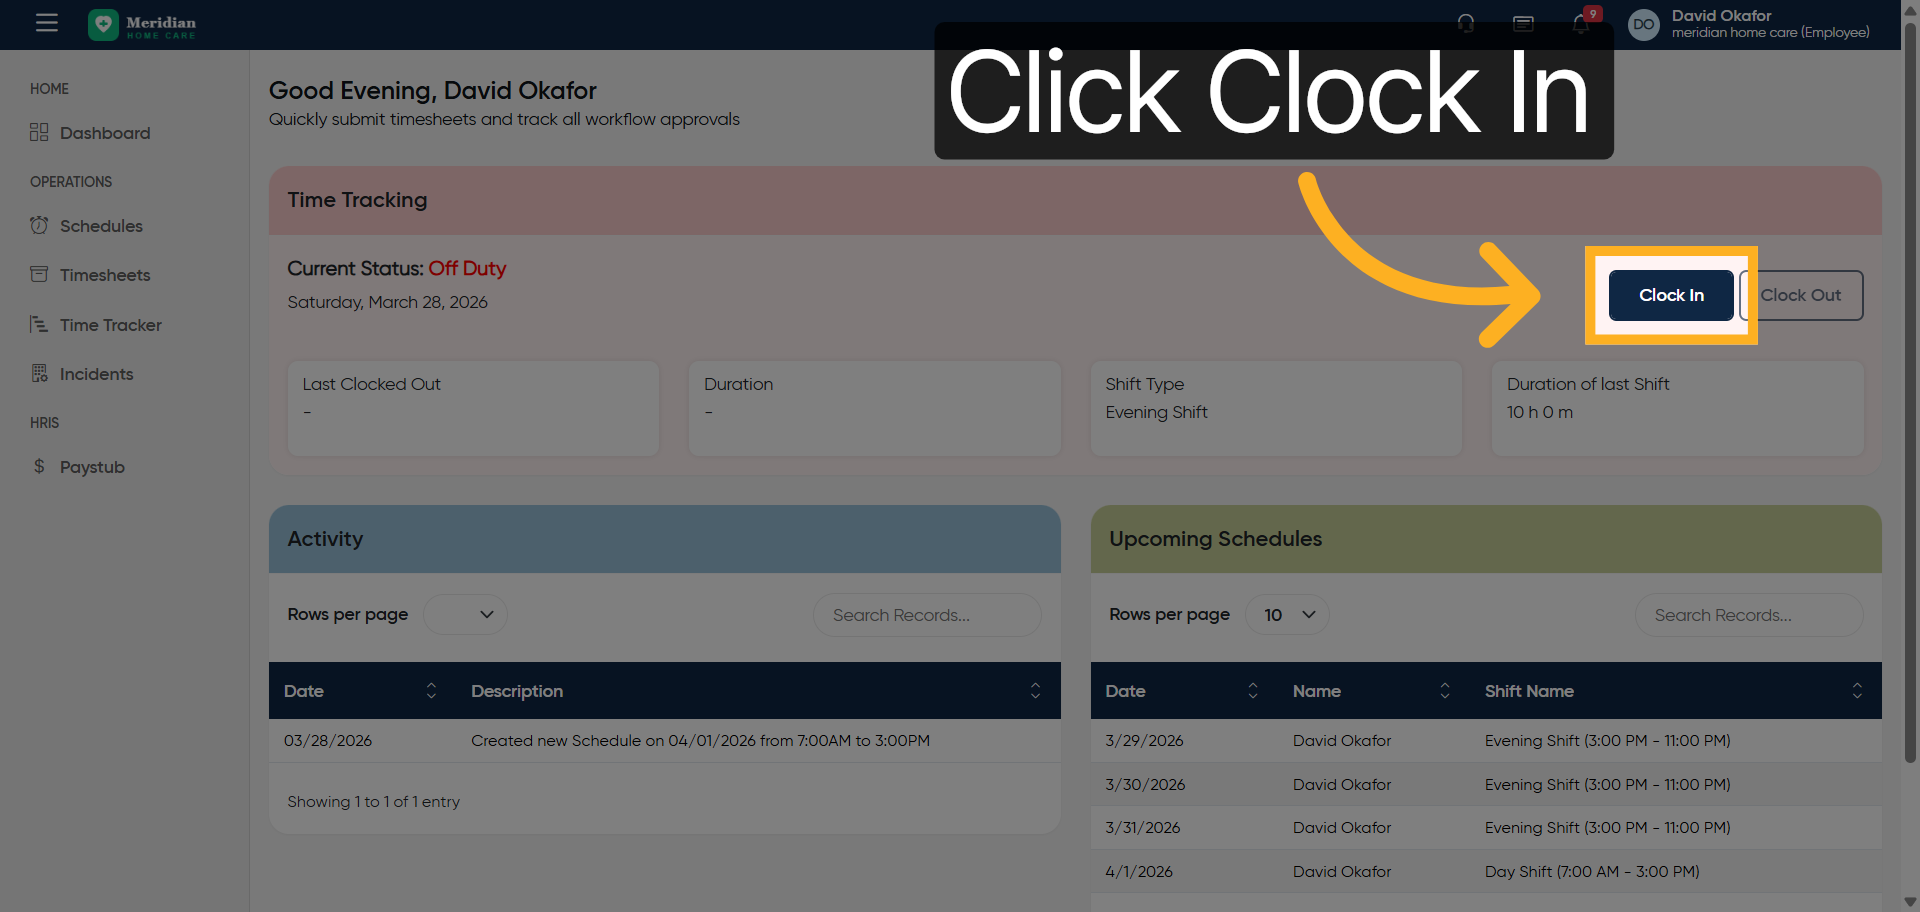
3. Initiate Clock In Process
Click “Clock In”
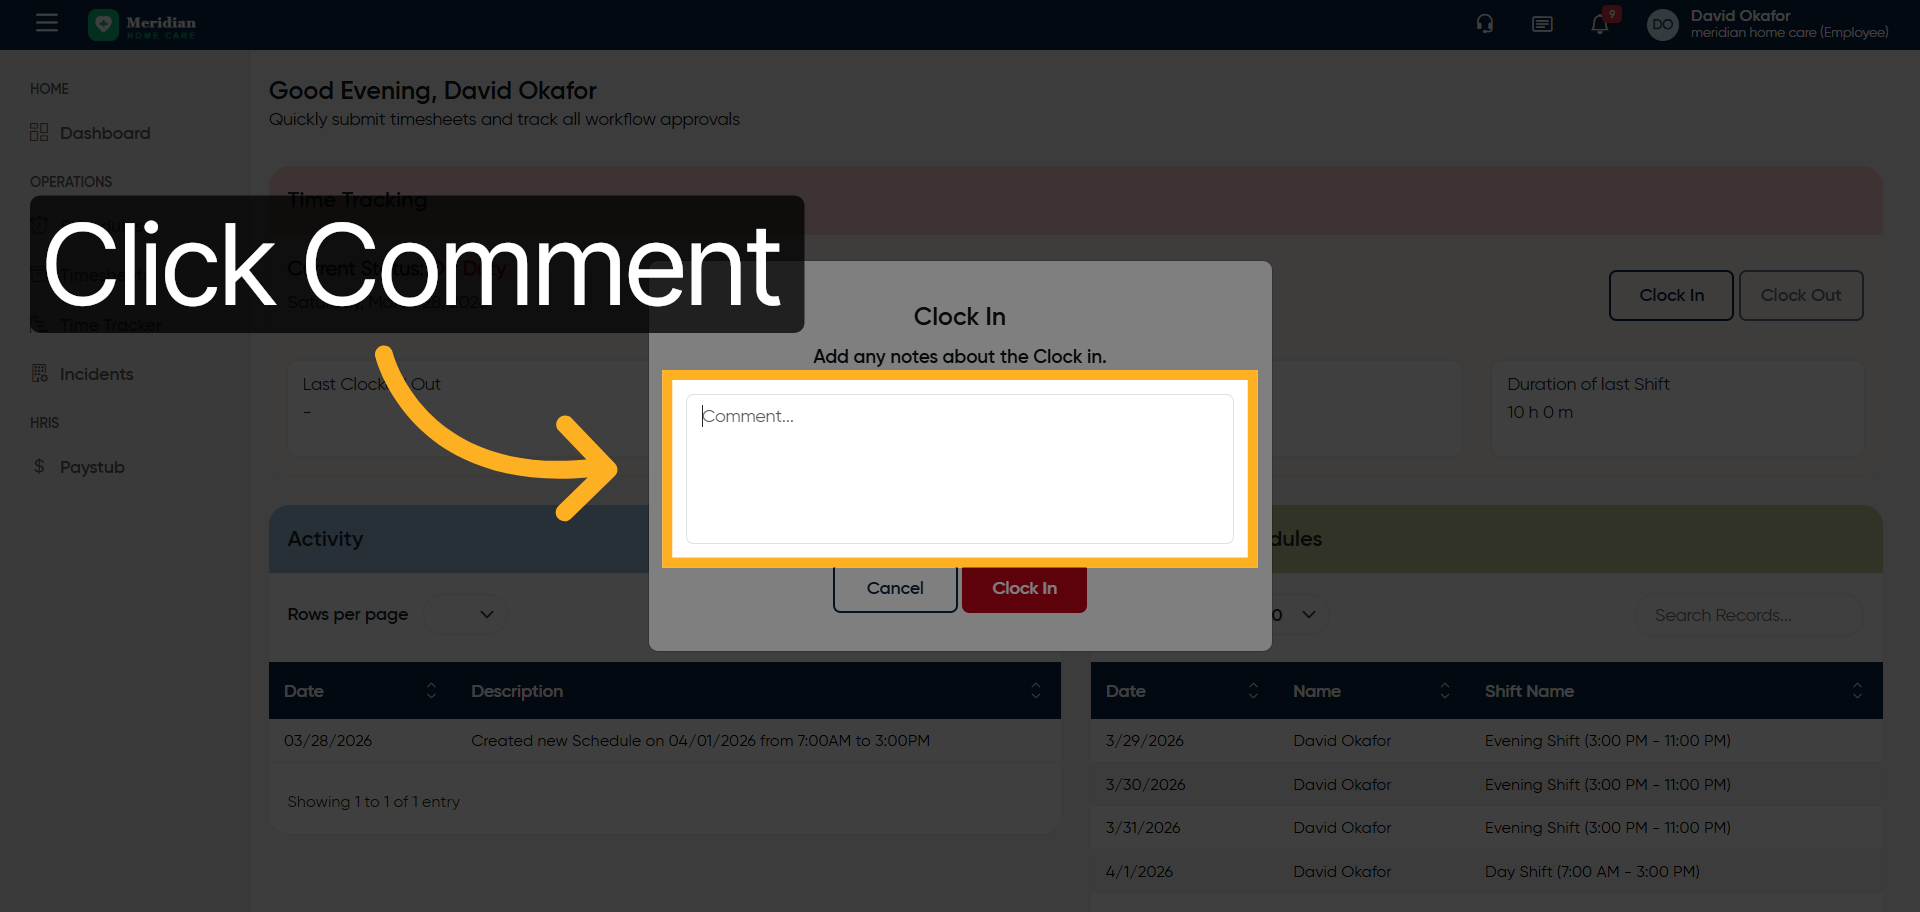
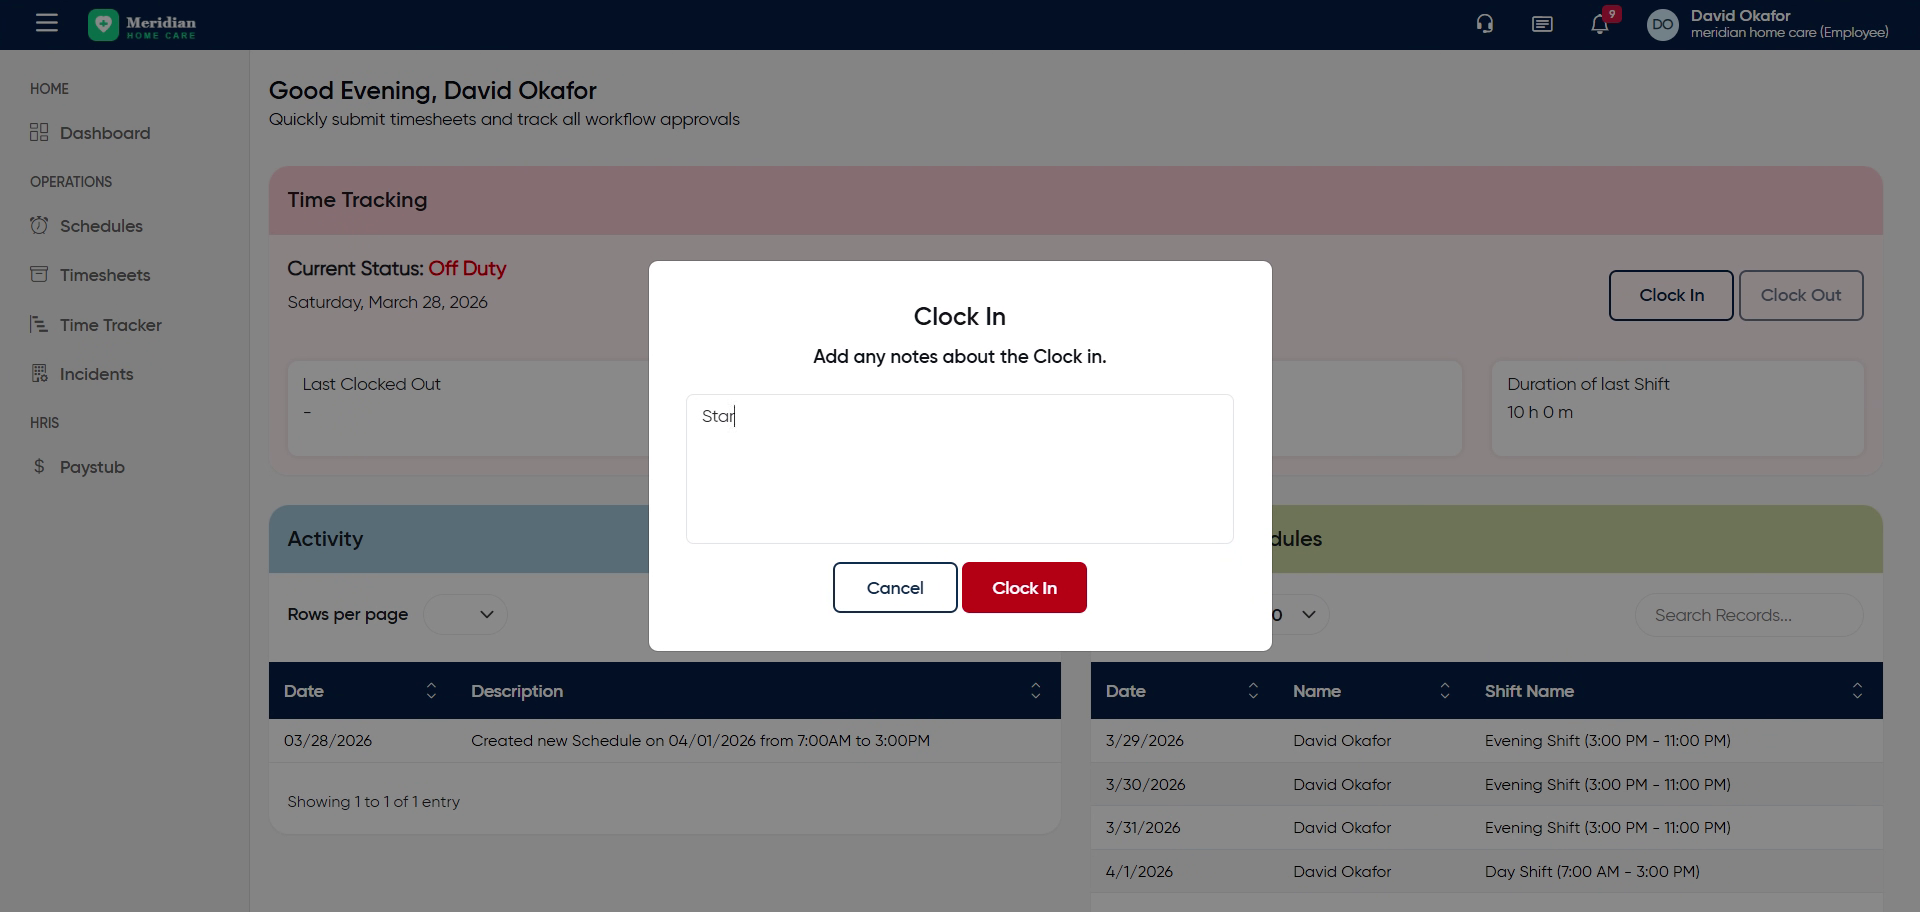
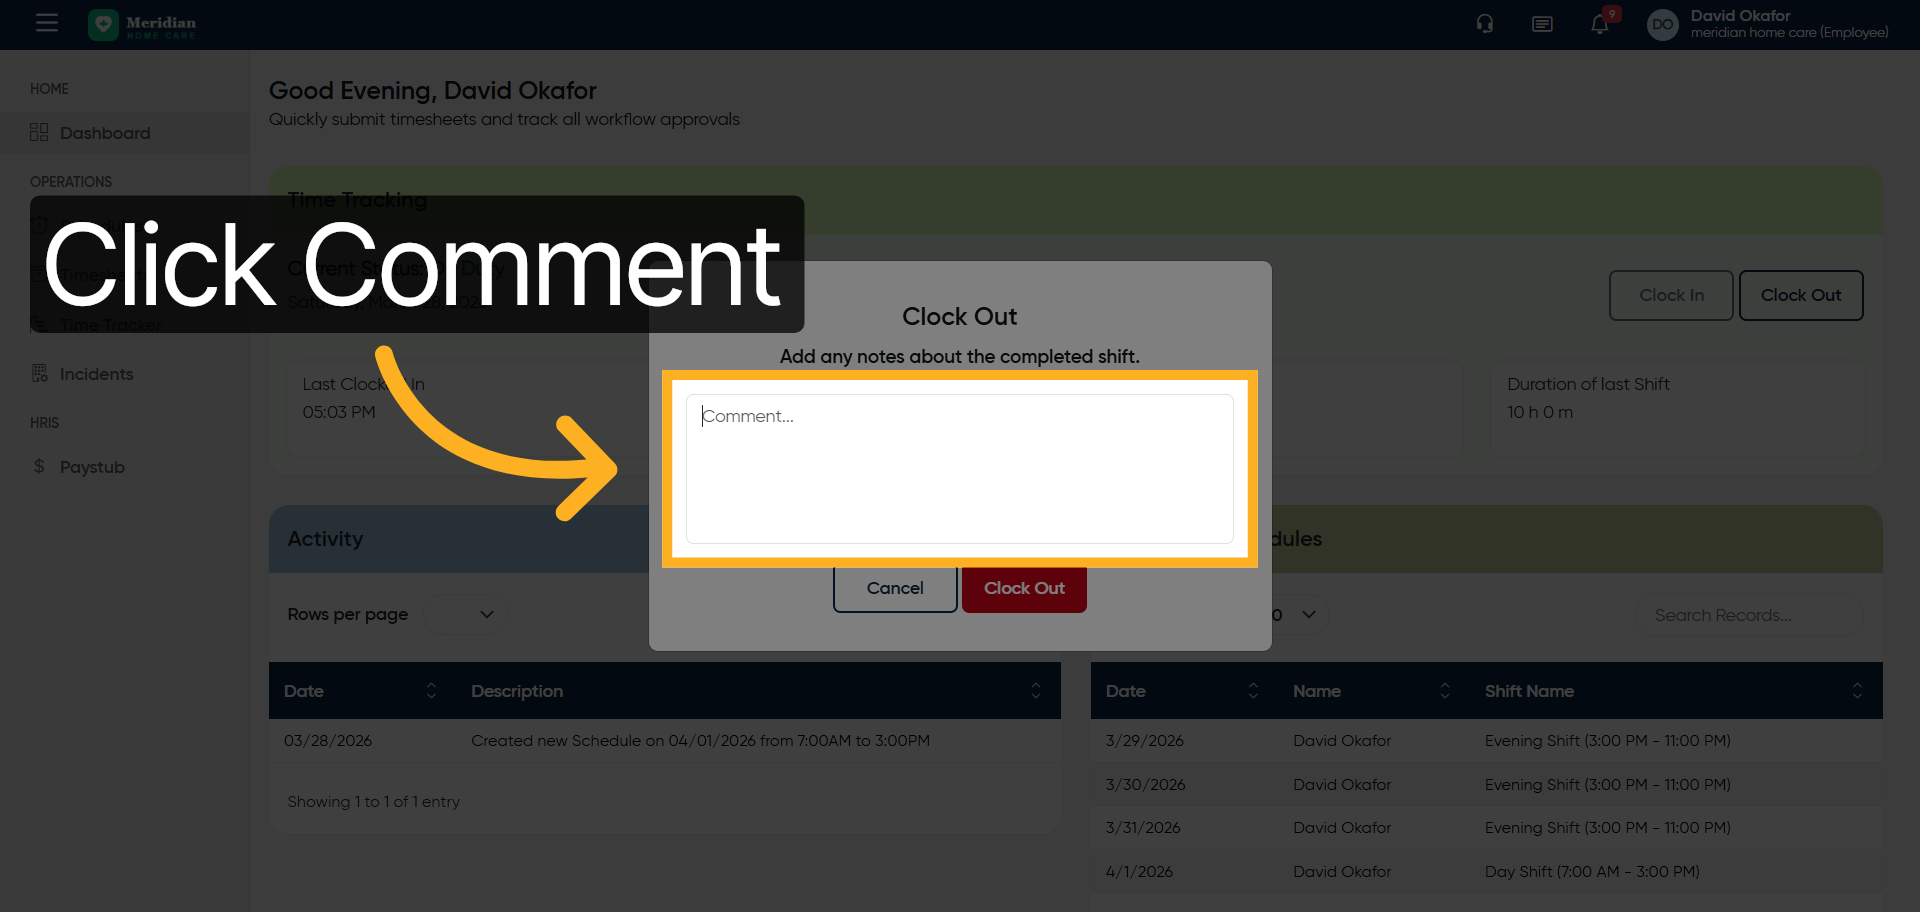
4. Open Comment Field
Click “Comment…”
5. Enter Clock In Comment
Enter your clock in comment by filling “Clocked in.”
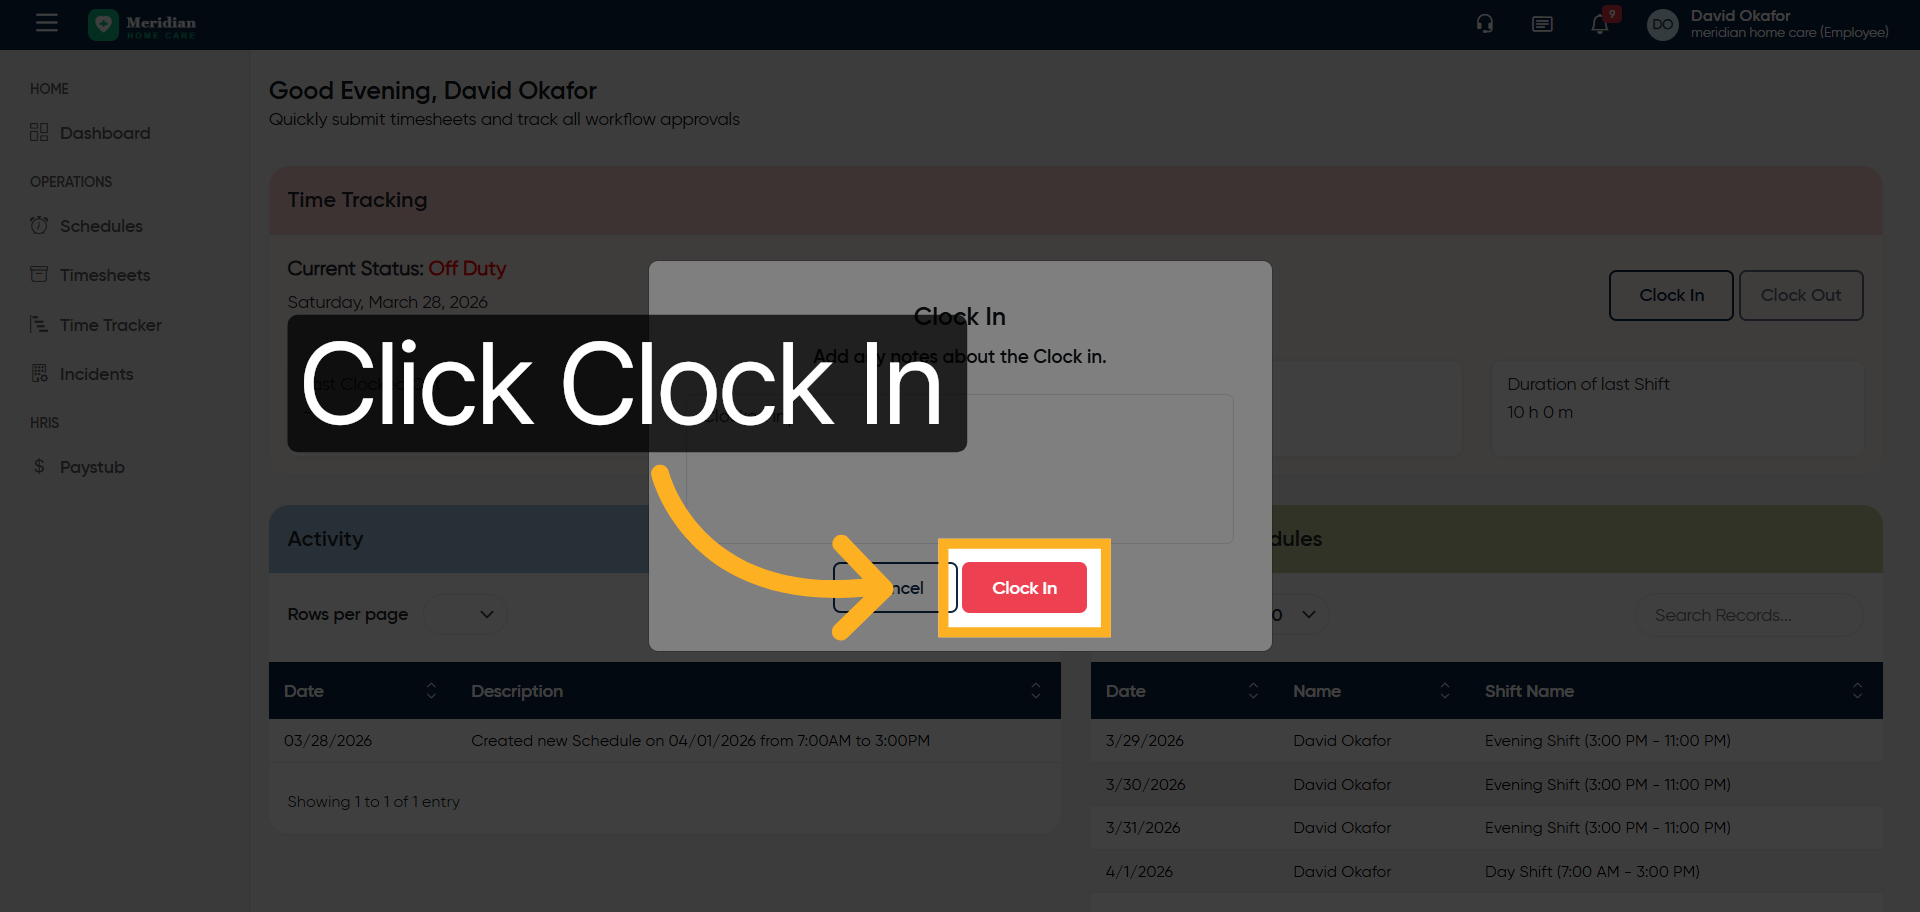
6. Confirm Clock In
Click “Clock In”
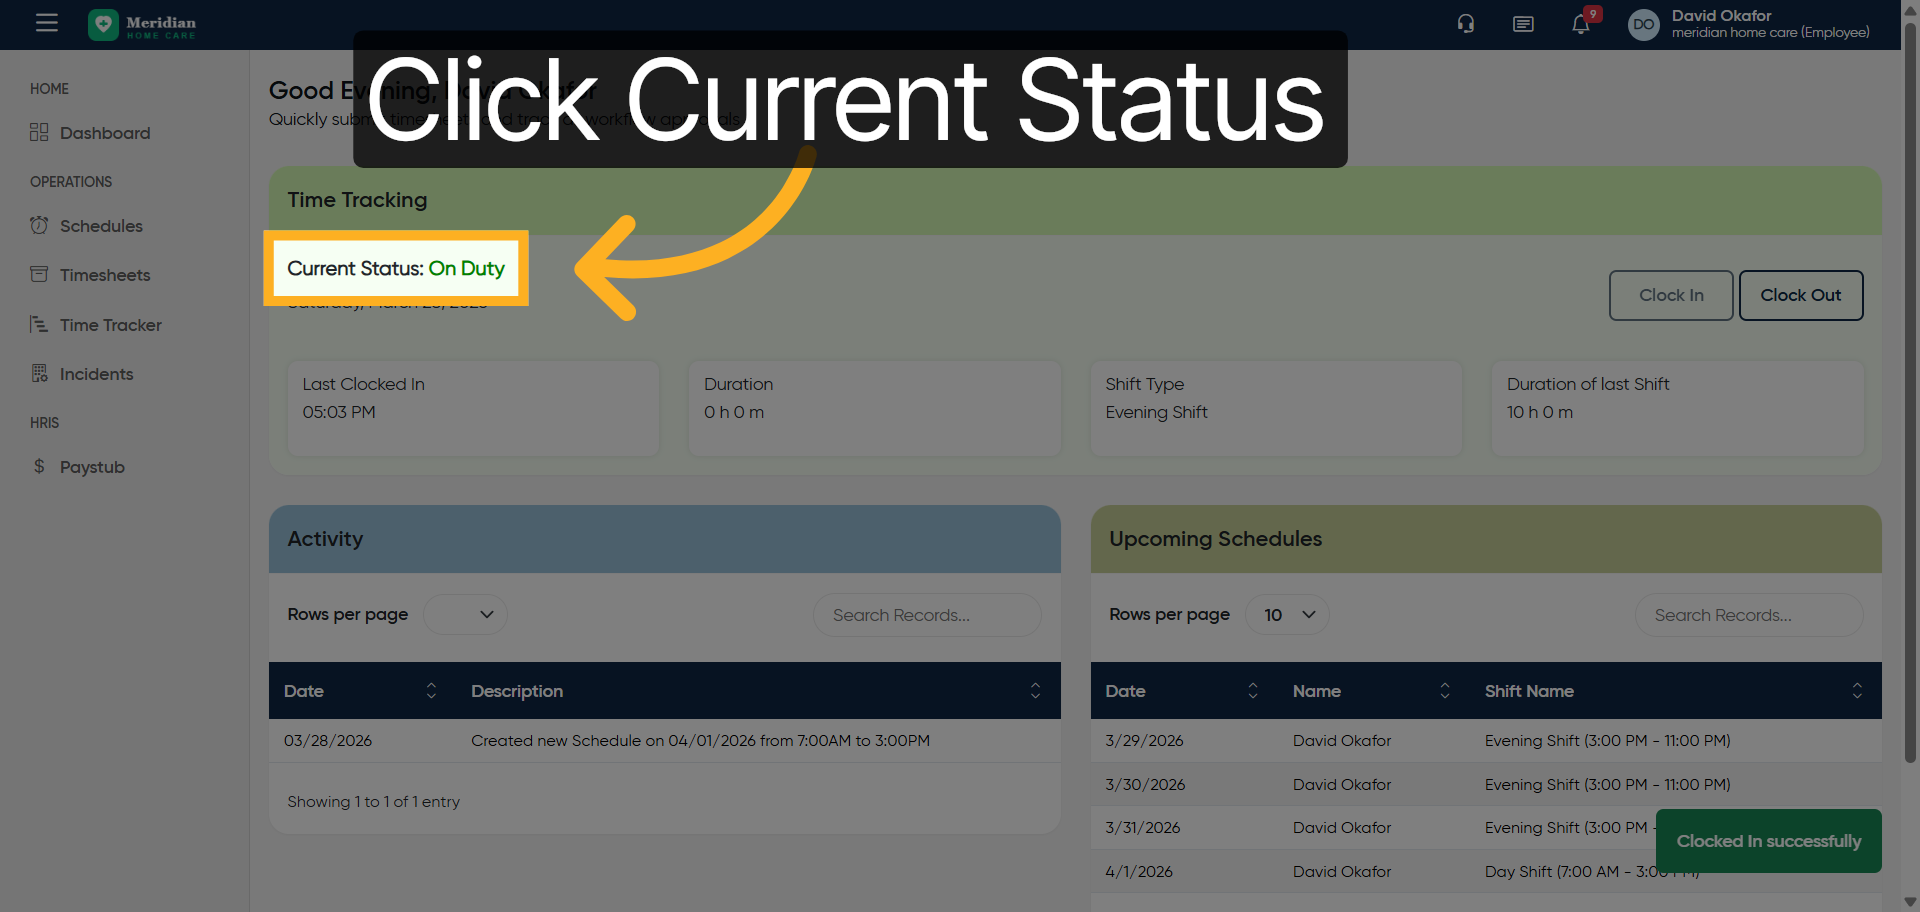
7. Verify On Duty Status
Click “Current Status: On Duty”
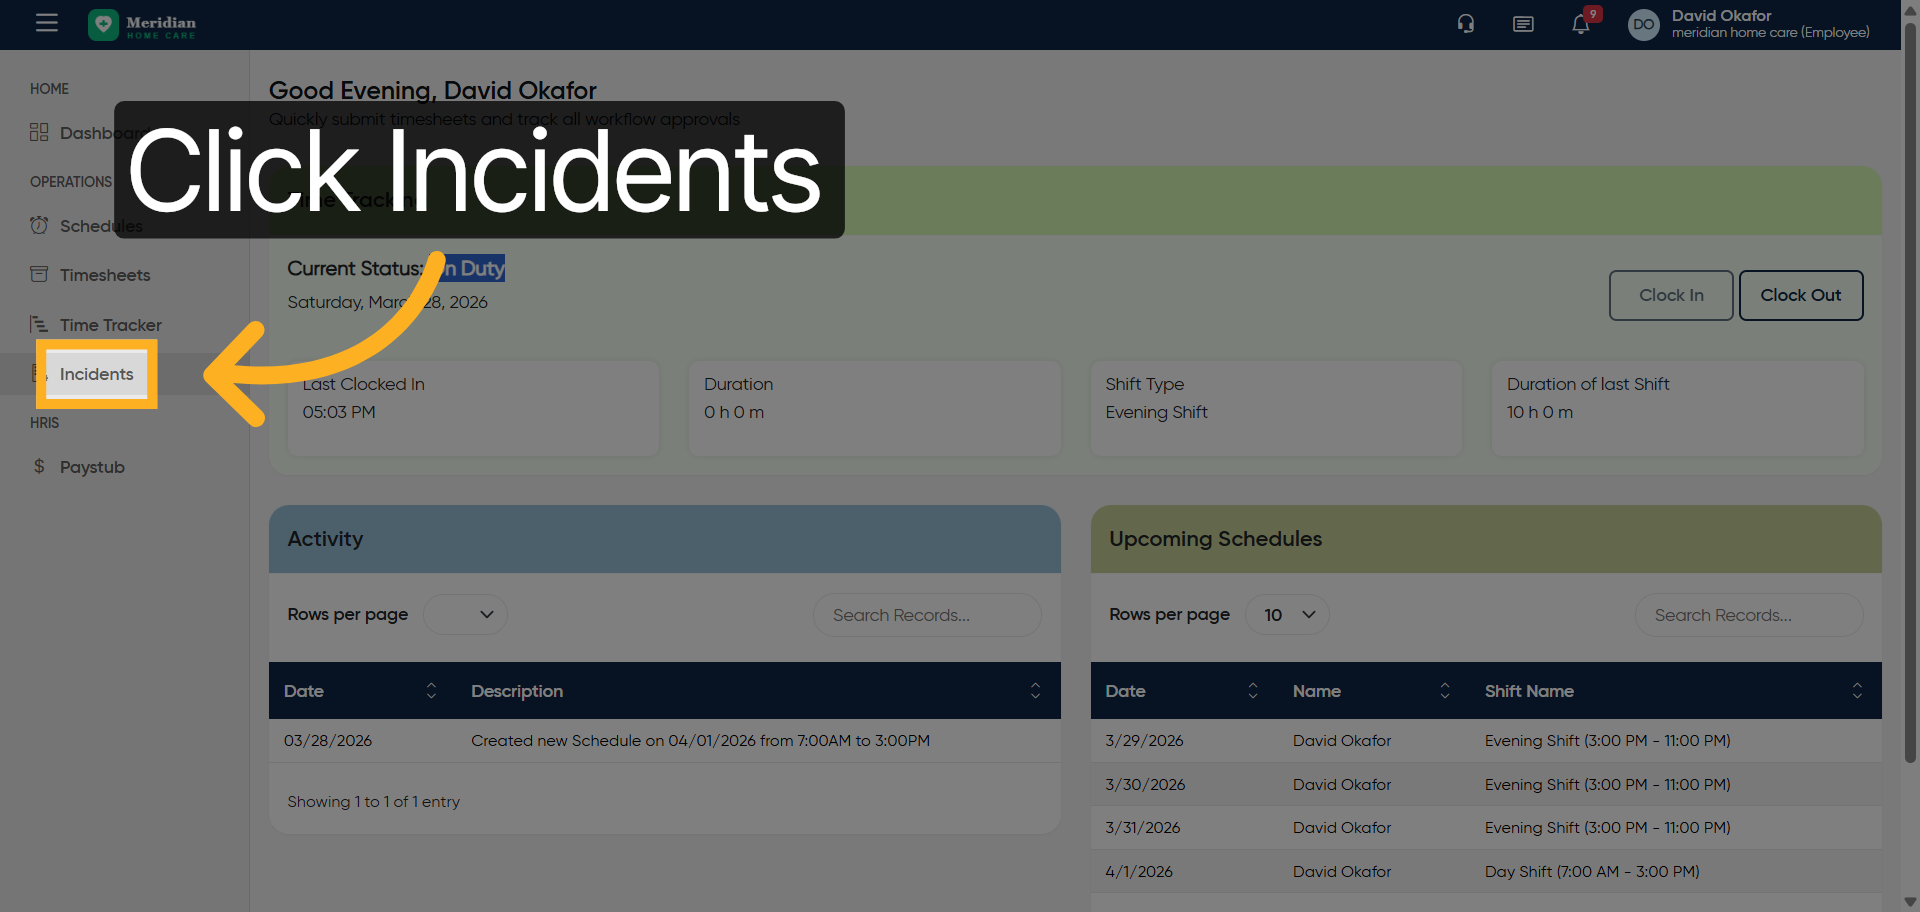
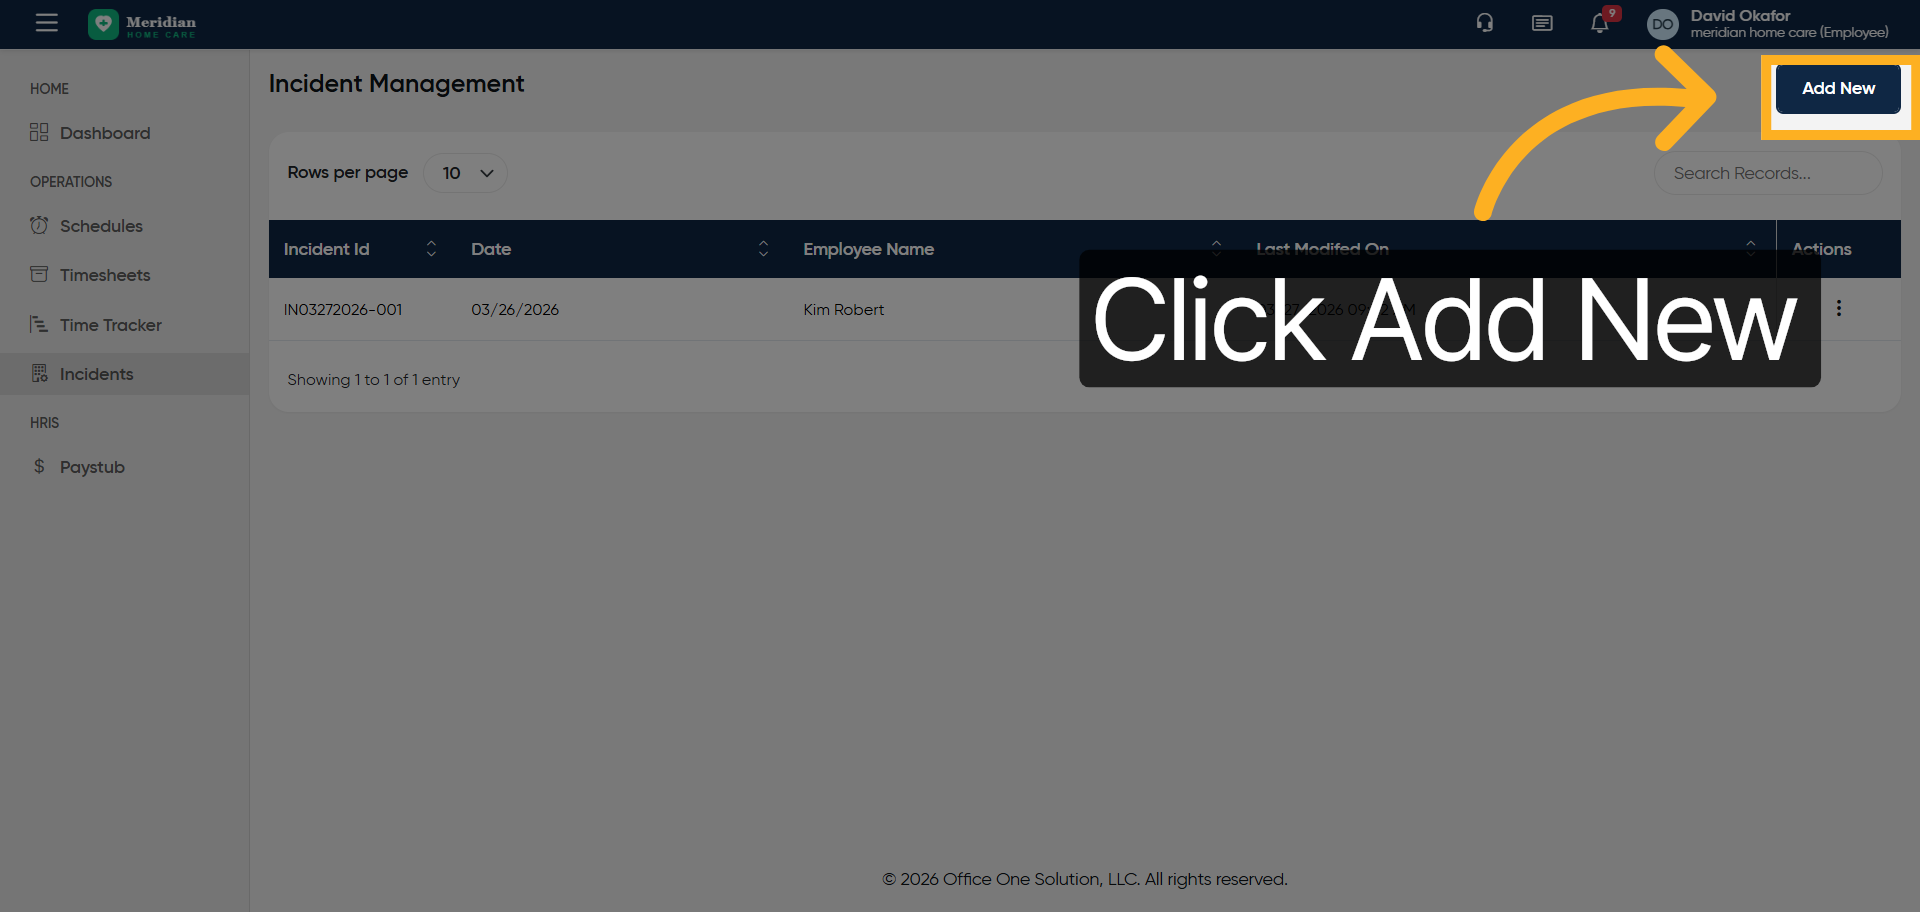
8. Access Incident Section
Click “Incidents”
9. Add New Incident
Click “Add New”
10. Open Incident Date Field
Click “Enter Incident Date”

11. Reopen Incident Date Field
Click “Enter Incident Date”
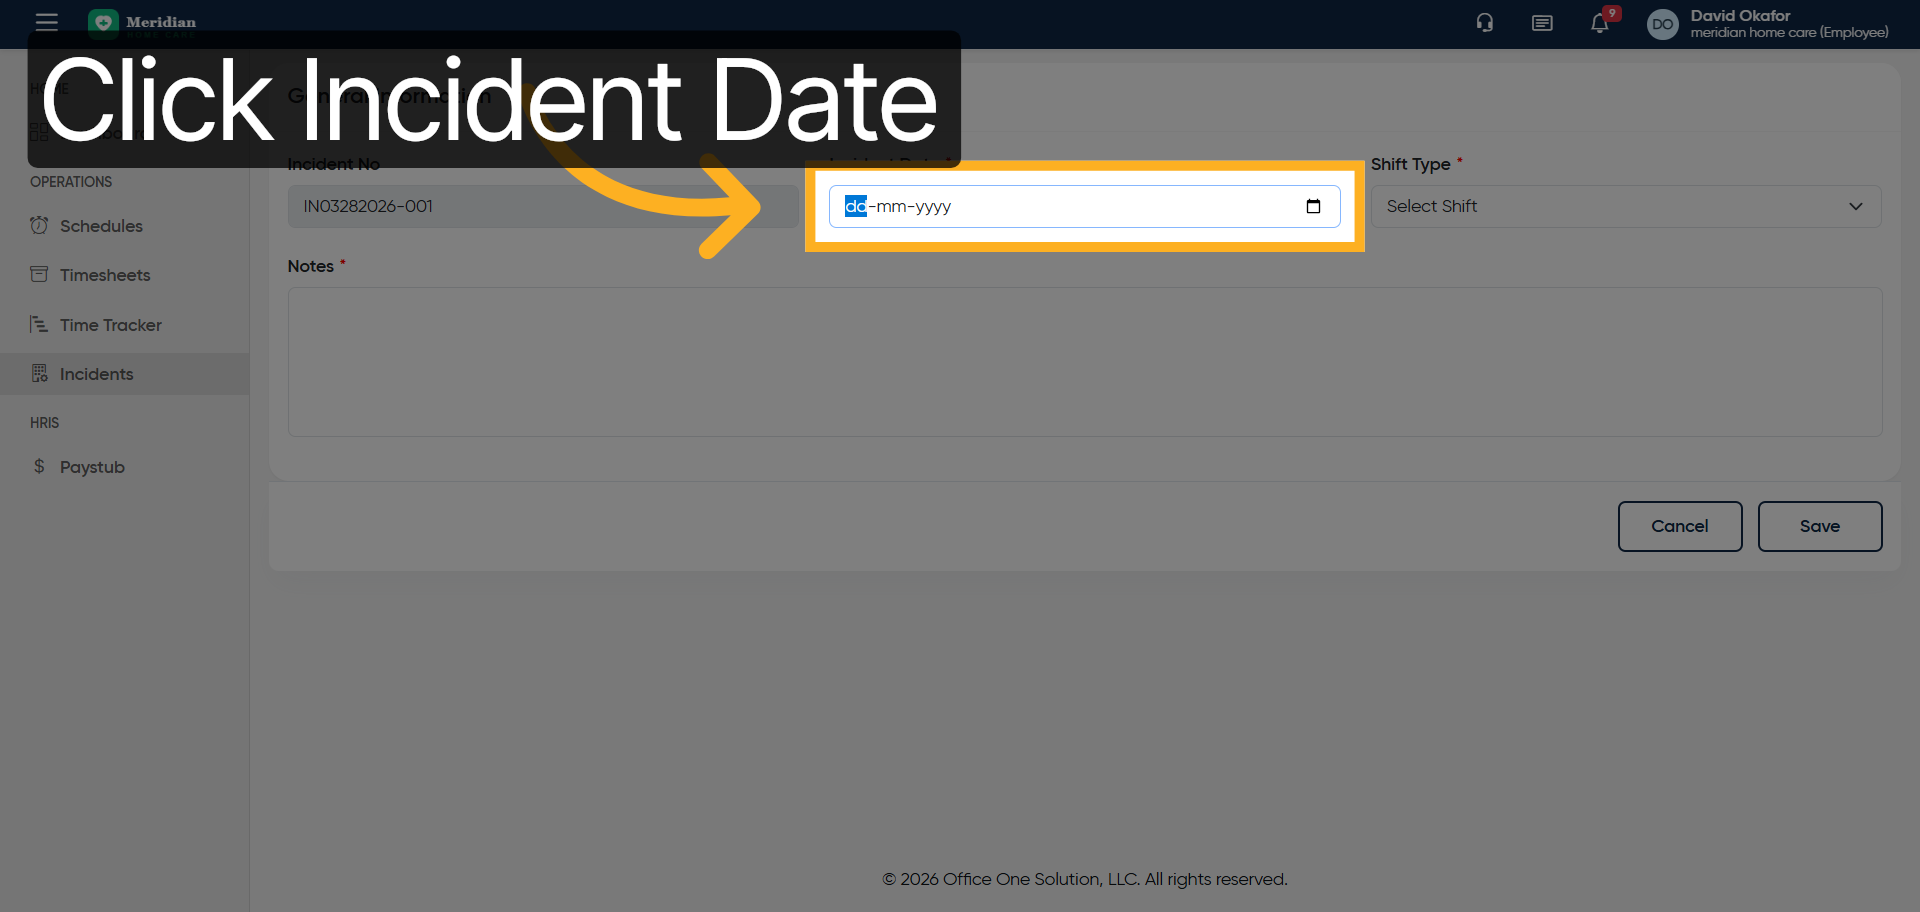
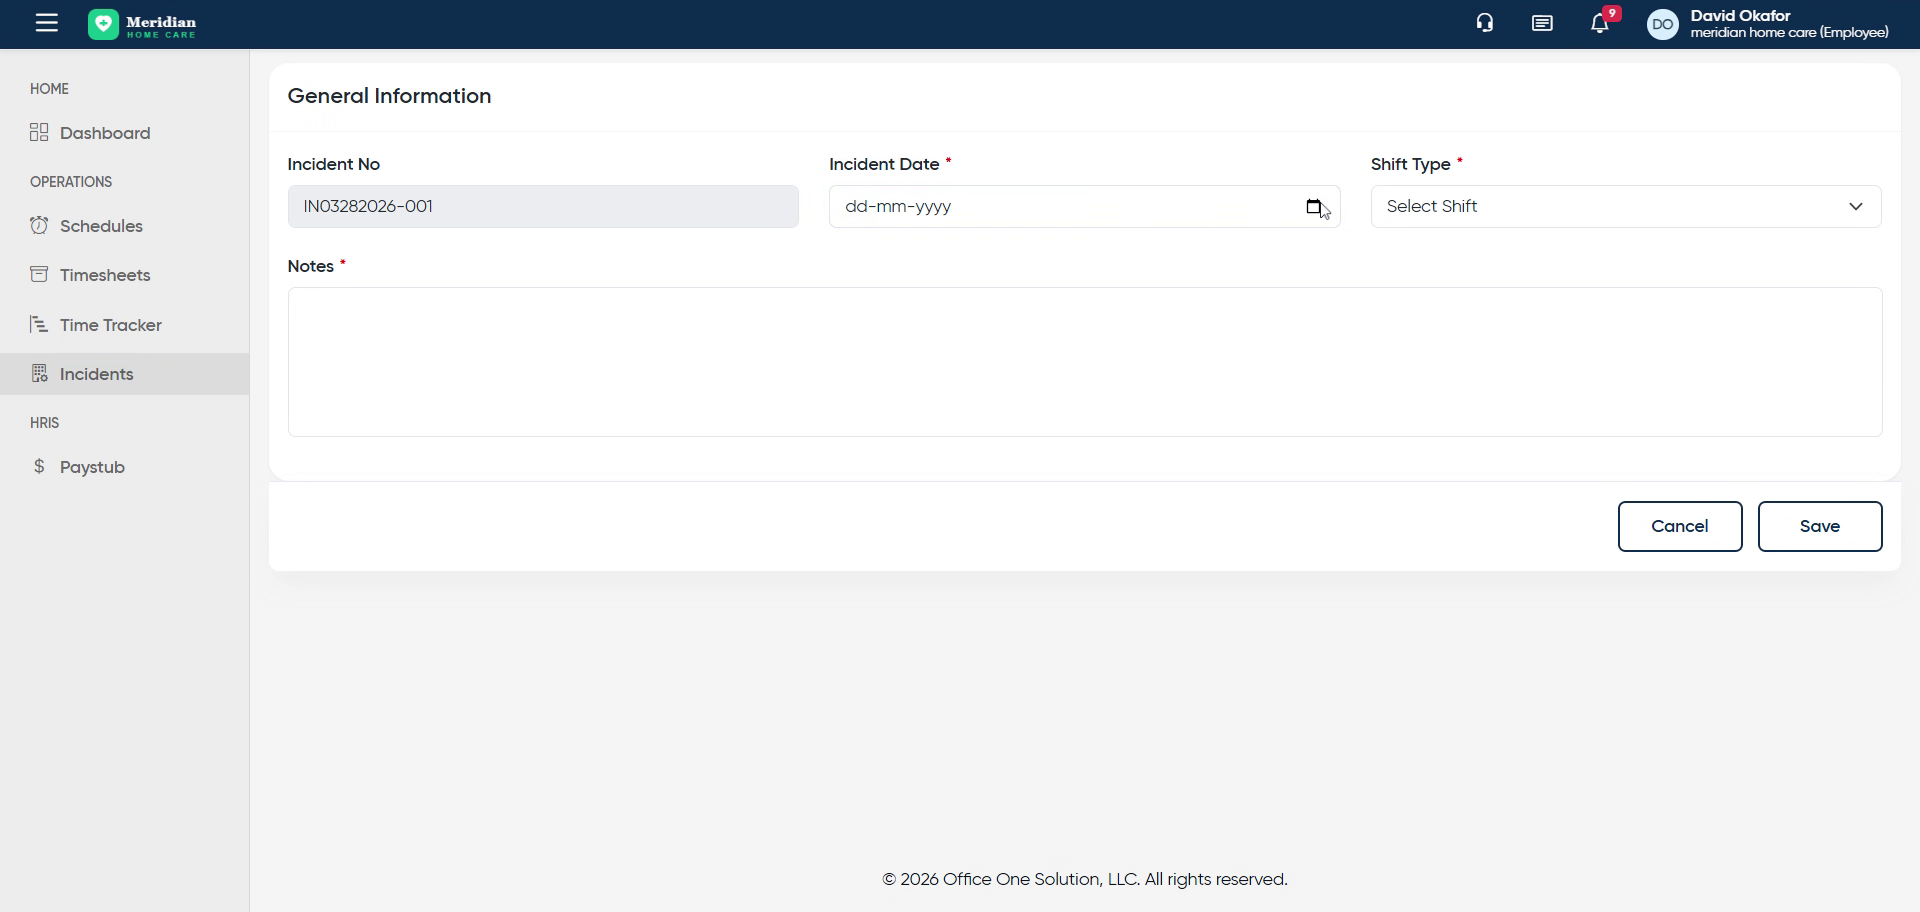
12. Specify Incident Date
Enter the incident date by filling “2026-03-28”
13. Select Incident Shift
Click “Select Shift Evening Shift Night Shift Day Shift”
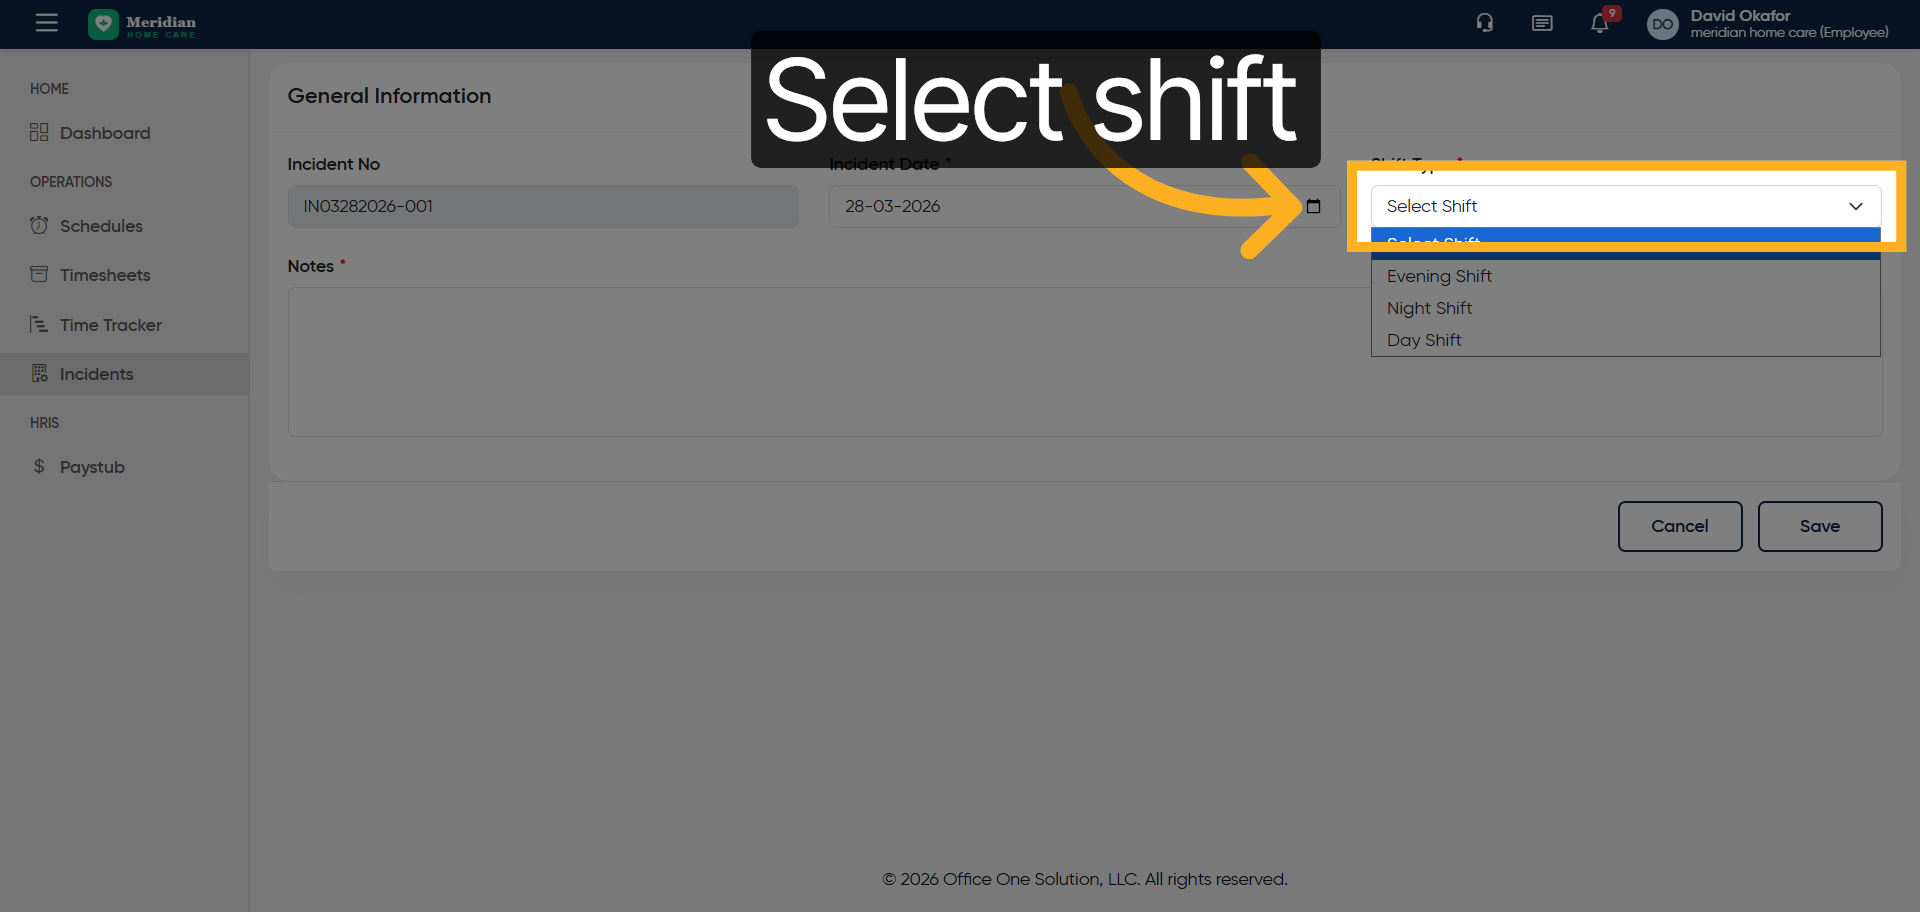
14. Fill Shift Selection
Fill “Select Shift Evening Shift Night Shift Day Shift”
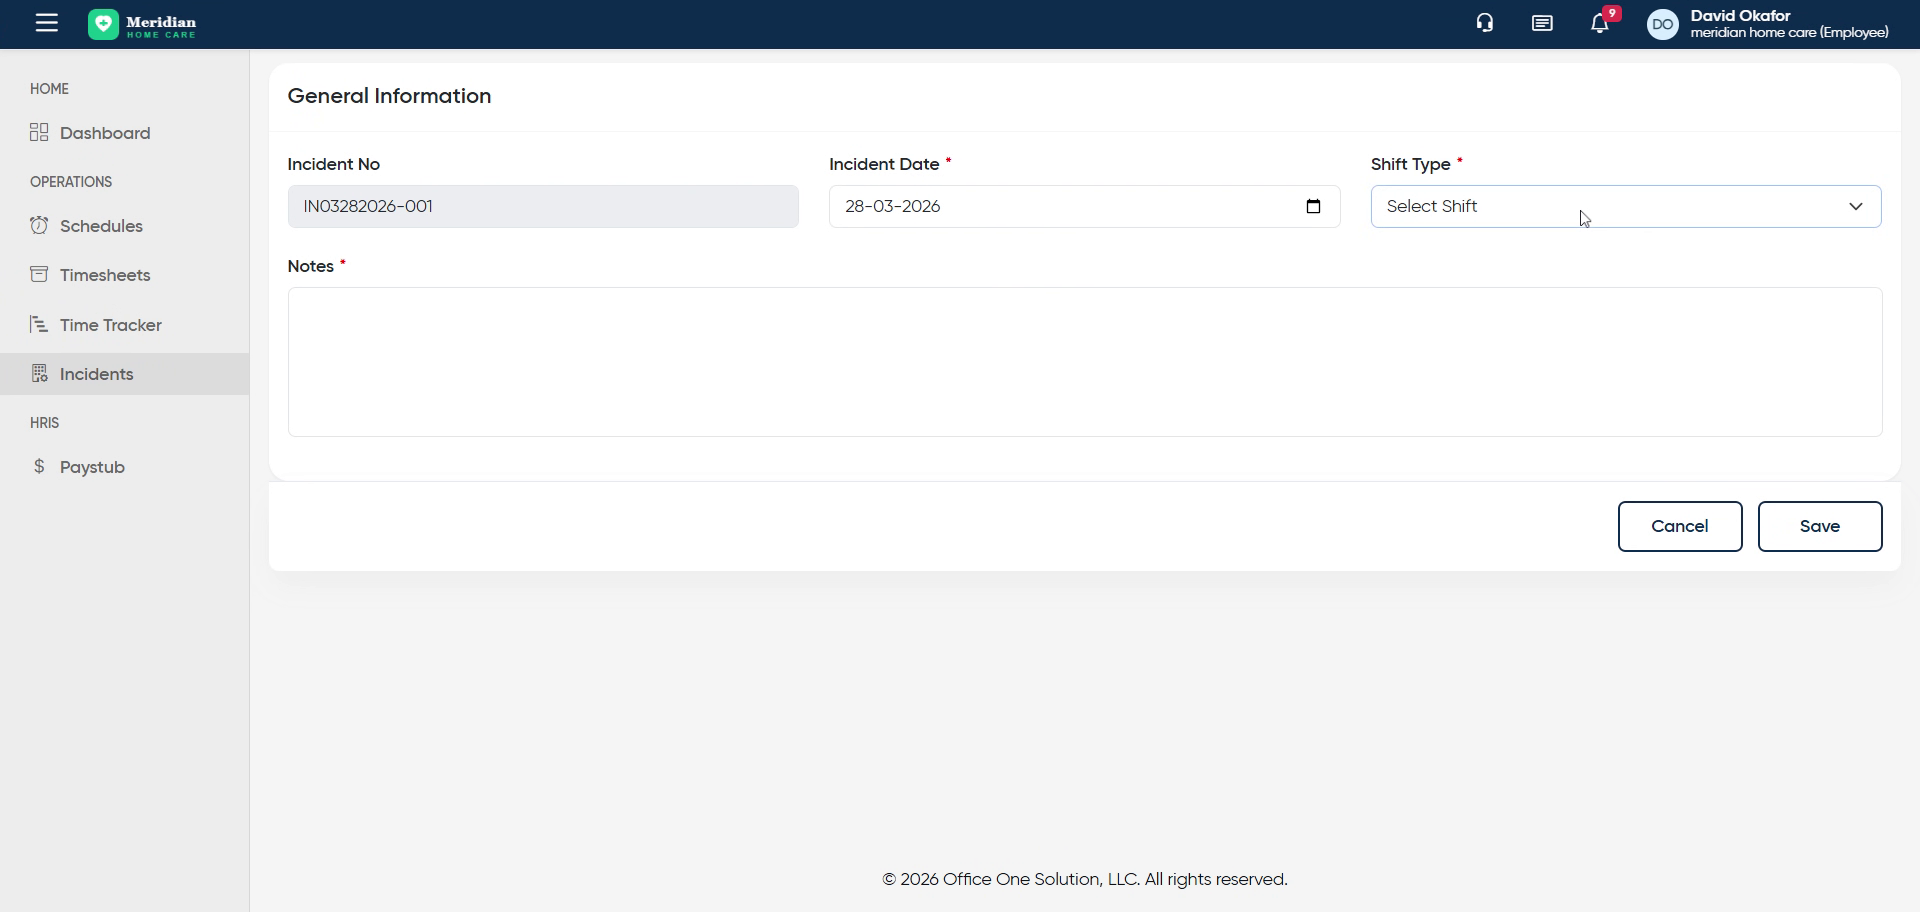
15. Access Additional Incident Options
Click here
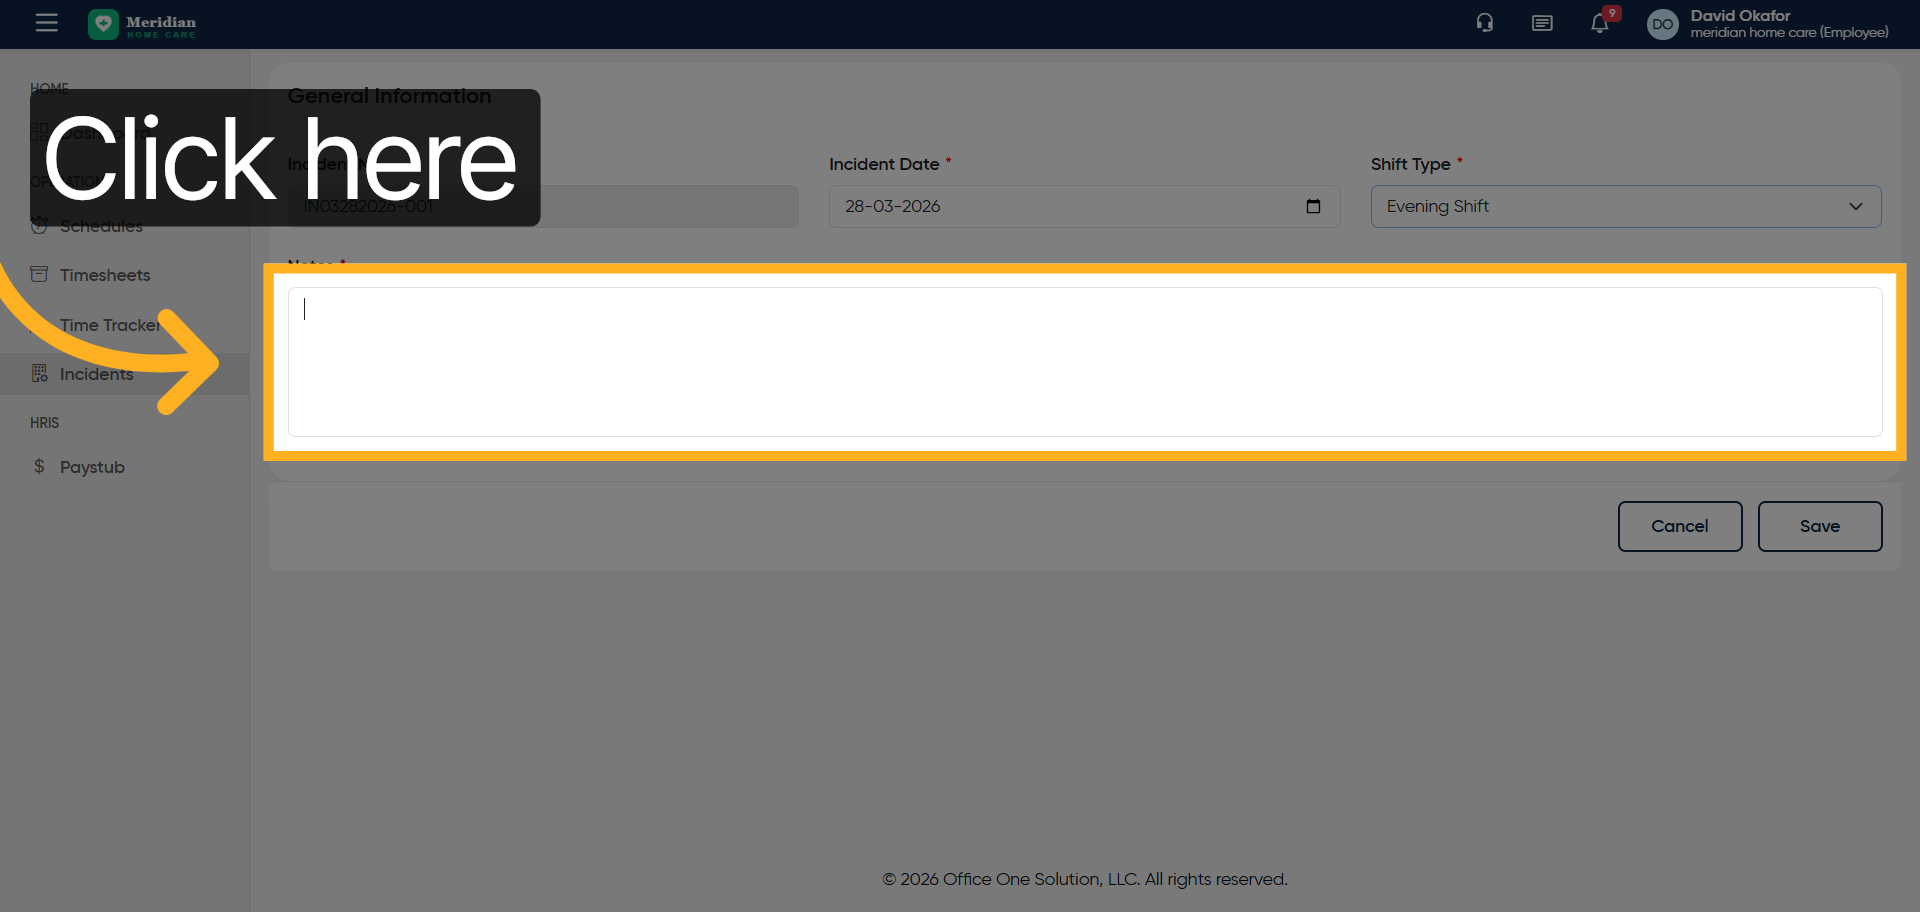
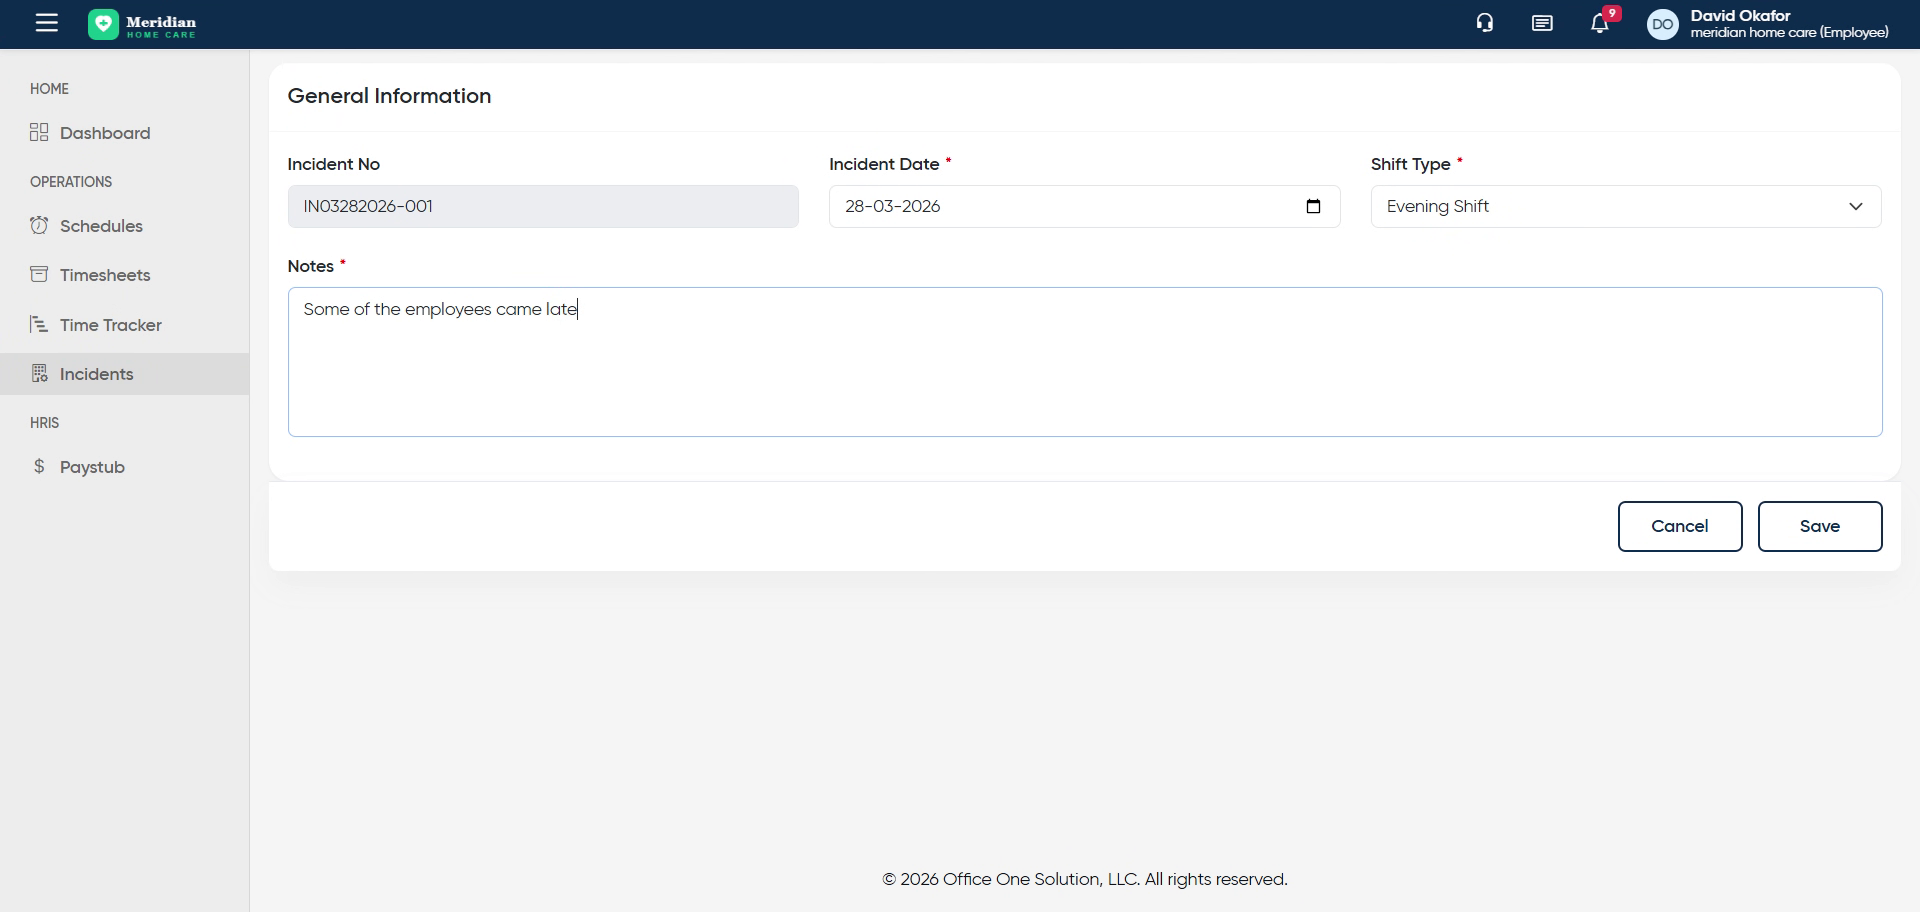
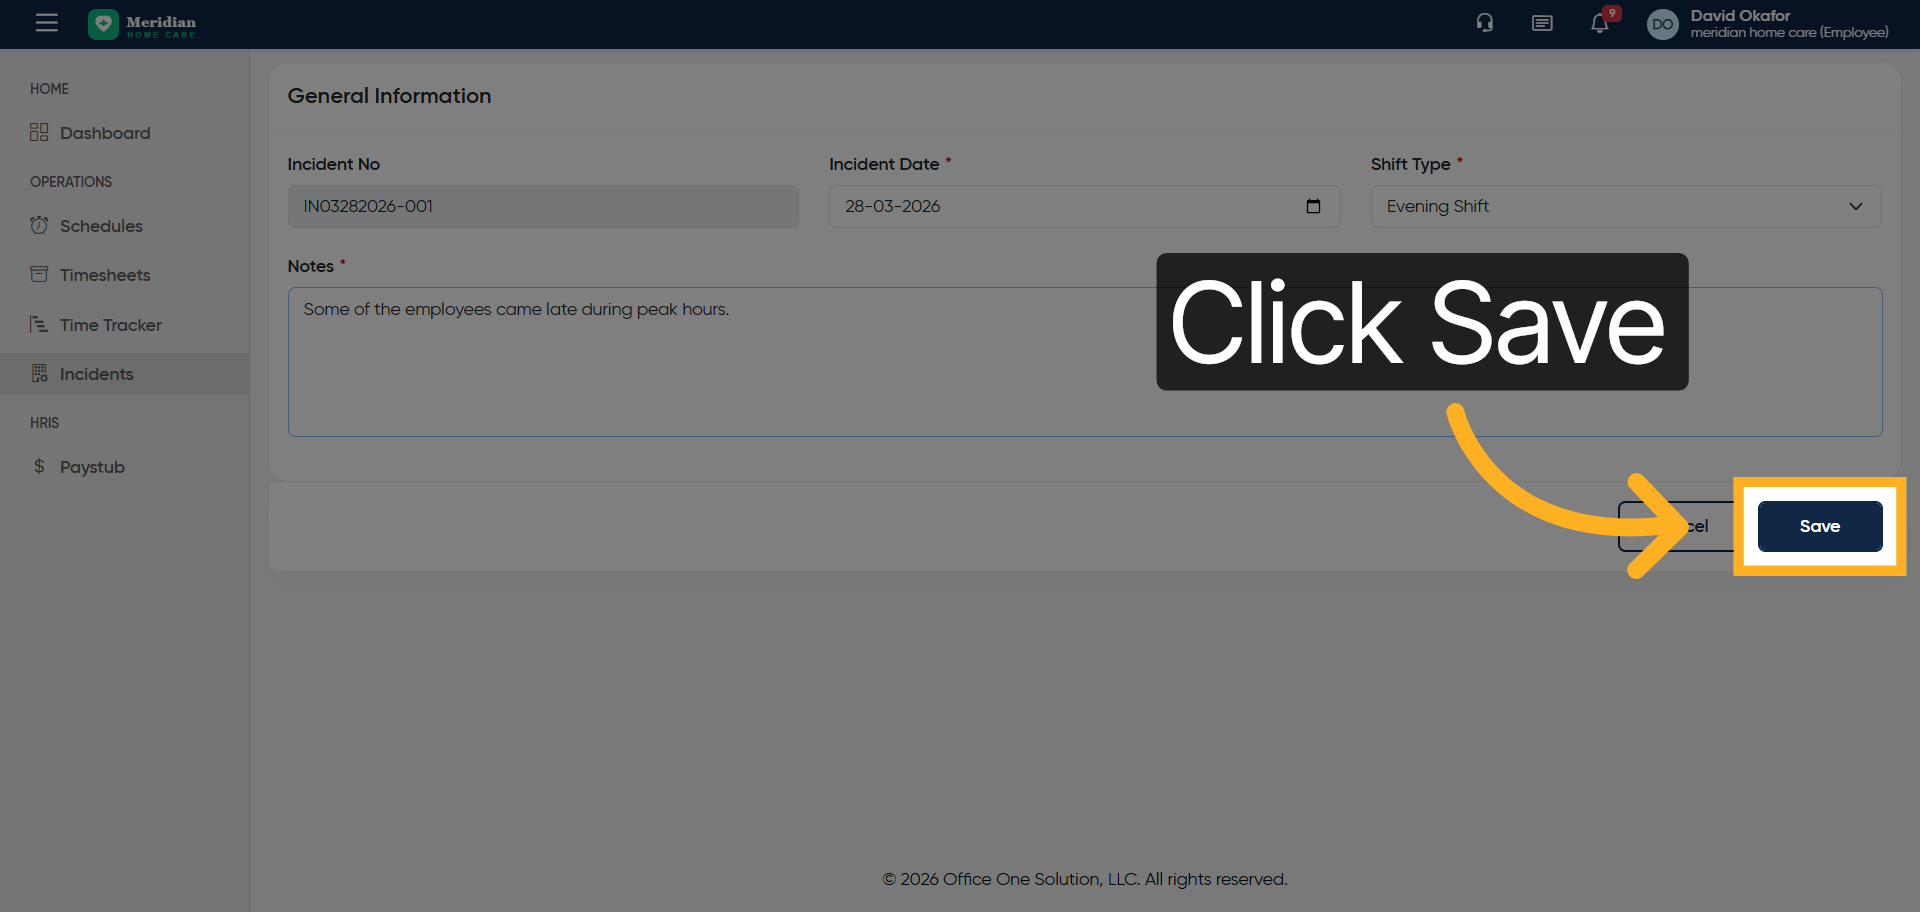
16. Describe Incident Details
Enter incident details by filling “Some of the employees came late during peak hours.”
17. Save Incident Record
Click “Save”
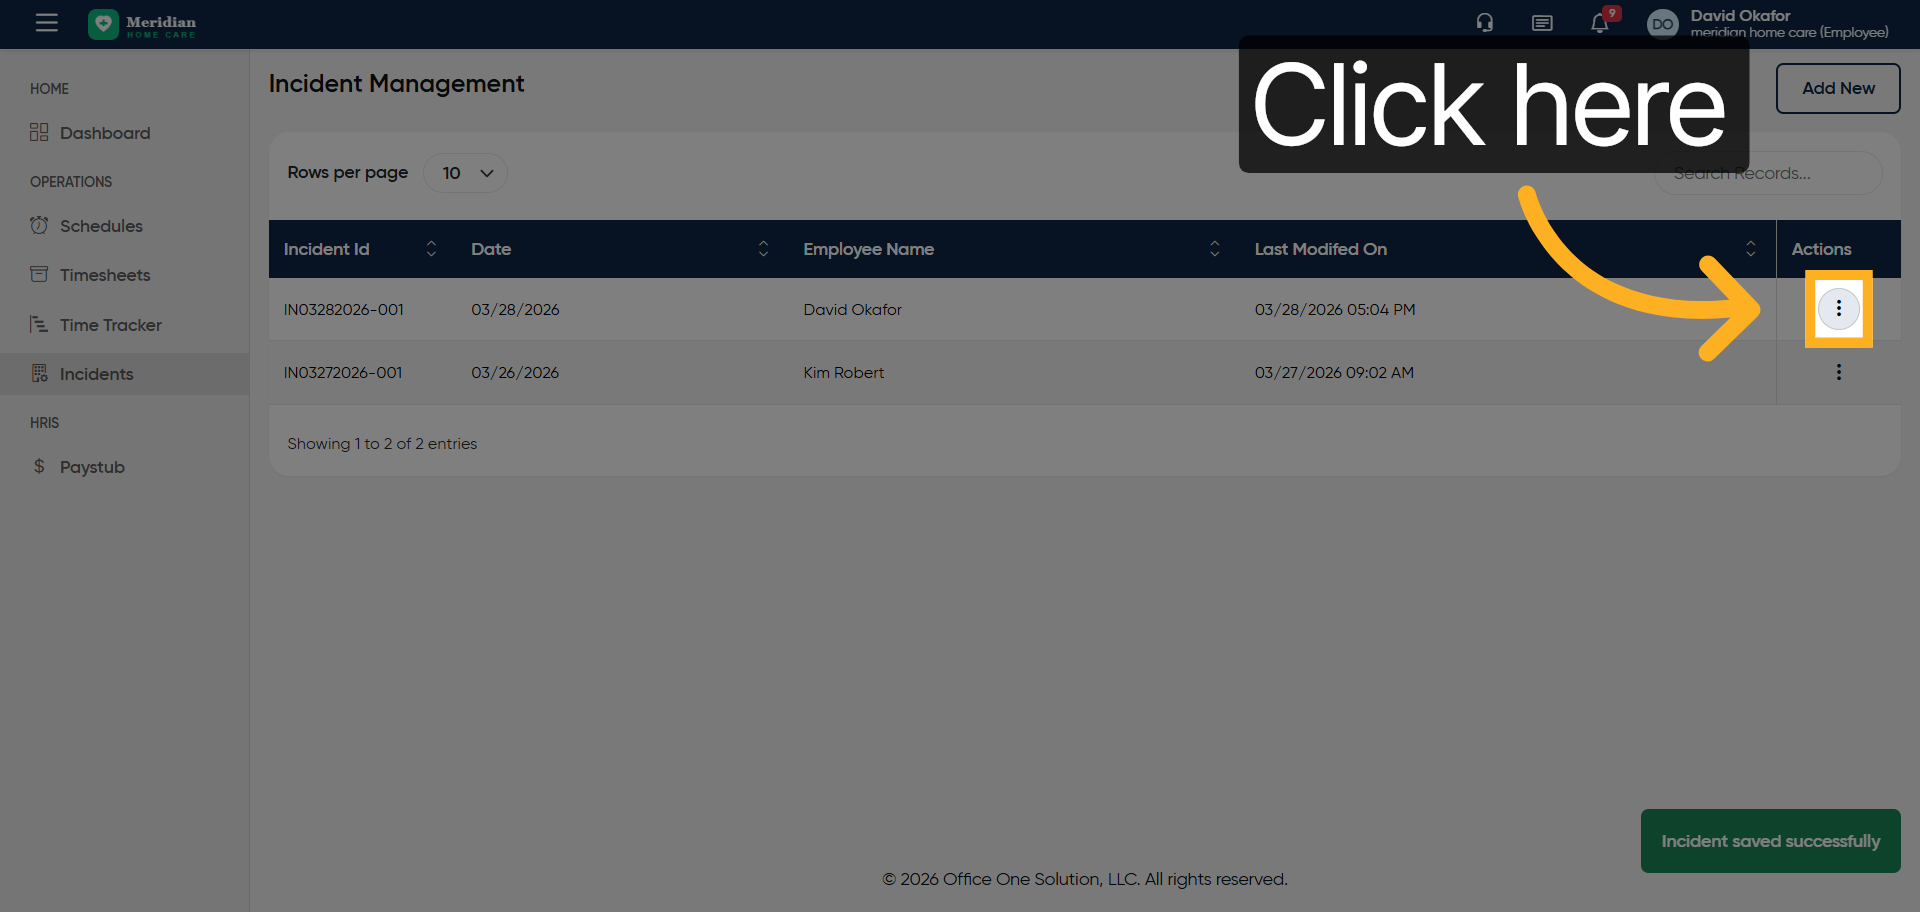
18. Open Incident Options
Click here
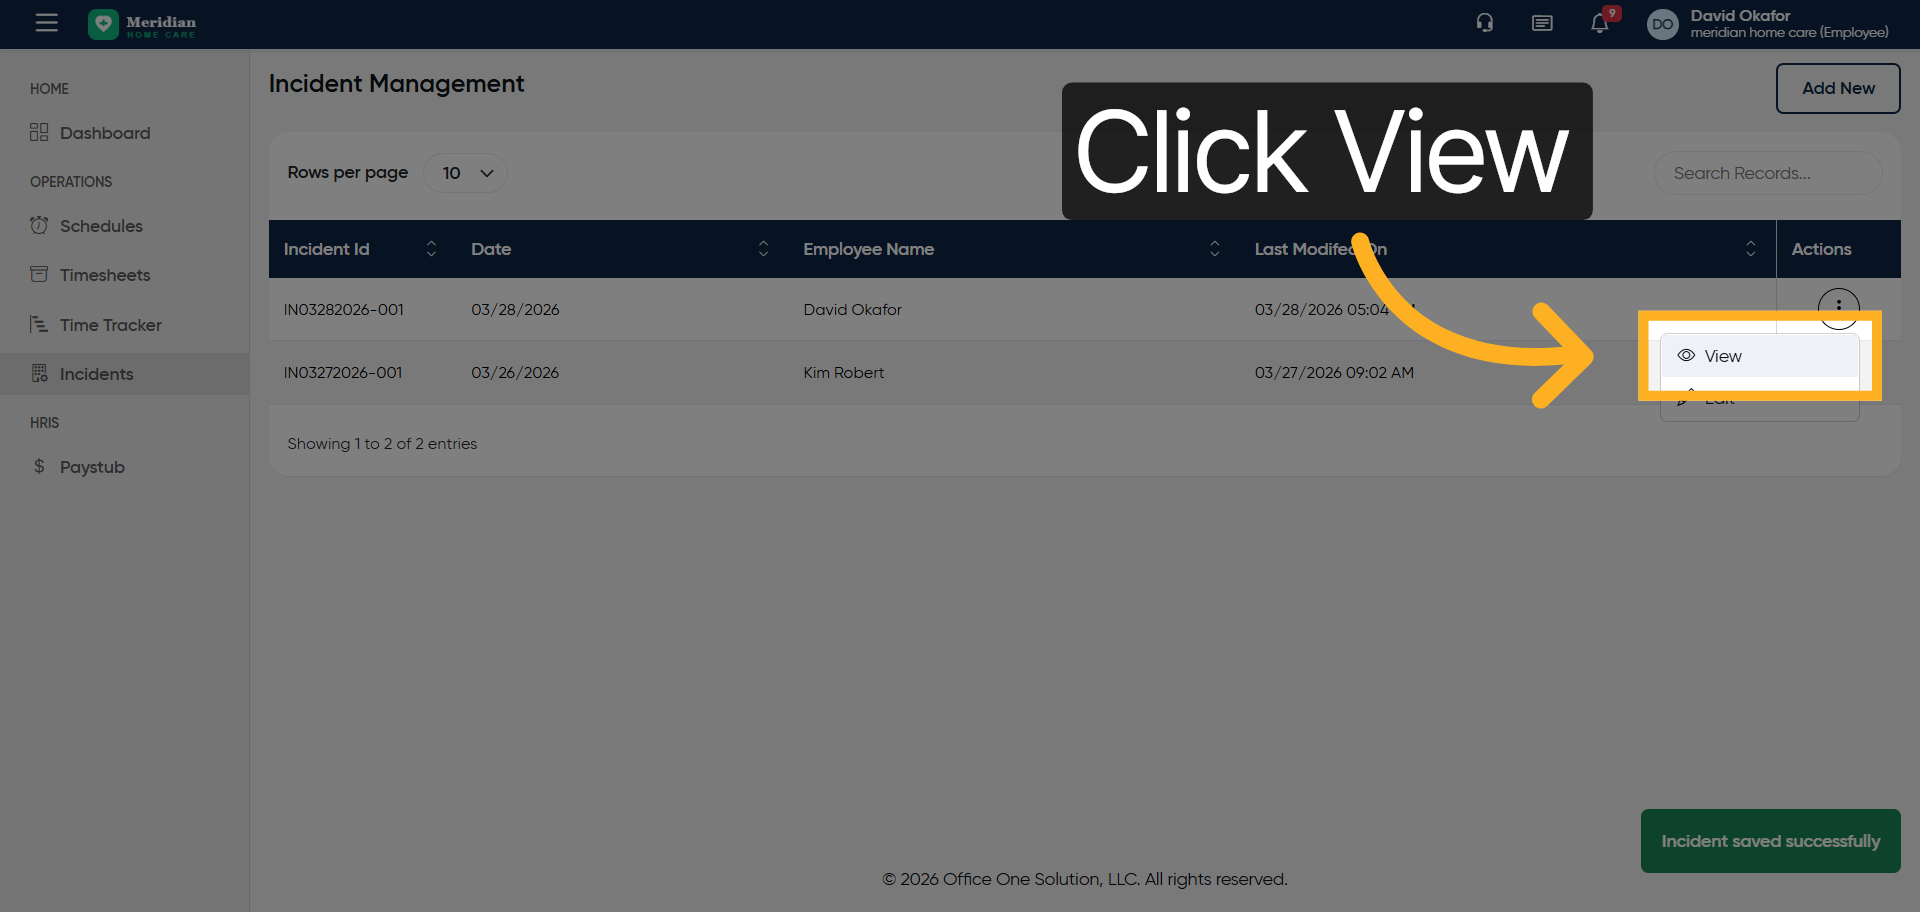
19. View Incident Details
Click “View”
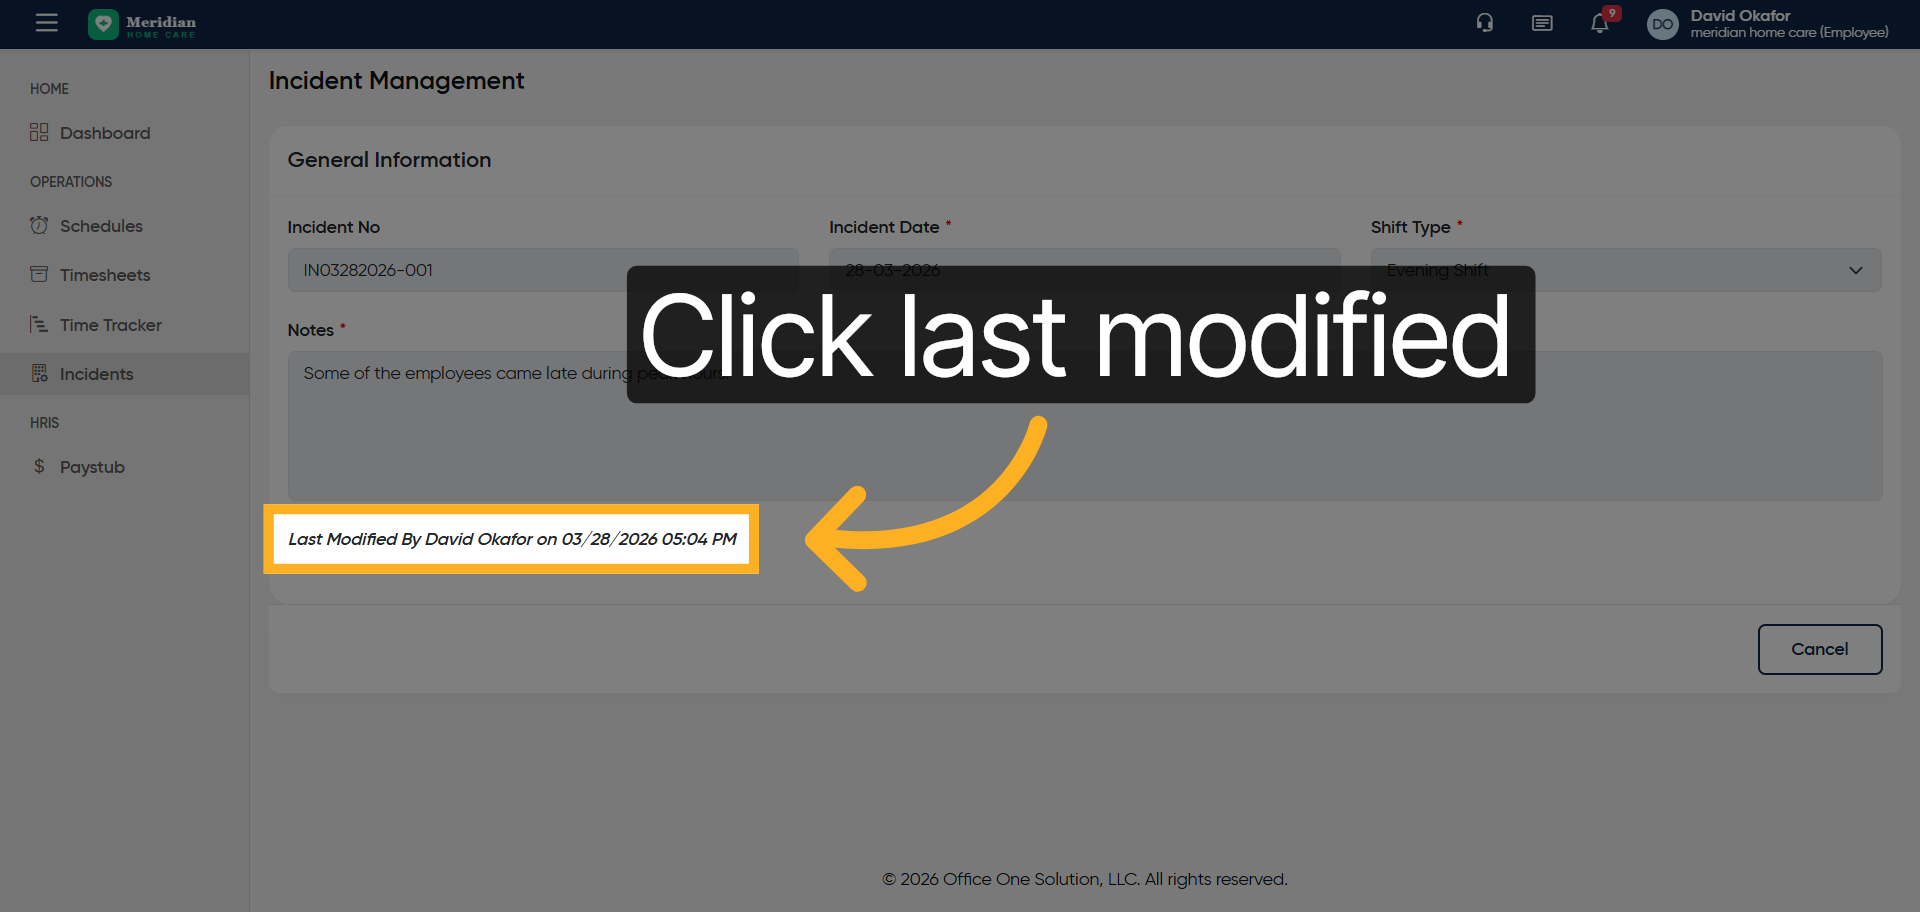
20. Select Last Modified Incident
Click “Last Modified By David Okafor on 03/28/2026 05:04 PM”
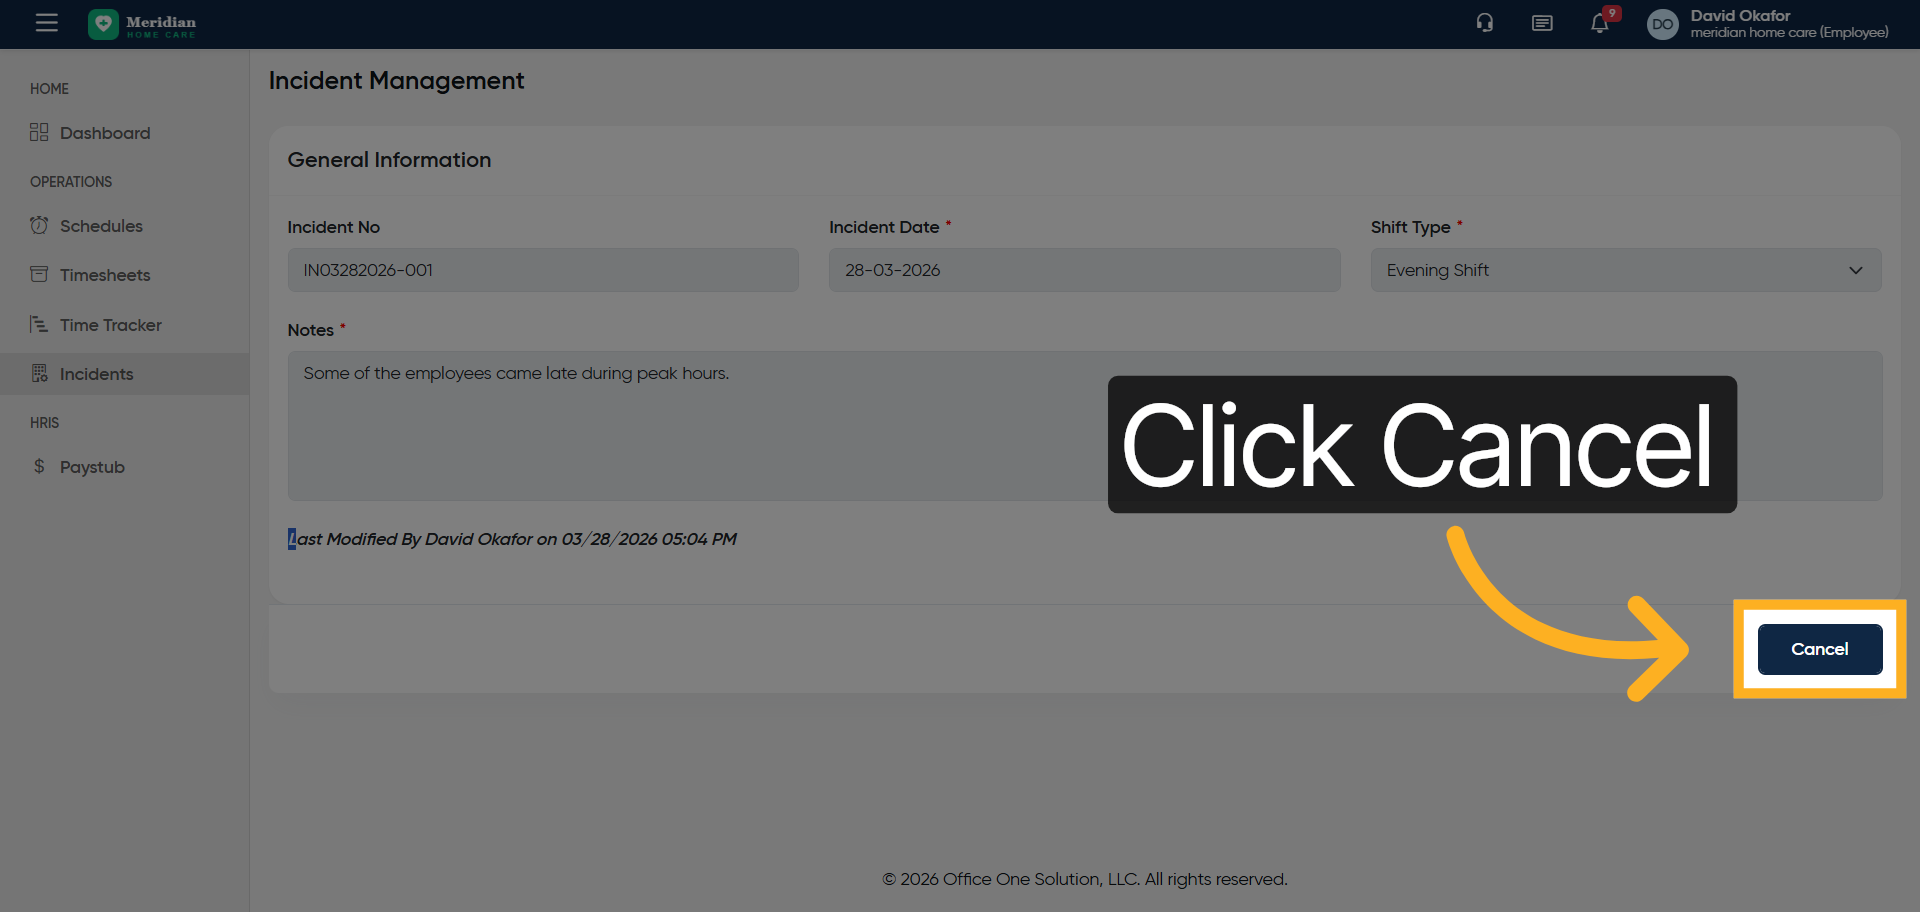
21. Cancel Incident View
Click “Cancel”
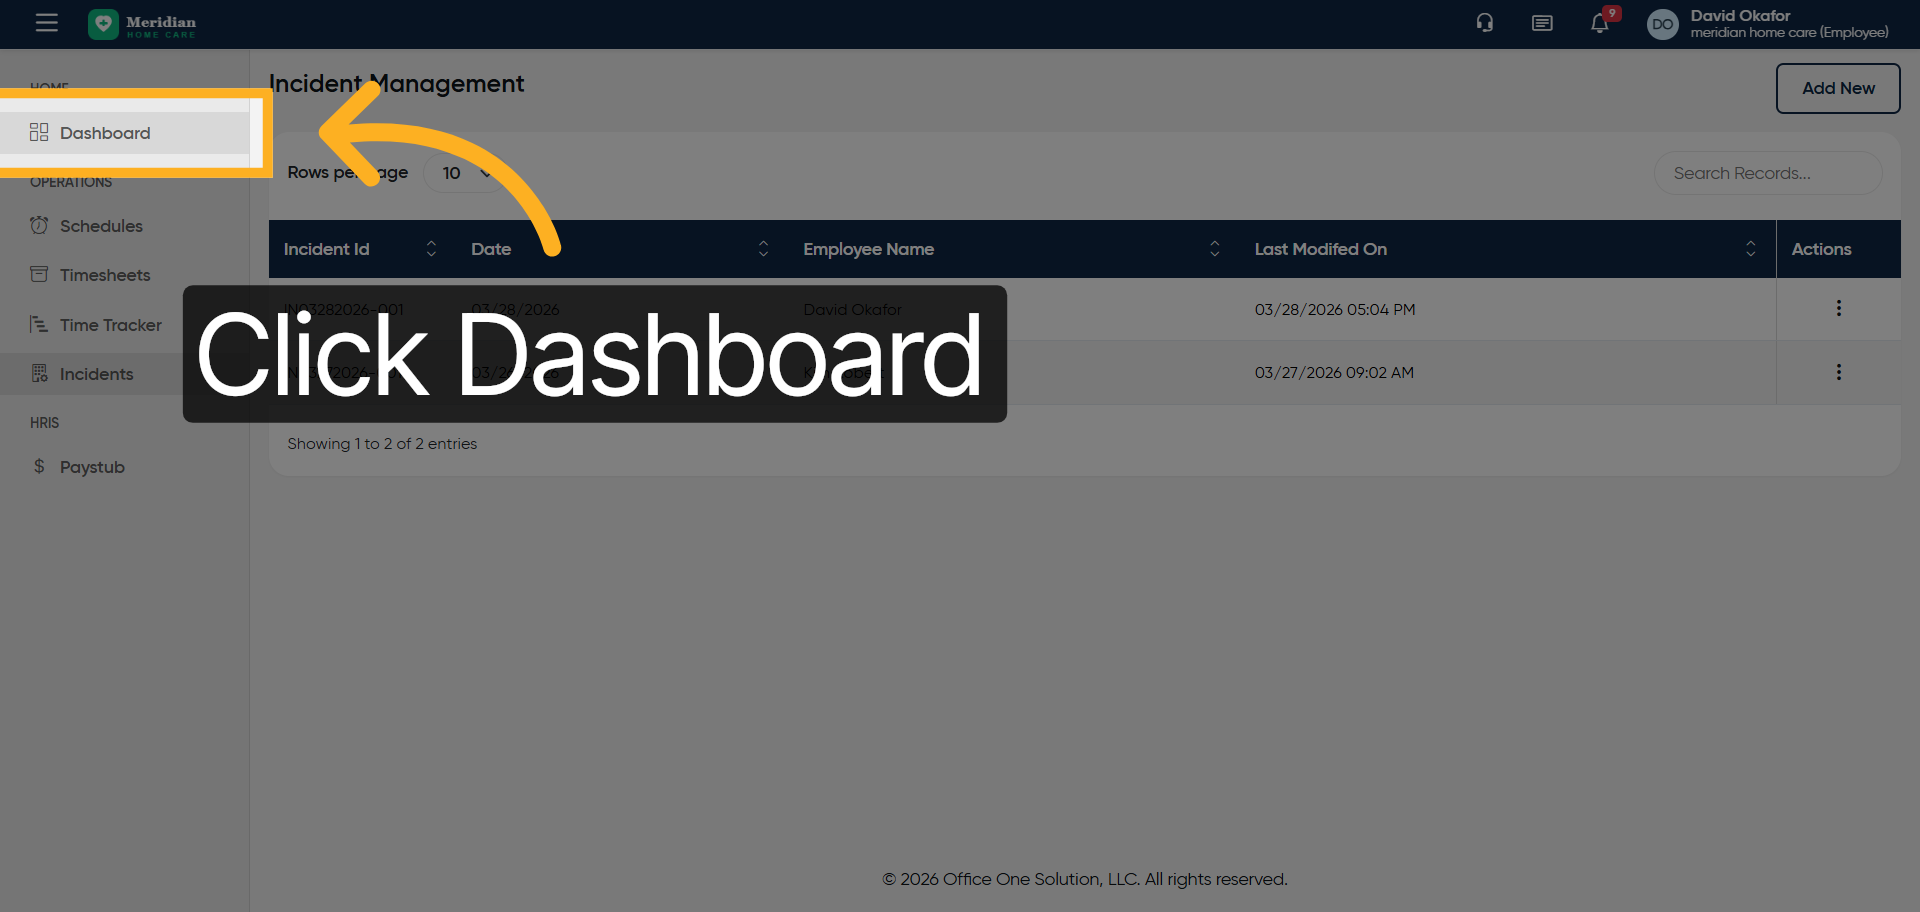
22. Return To Dashboard
Click “Dashboard”
23. Open Clock In/Out Menu
Click “Clock In Clock Out”
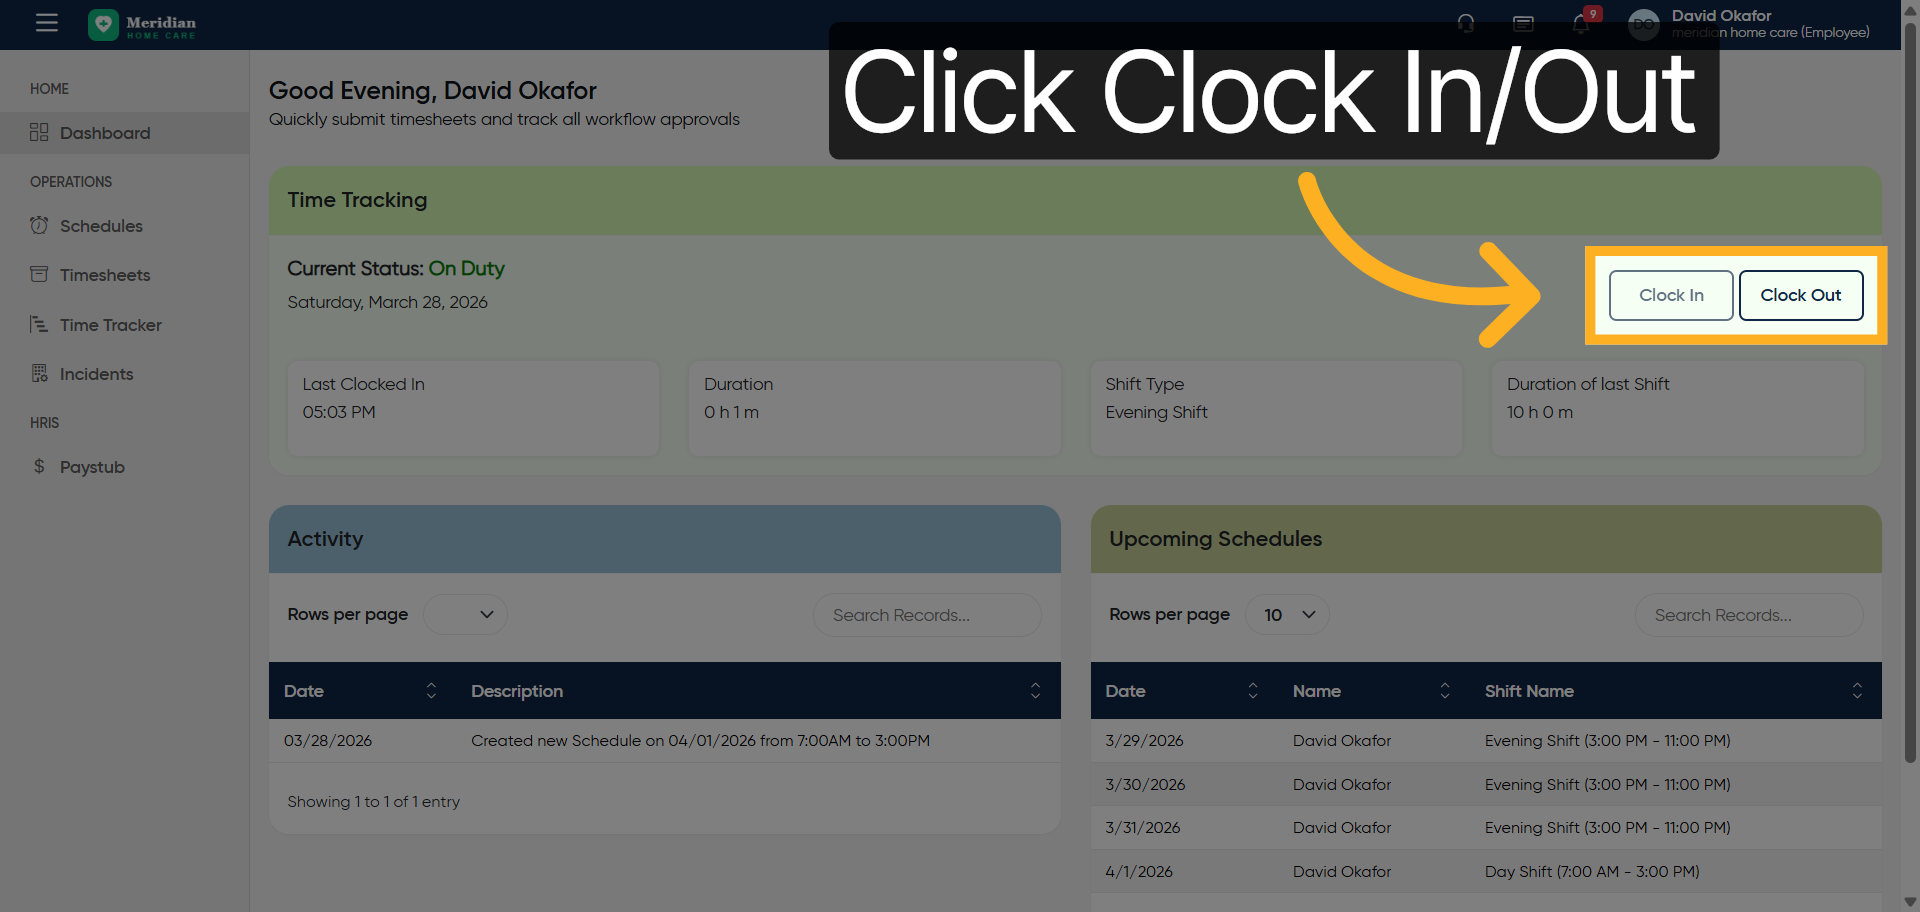
24. Access Clock In/Out Options
Click “Clock In Clock Out”

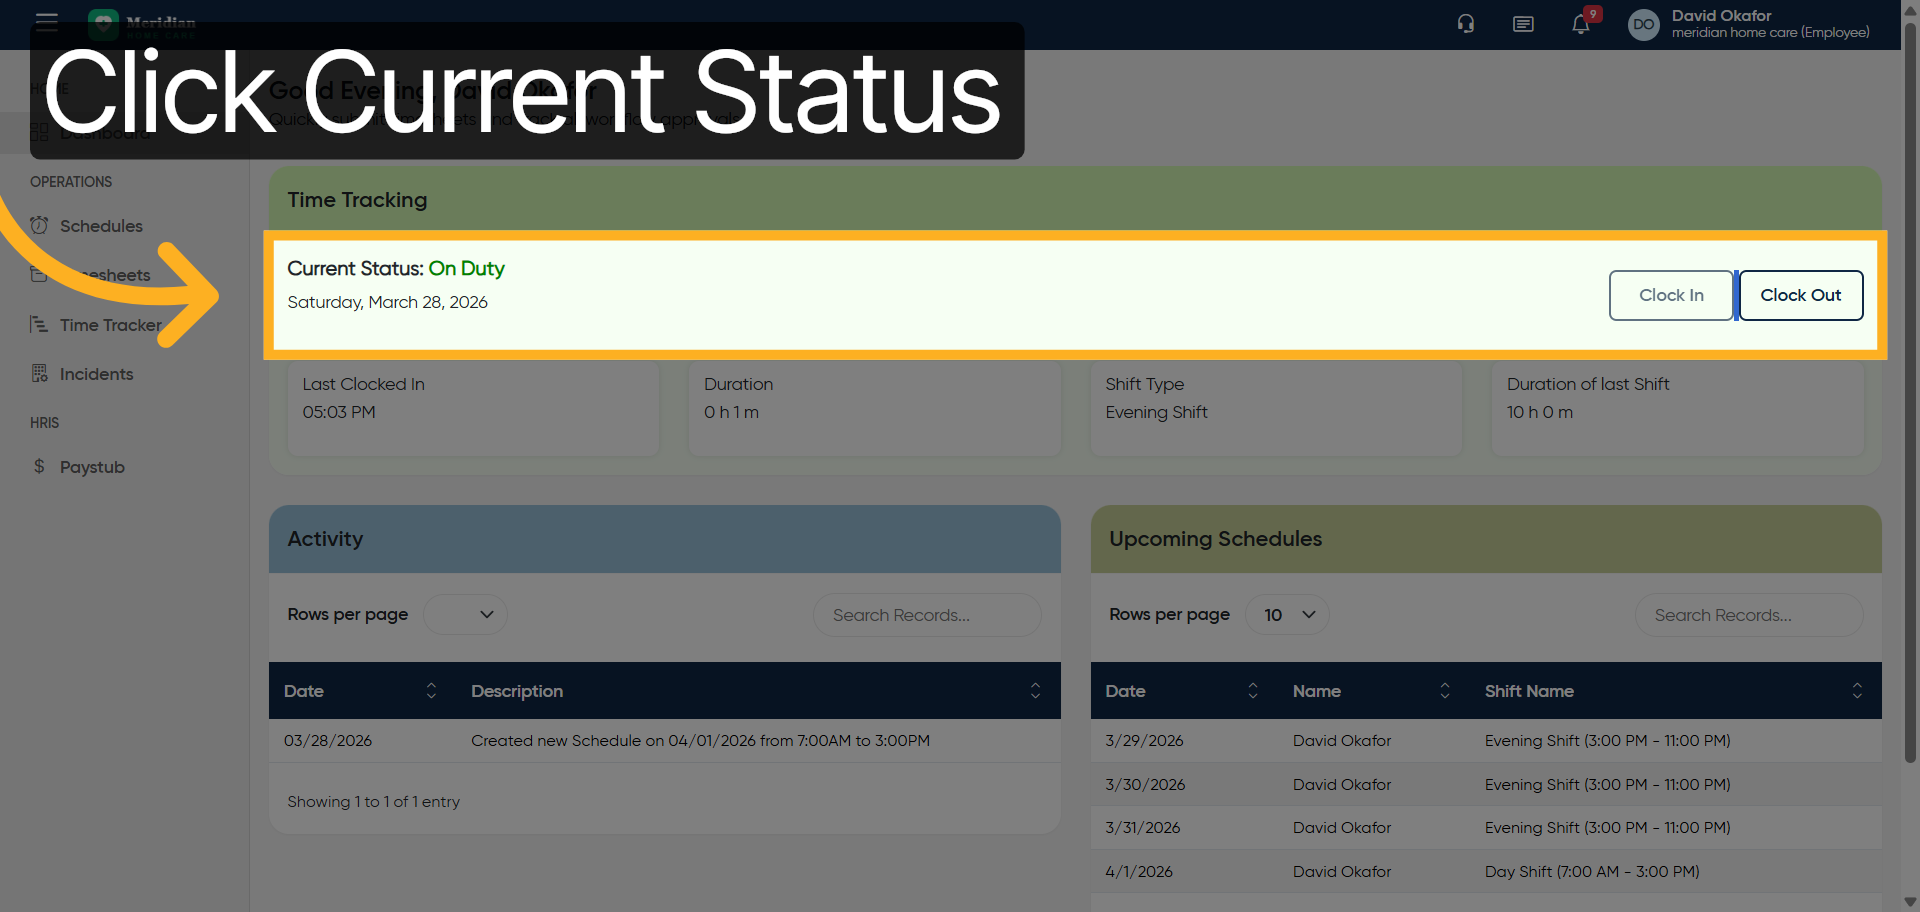
25. Check Current On Duty Status
Click “Current Status: On Duty Saturday, March 28, 2026…”
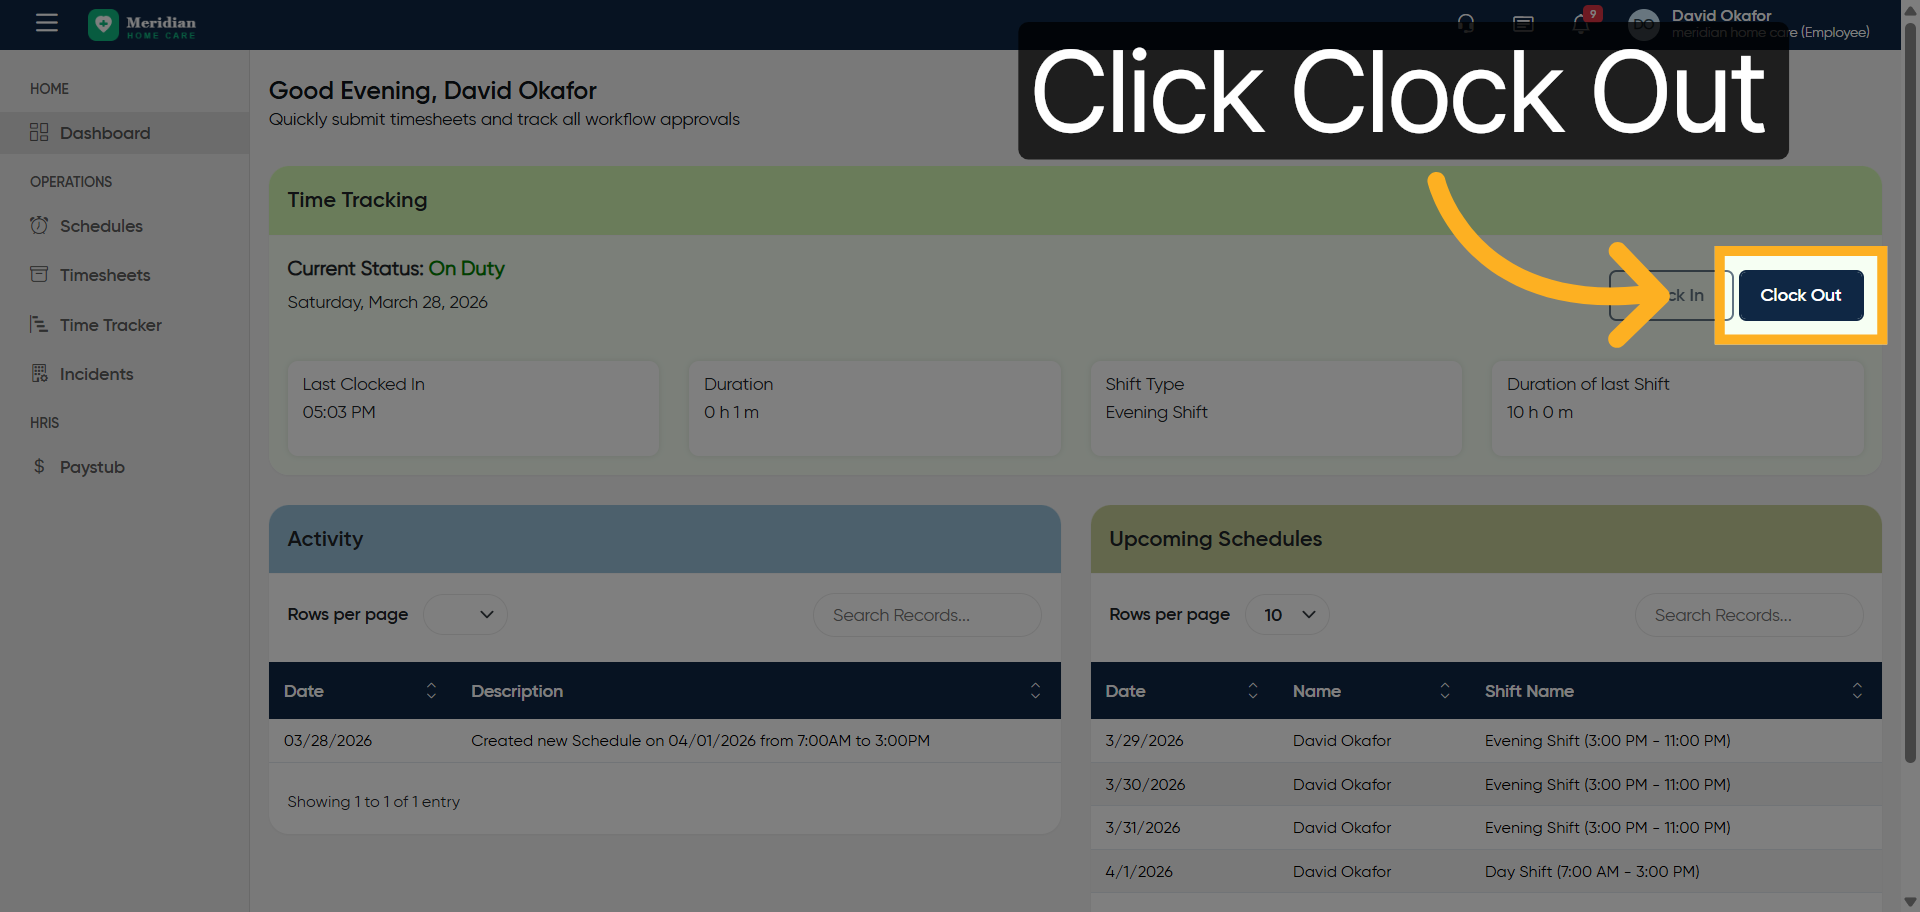
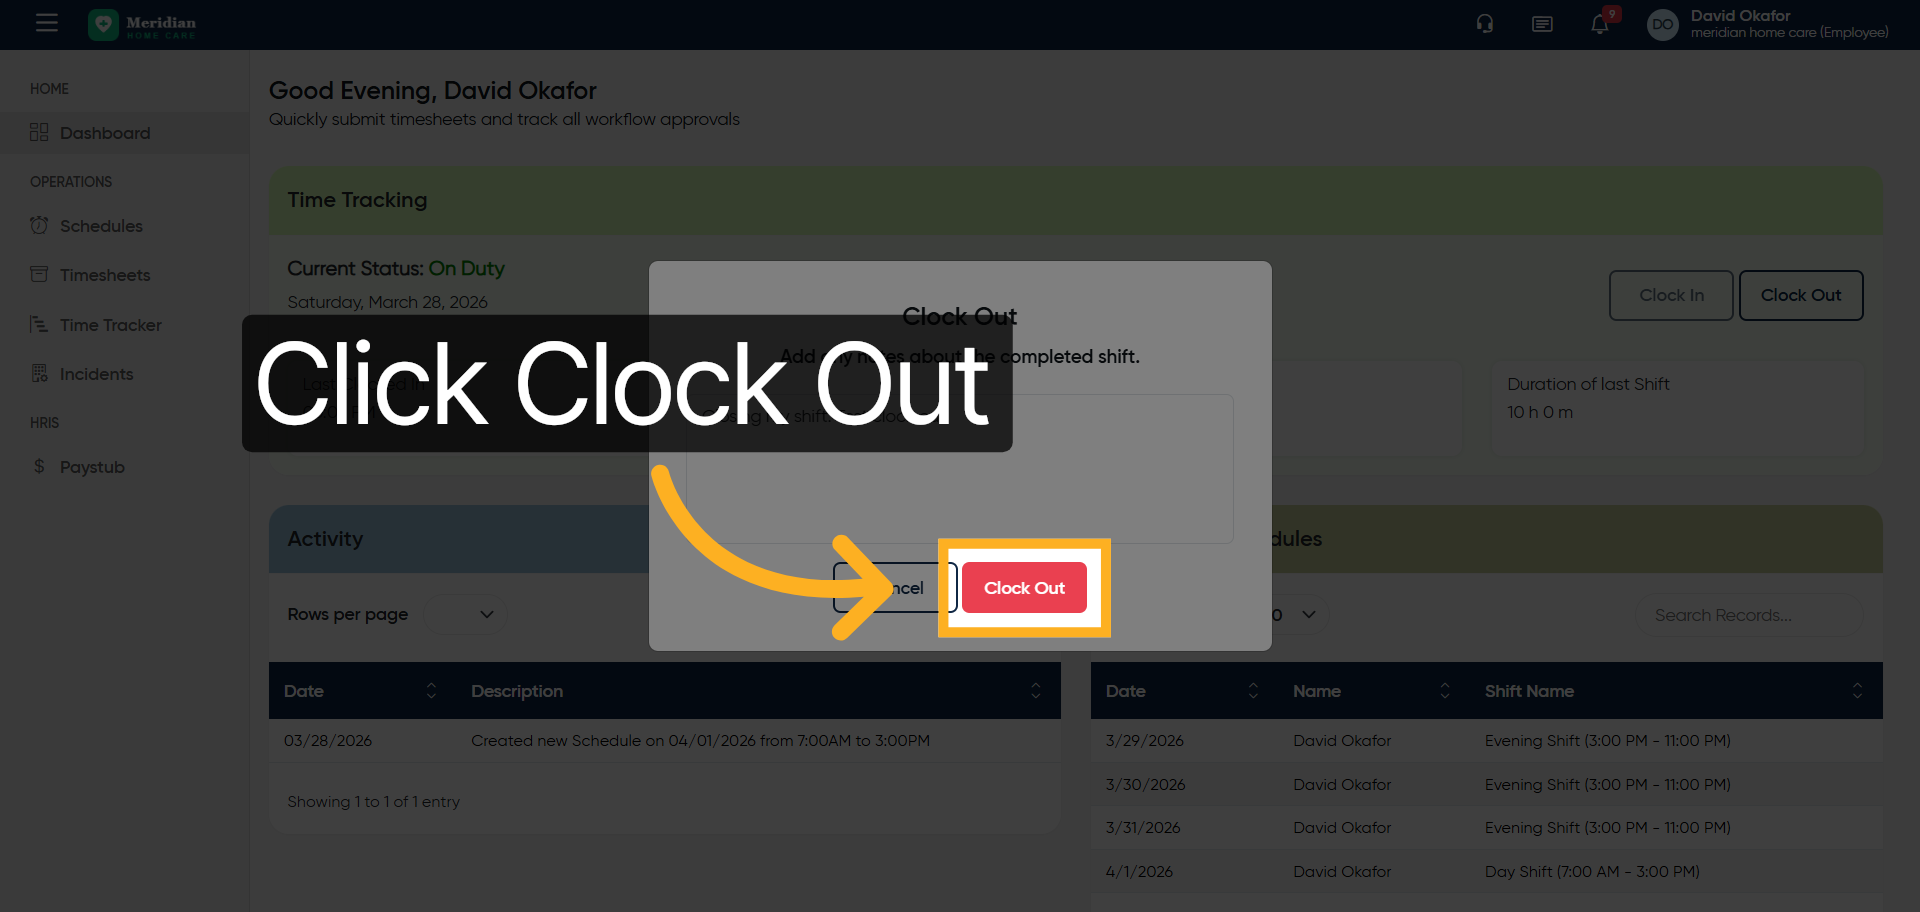
26. Initiate Clock Out
Click “Clock Out”
27. Open Clock Out Comment
Click “Comment…”
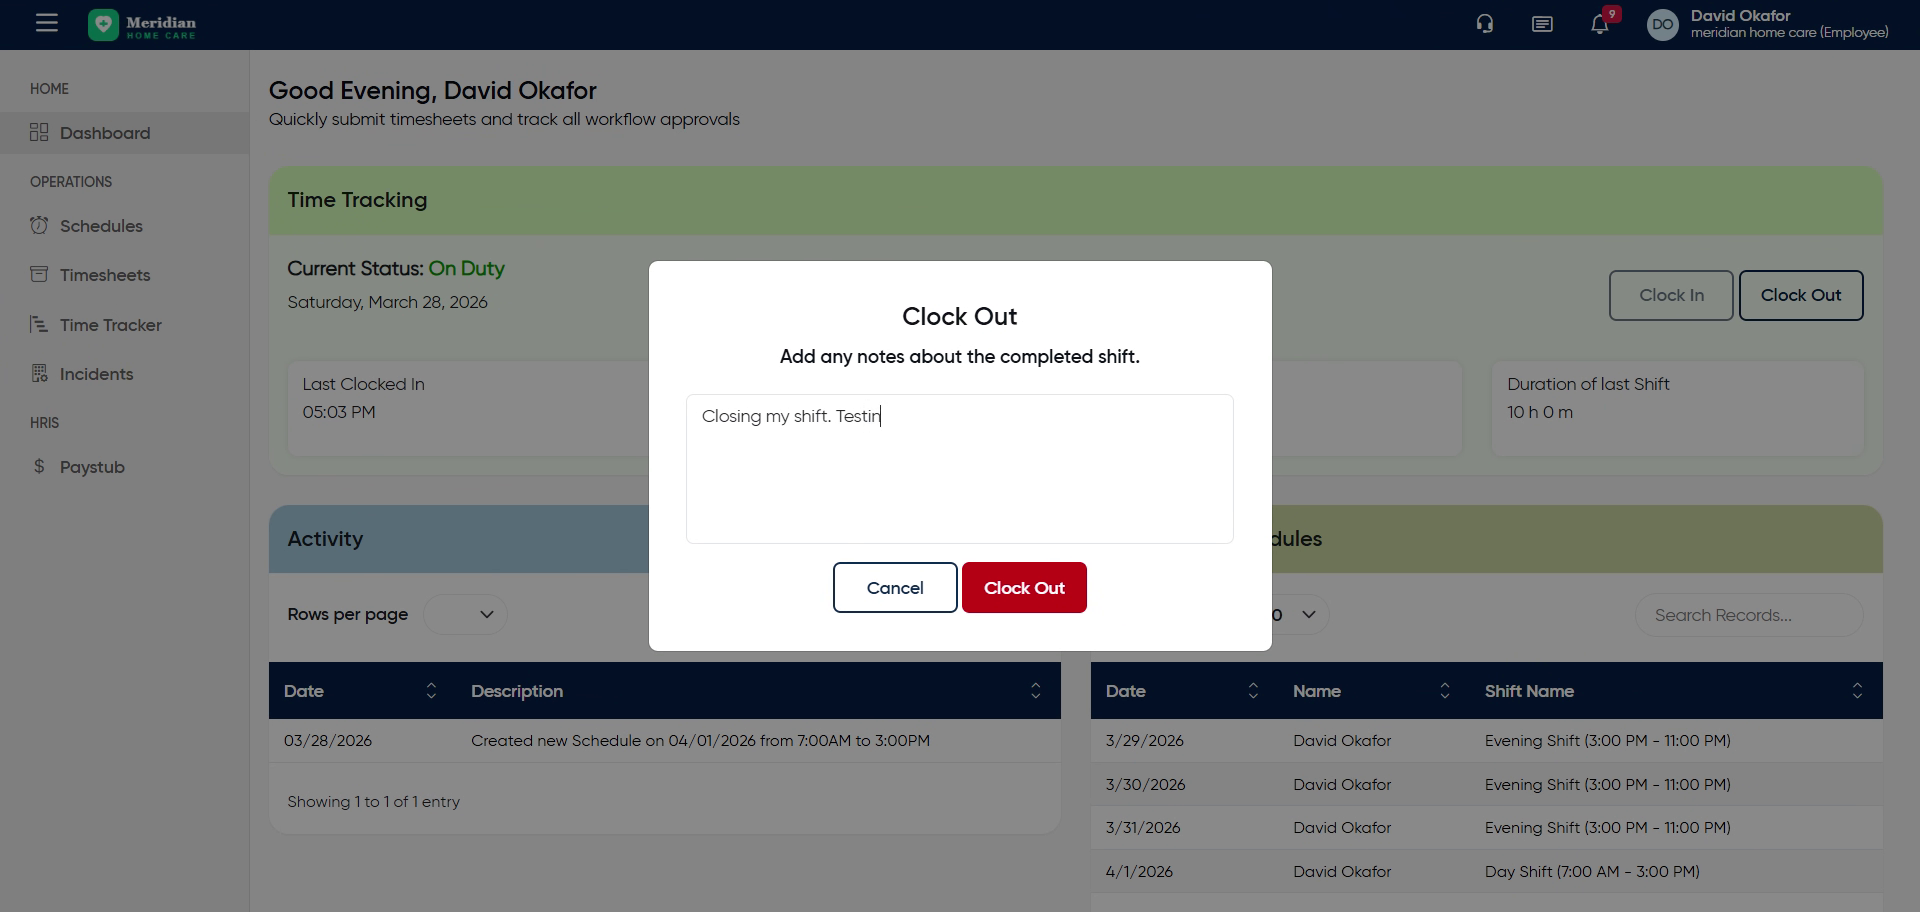
28. Enter Clock Out Comment
Enter your clock out comment by filling “Closing my shift. Test clock out.”
29. Confirm Clock Out
Click “Clock Out”
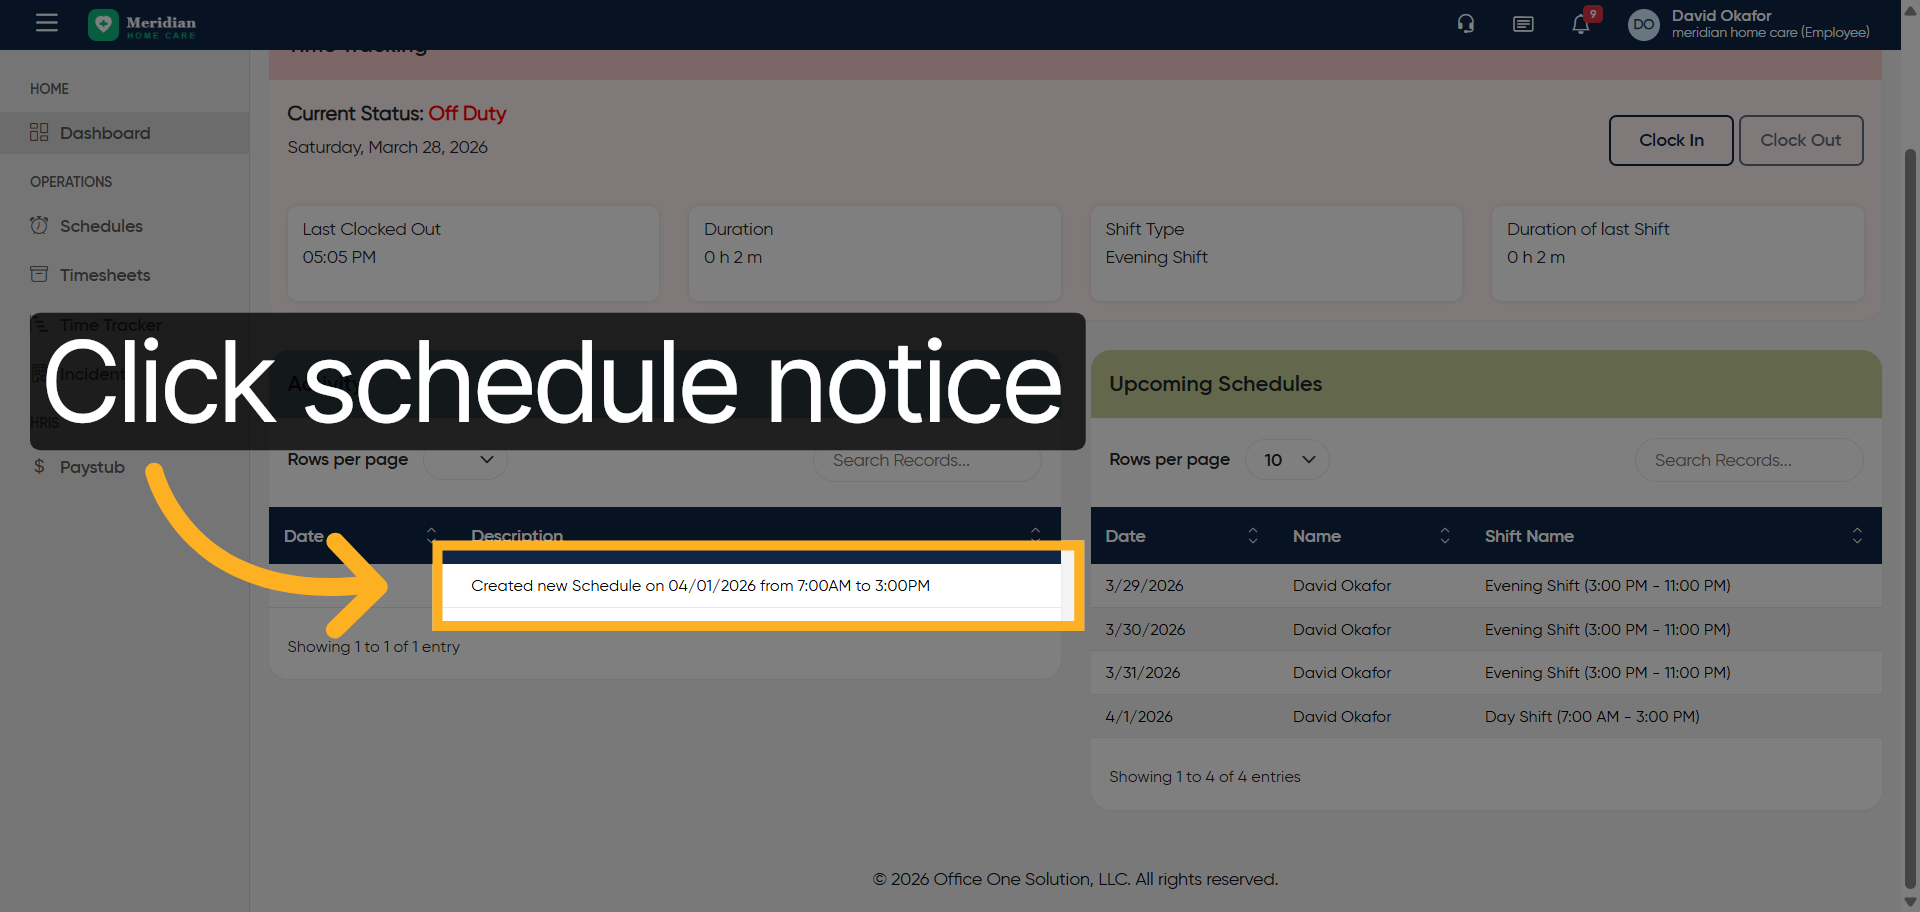
30. View New Schedule Notification
Click “Created new Schedule on 04/01/2026 from 7:00AM to 3:00PM”
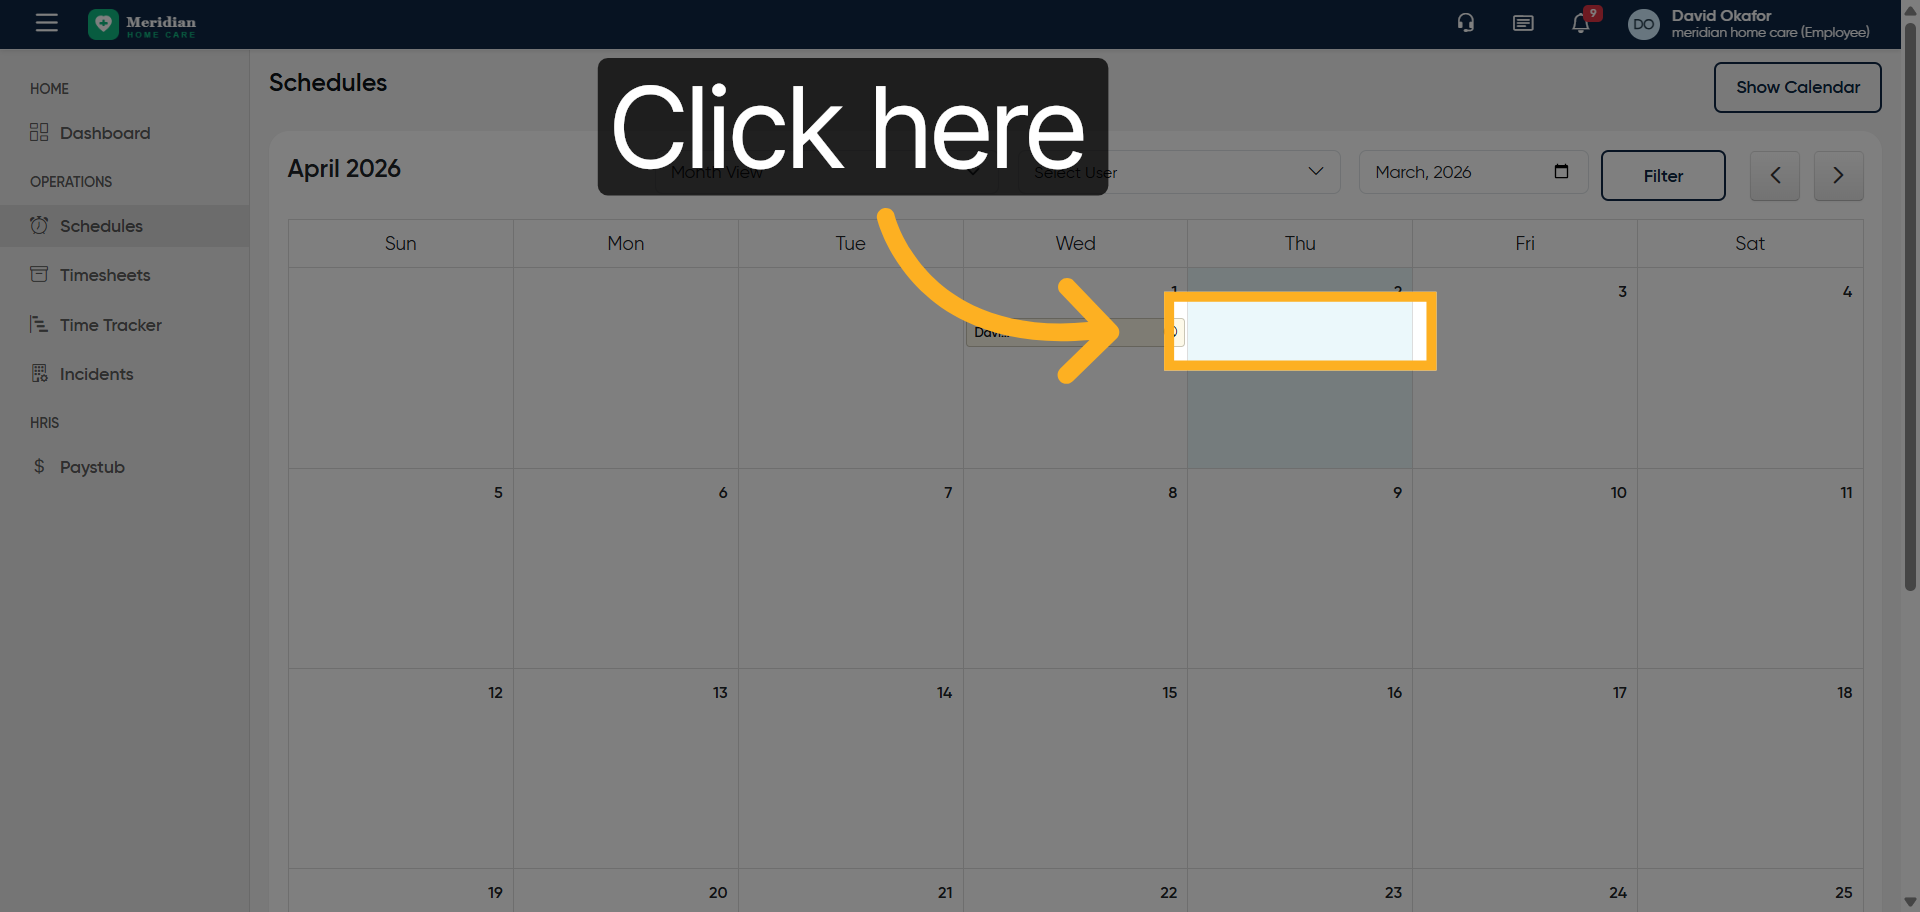
31. Access Schedules Section
Click “Schedules”

32. Open Schedule Options
Click here

33. Access Additional Schedule Options
Click here
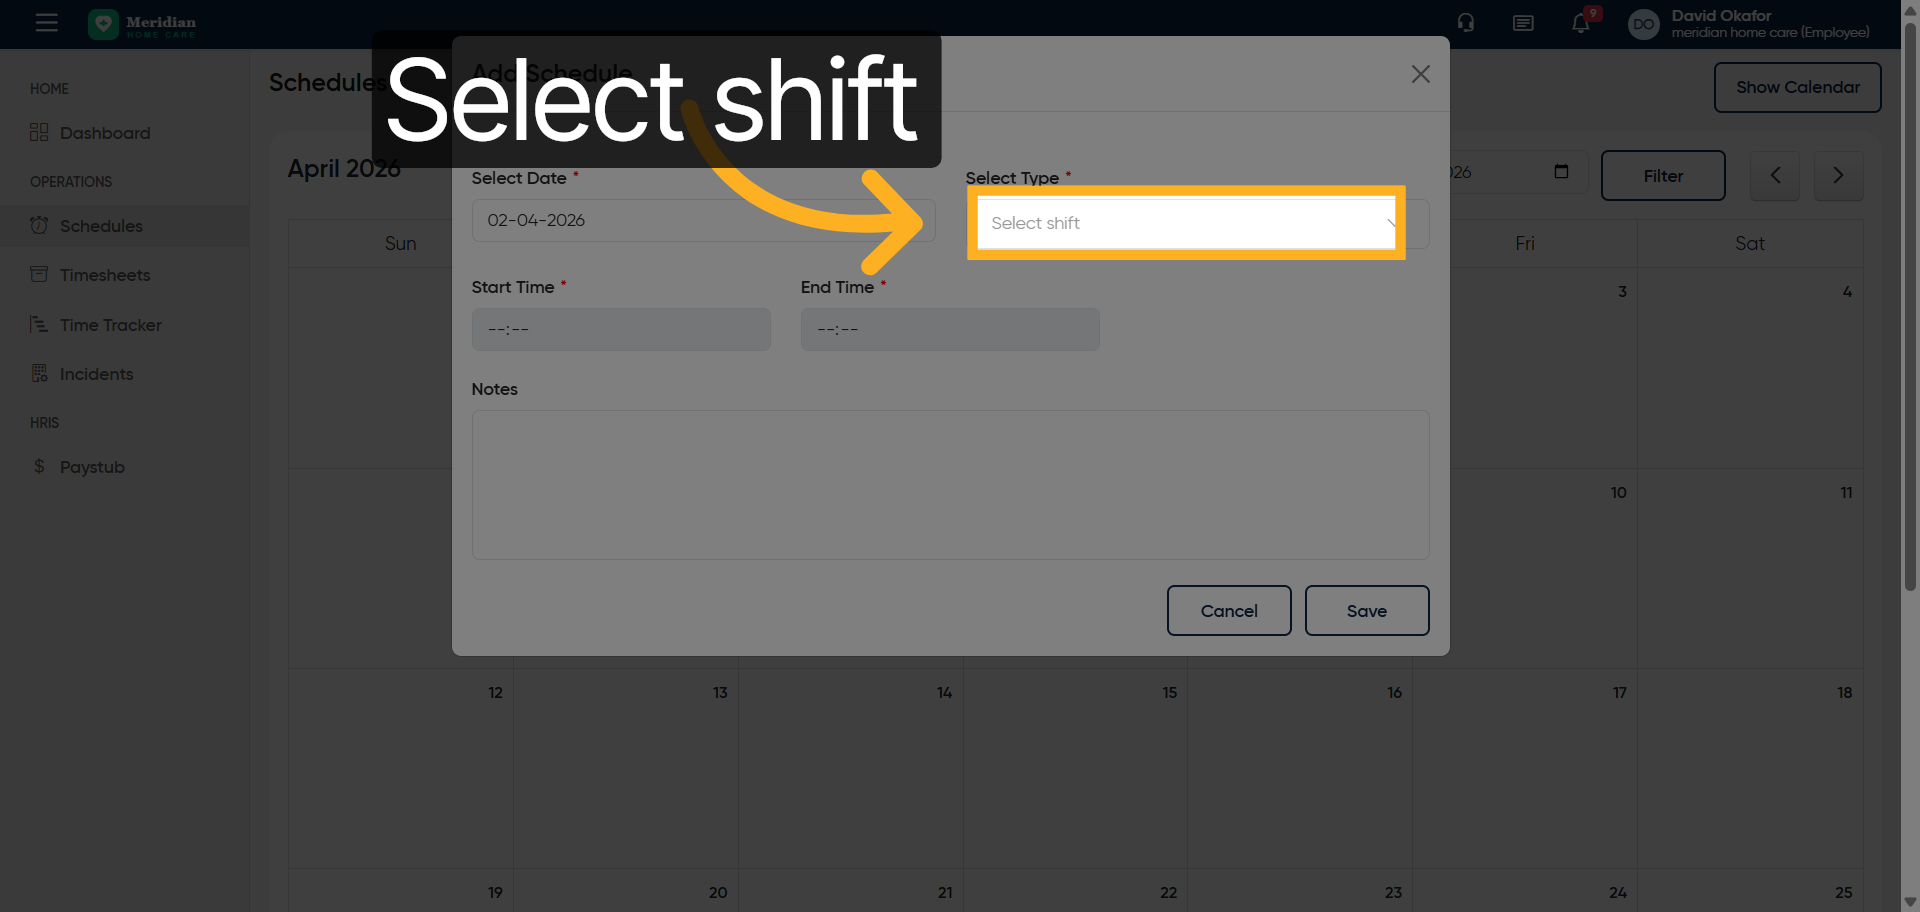
34. Open Shift Selection
Click “Select shift”
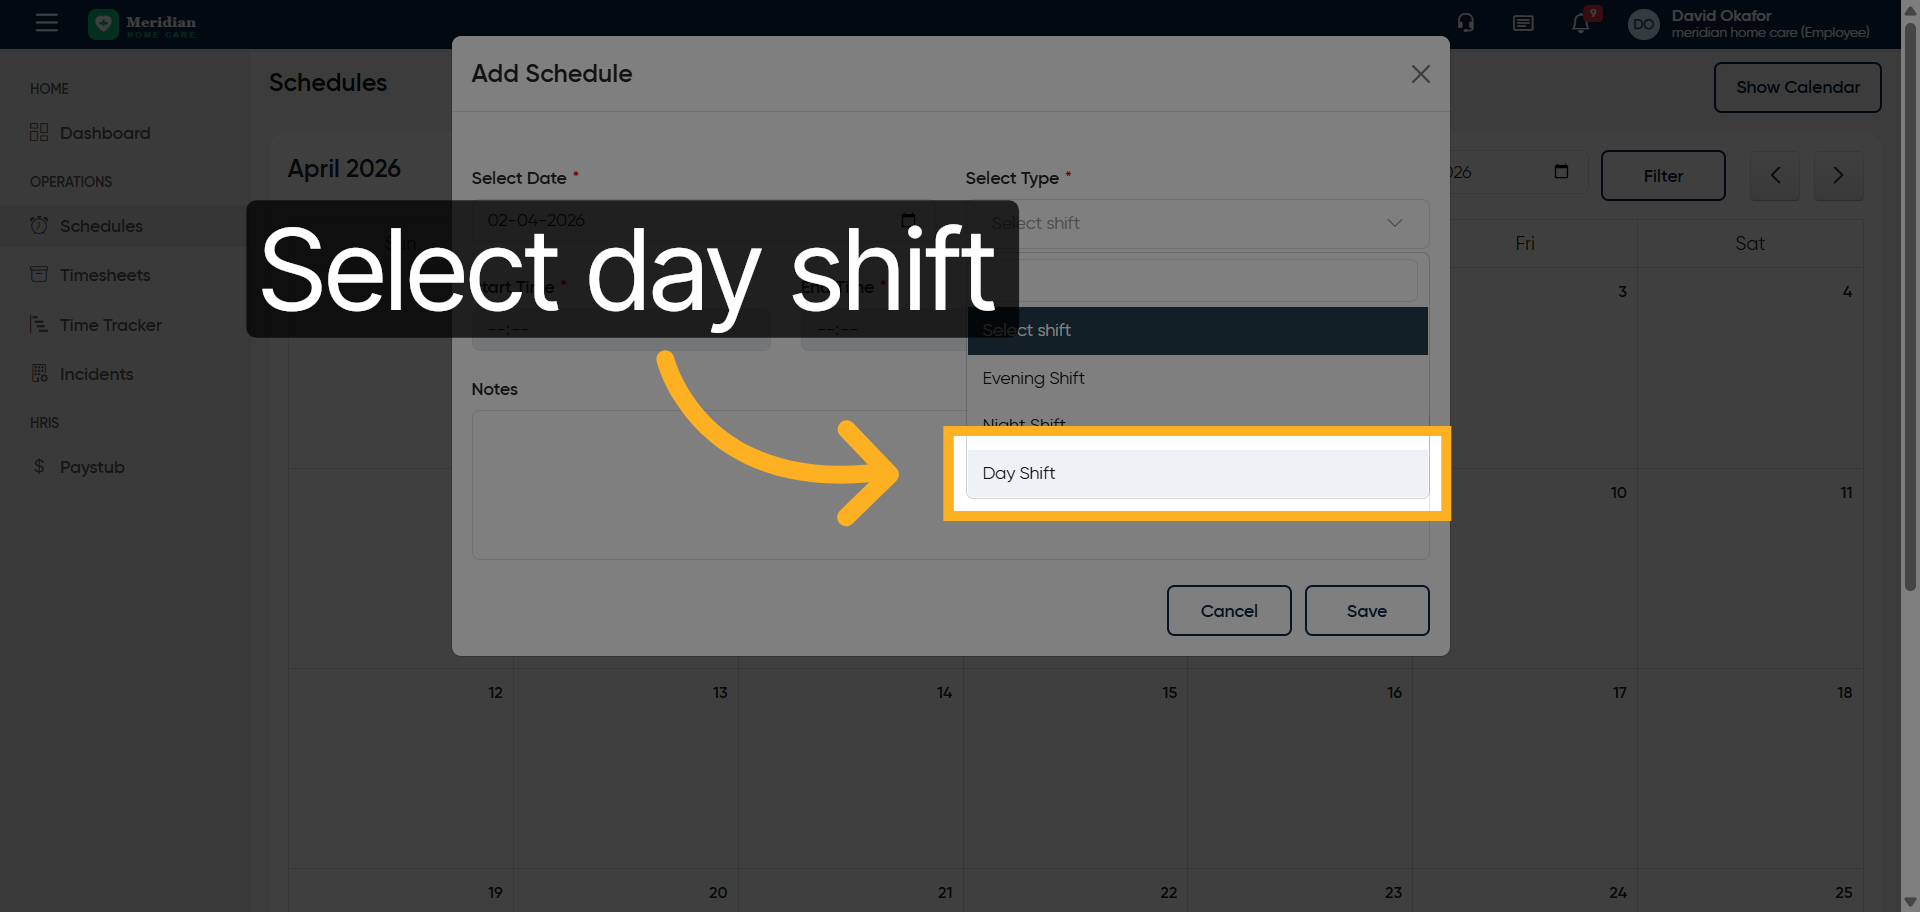
35. Choose Day Shift
Click “Day Shift”
36. Open Shift Details
Click here
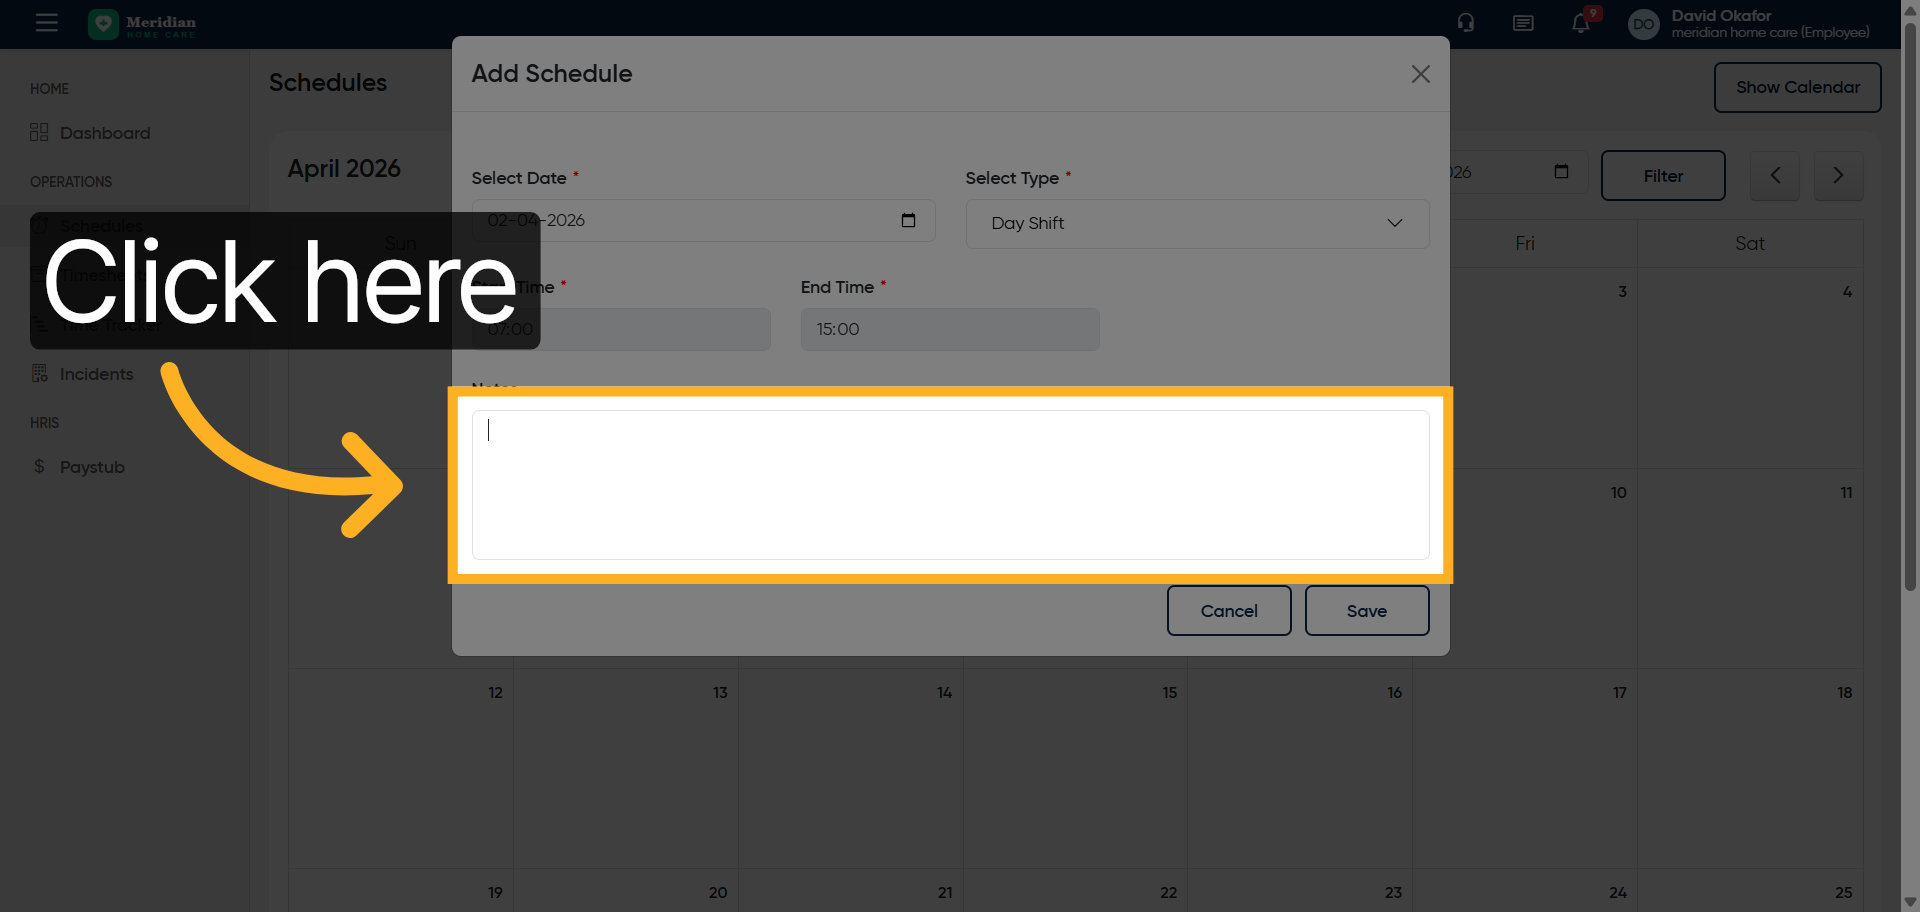
37. Add Shift Comment
Enter shift comment by filling “Adding shift to the employee.”
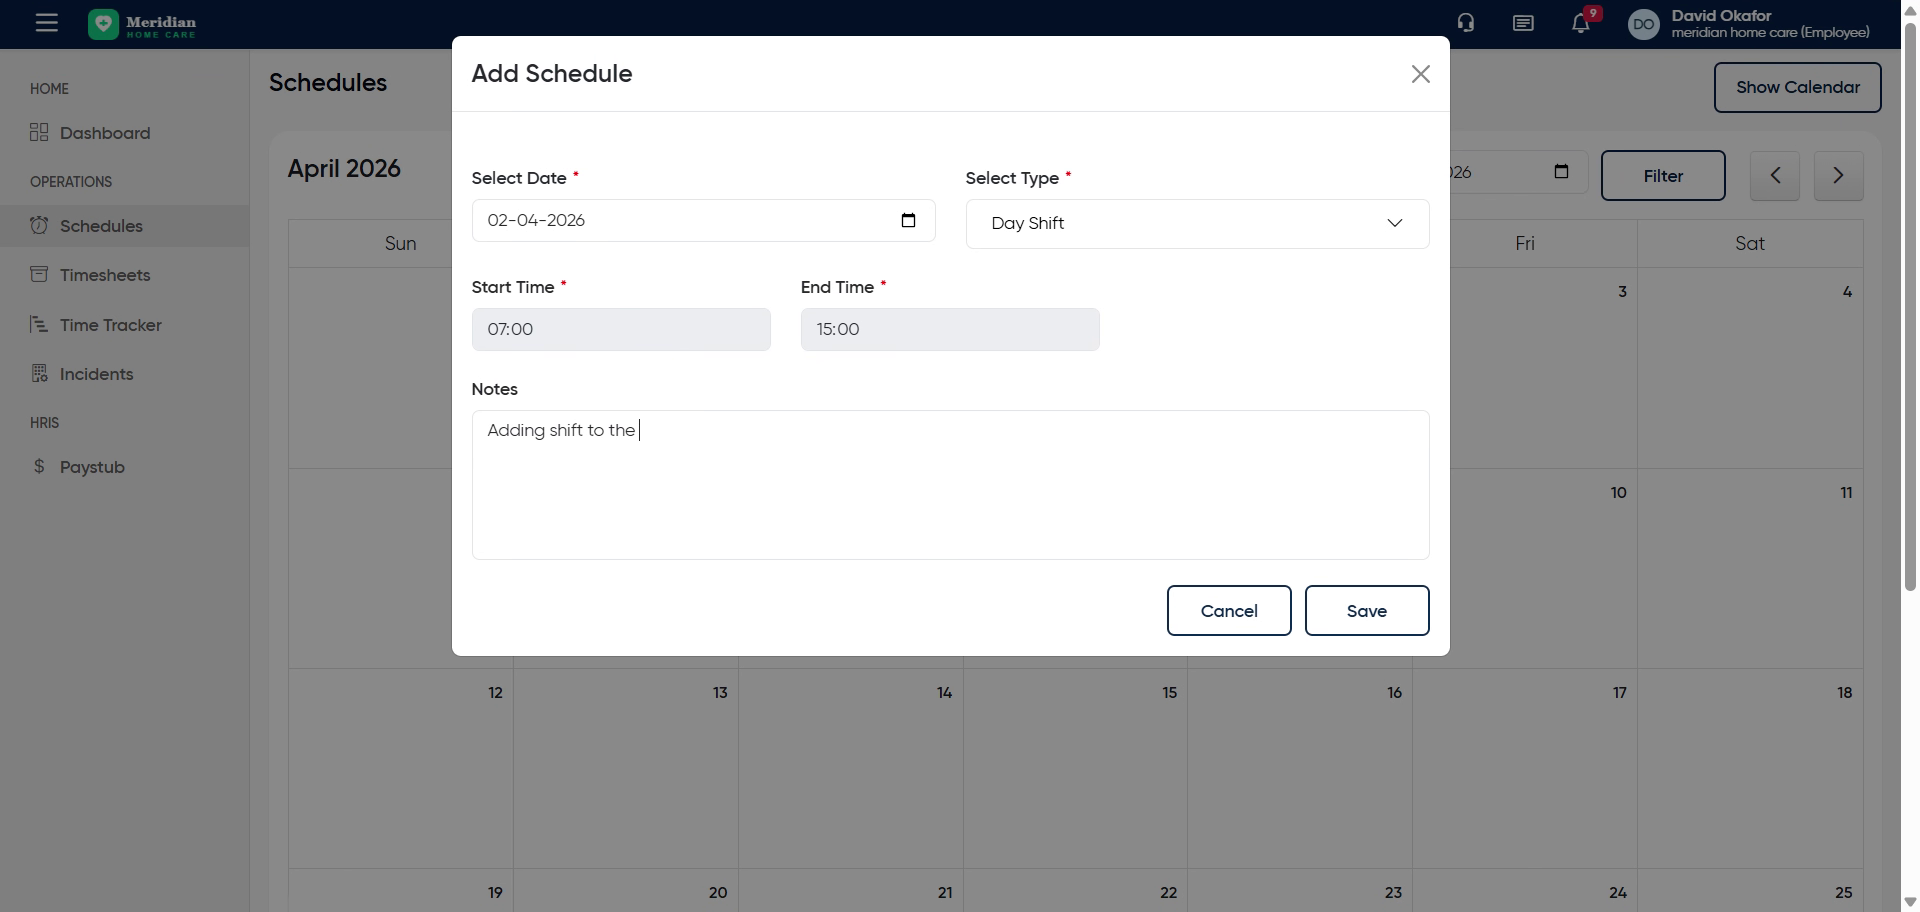
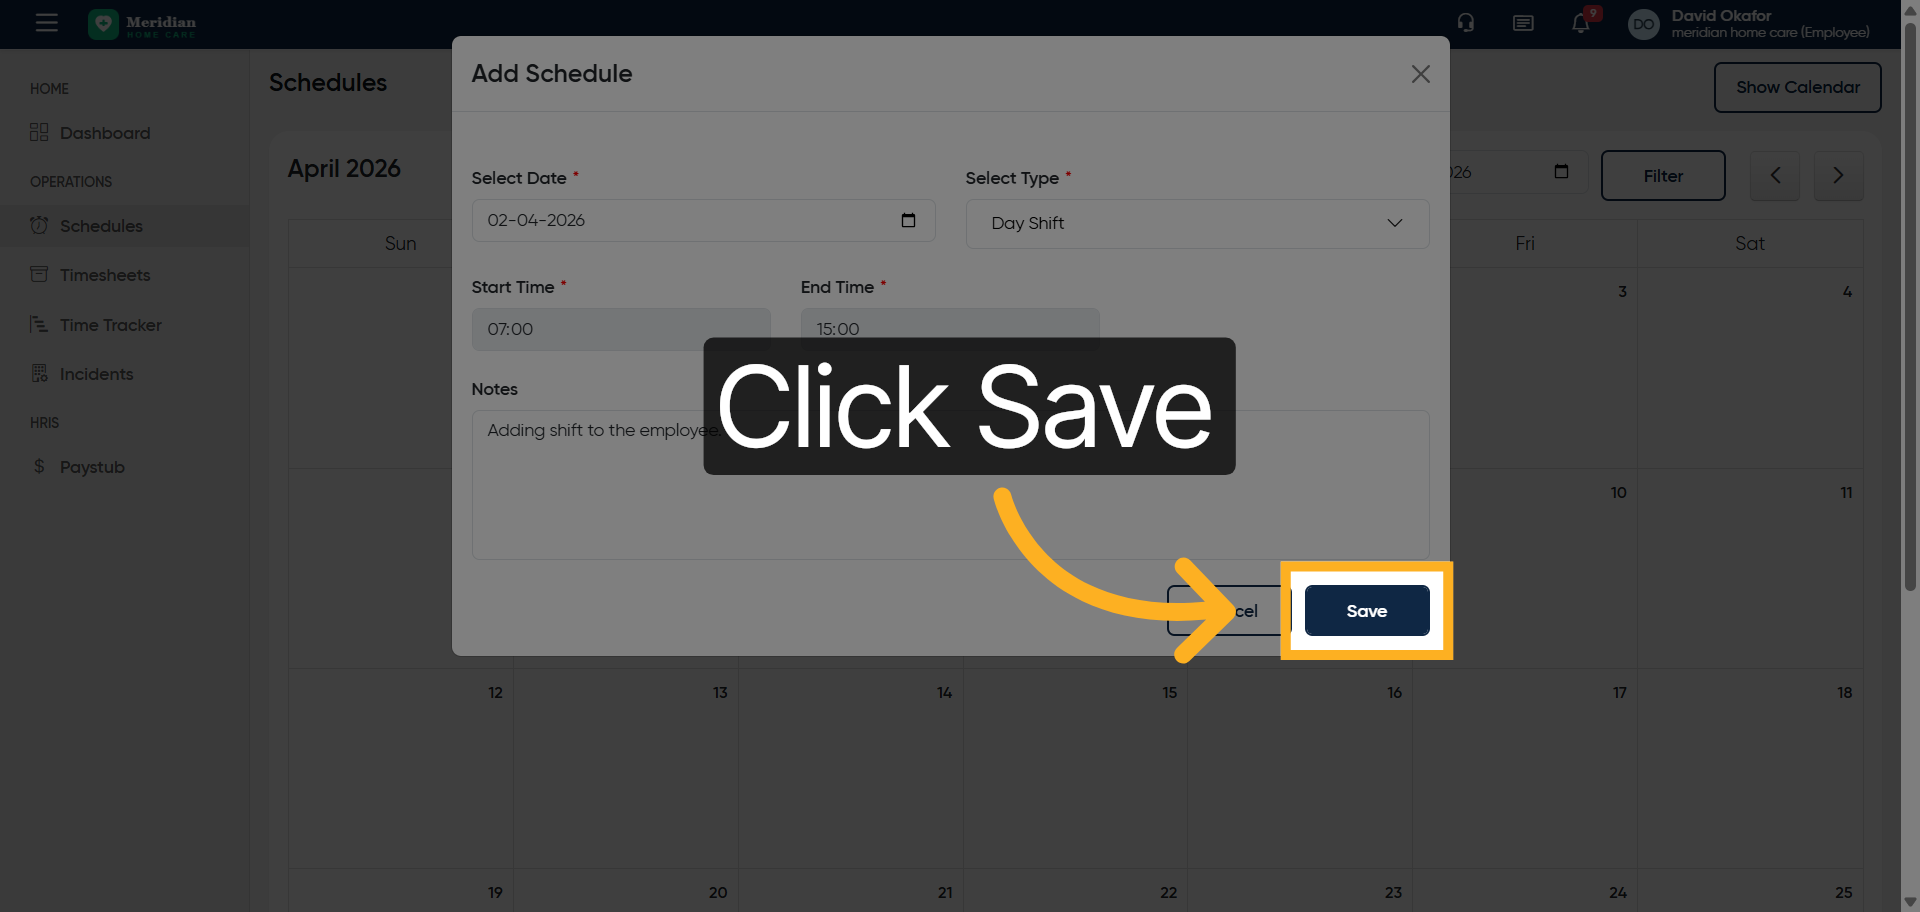
38. Save Schedule Changes
Click “Save”
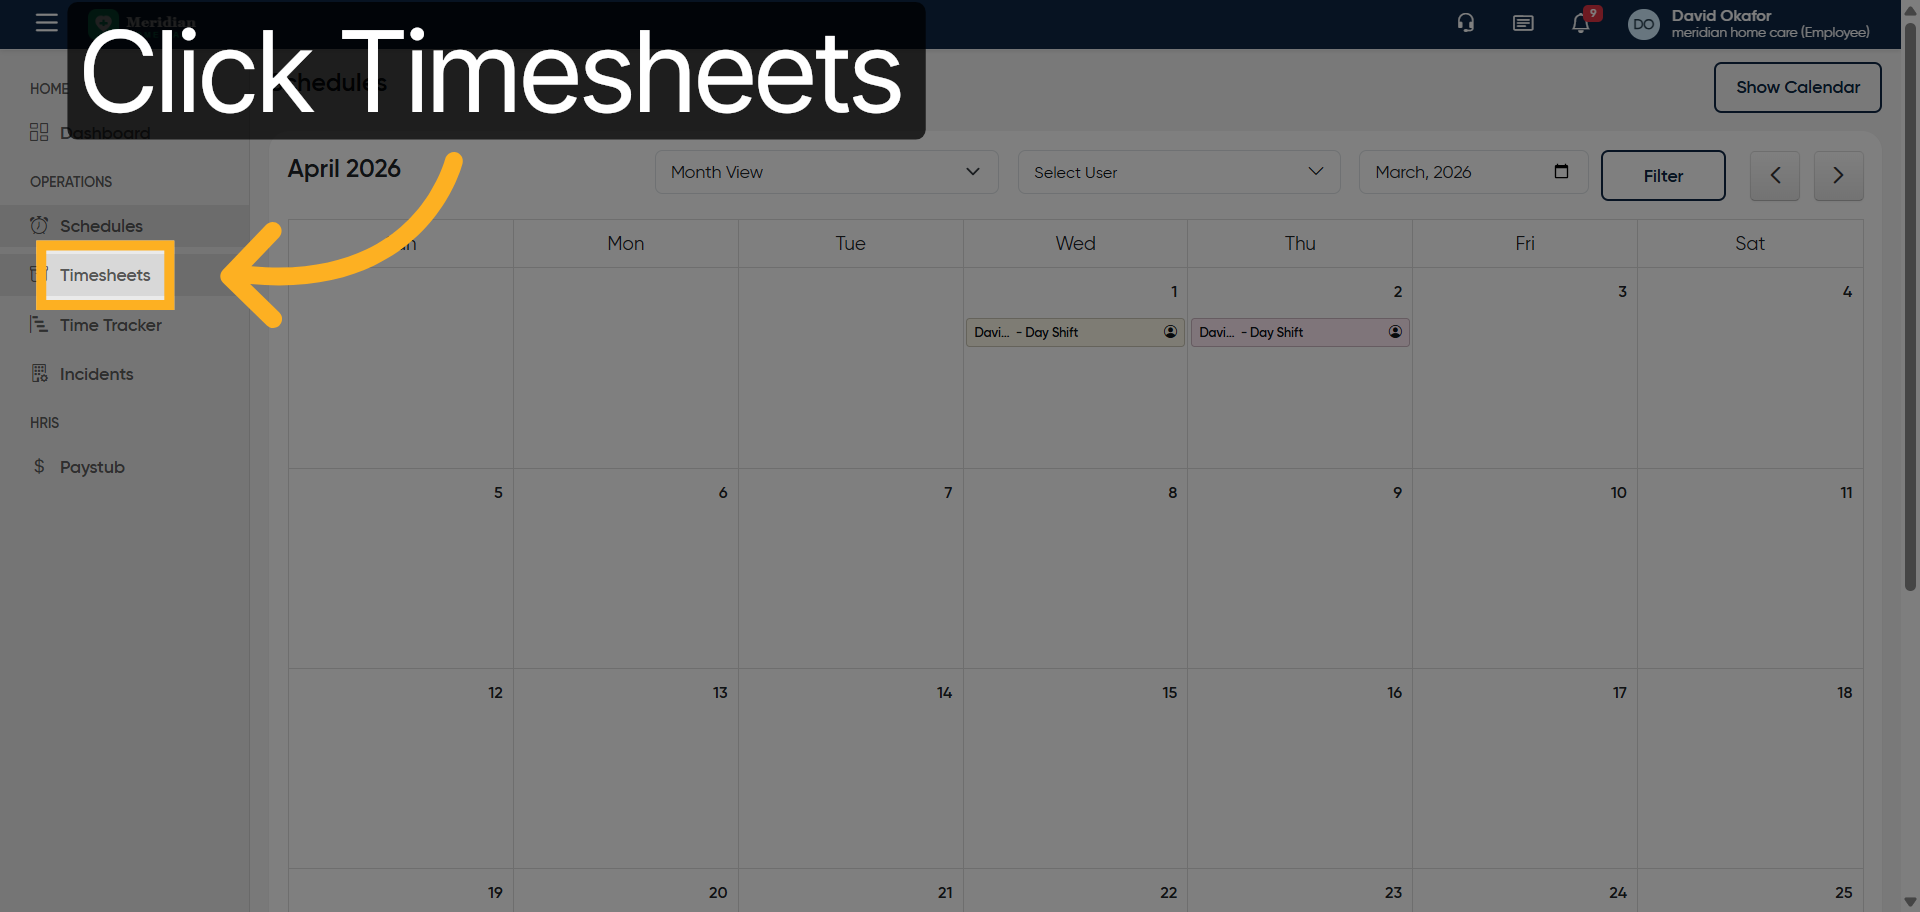
39. Open Timesheets Section
Click “Timesheets”
After completing this training, you will be able to accurately track your work hours, manage incidents, and handle employee scheduling within Office1solution. Practice these steps regularly to ensure proficiency and maintain accurate records for your role.