
Manage Leave
This training will teach you how to manage employee leave requests using Office1solution.
Go to app.office1solution.com
1. Introduction
You will learn to add, edit, and delete leave entries to maintain accurate records.
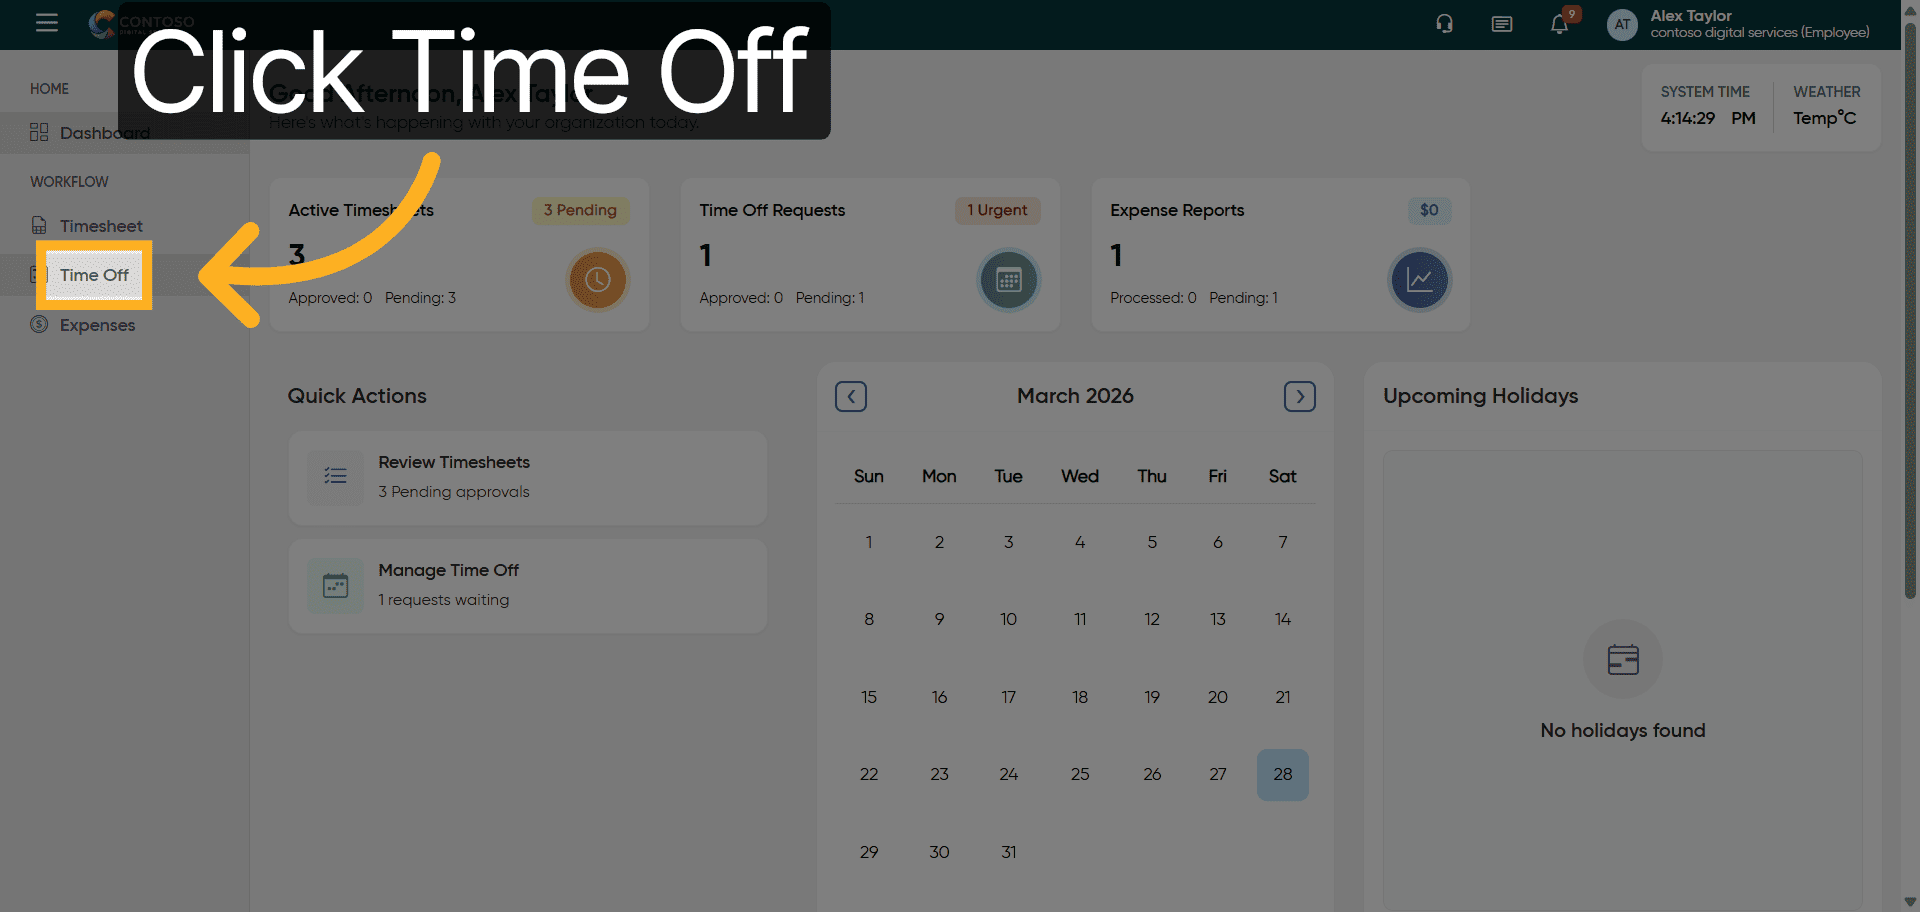
2. Access Time Off Section
Click the Time Off section to begin managing leave requests.
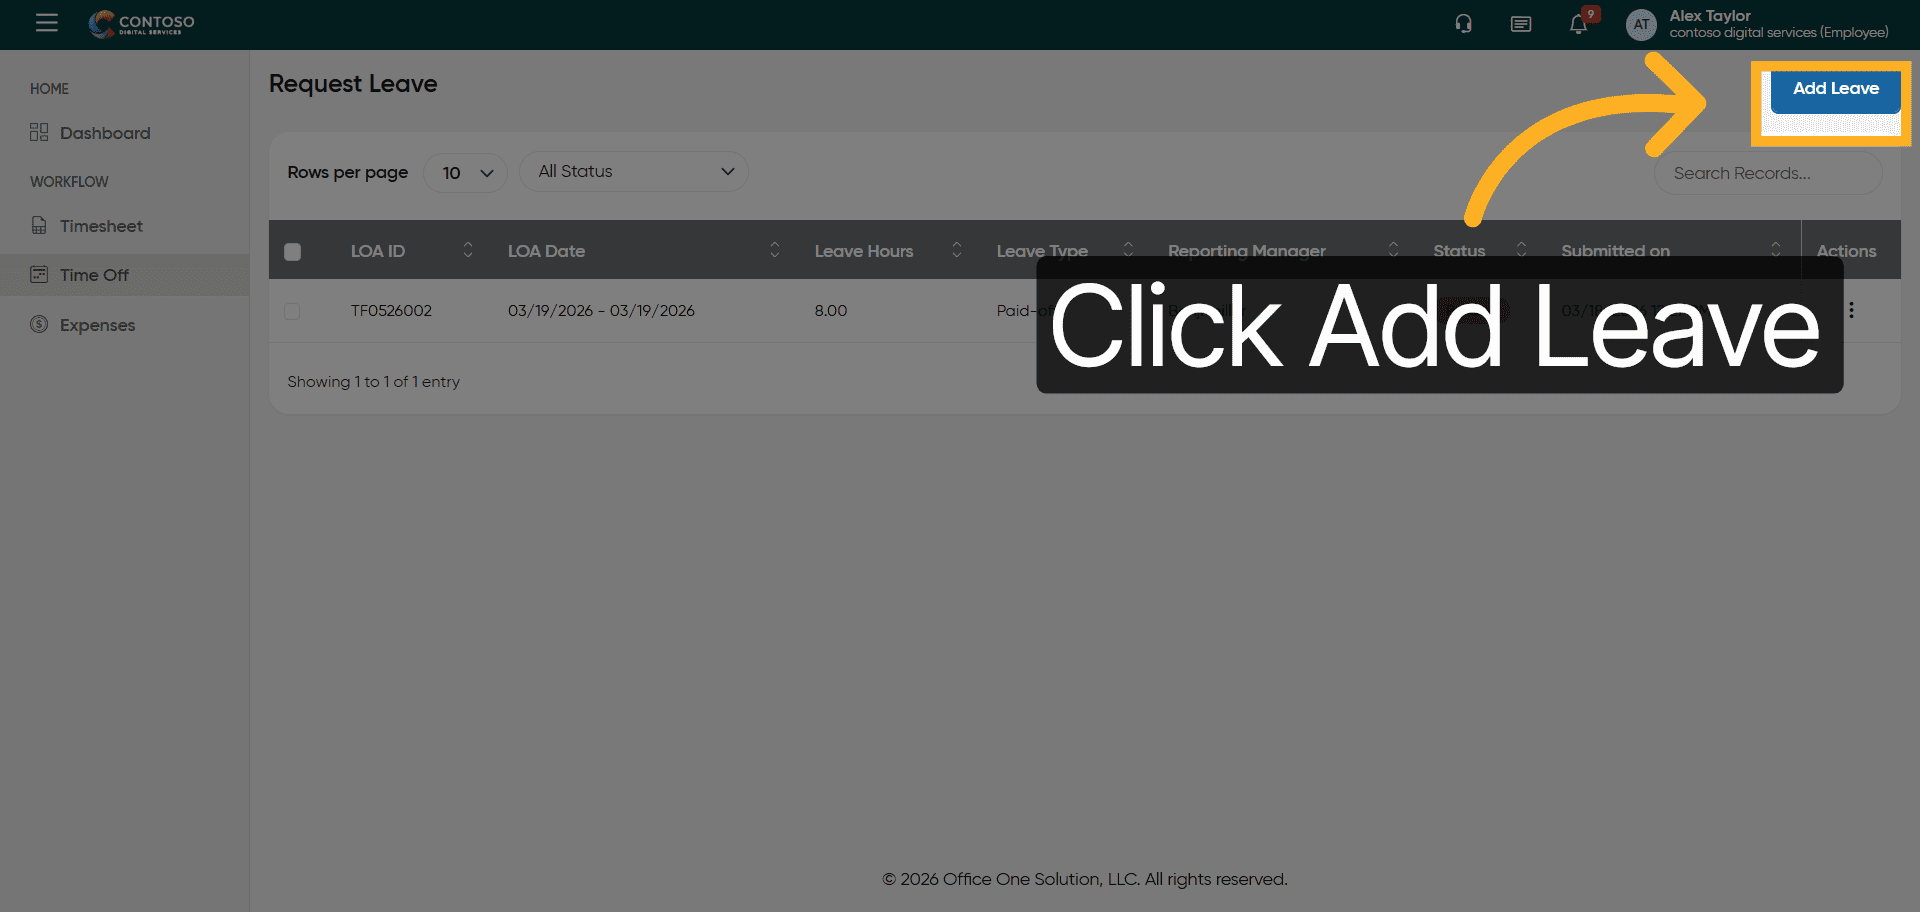
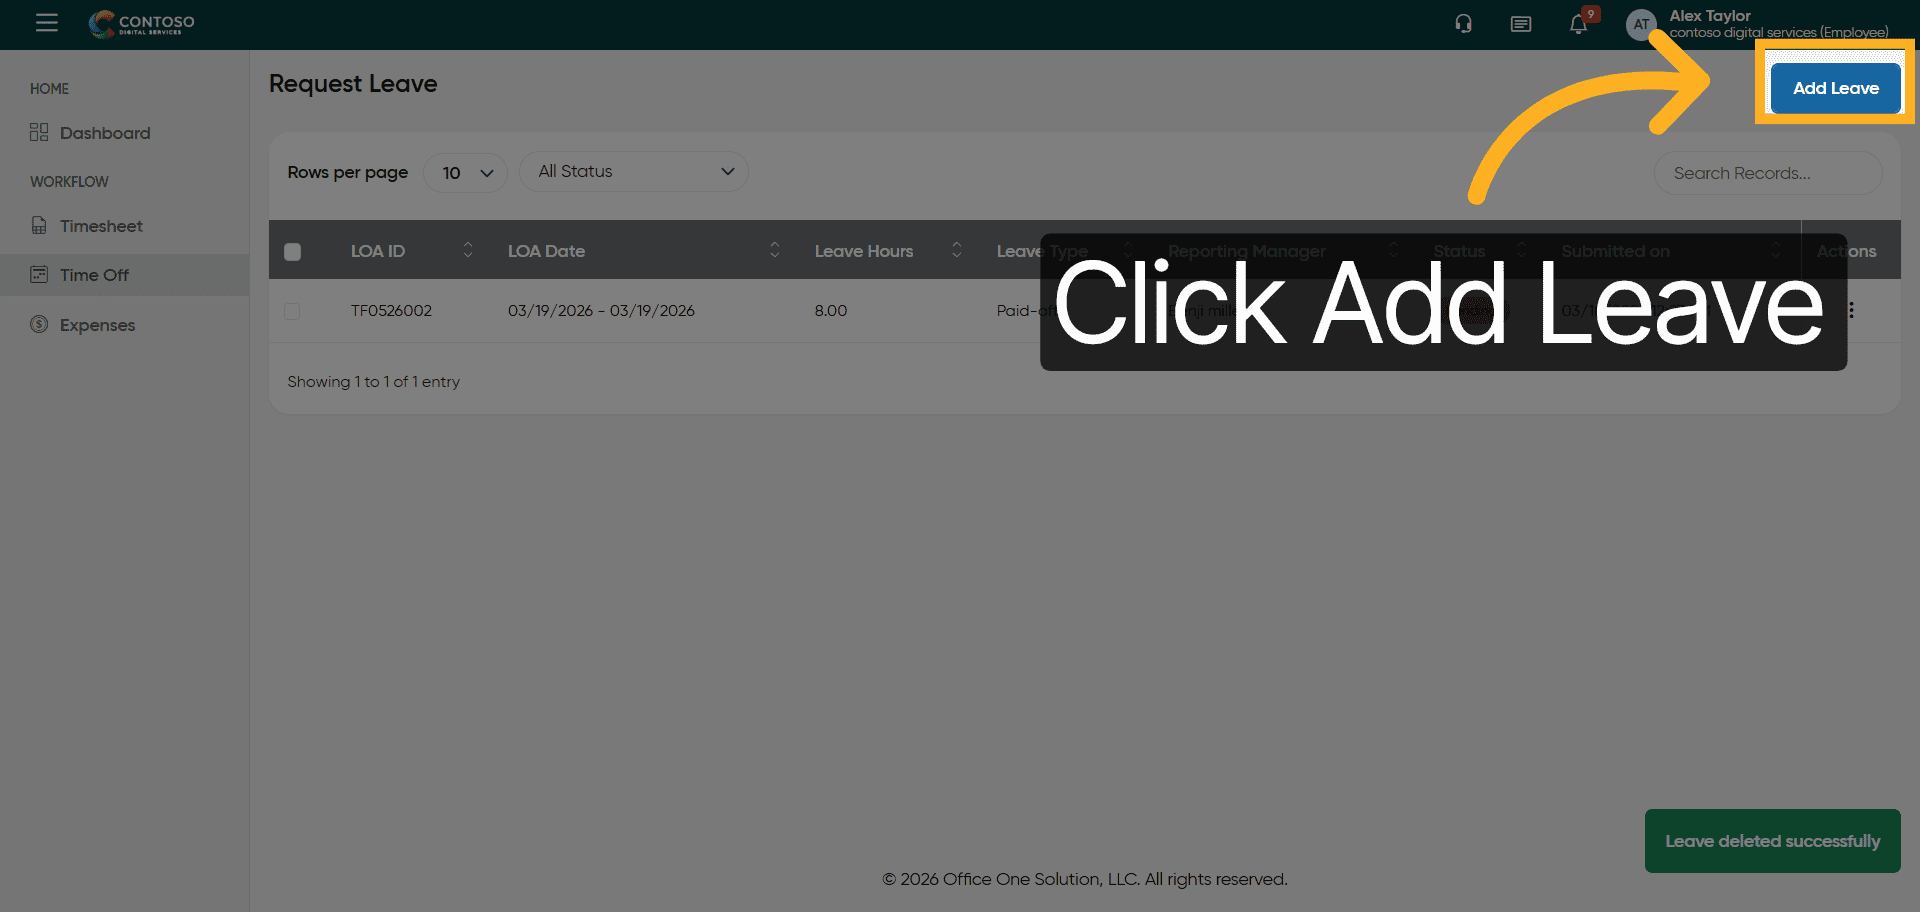
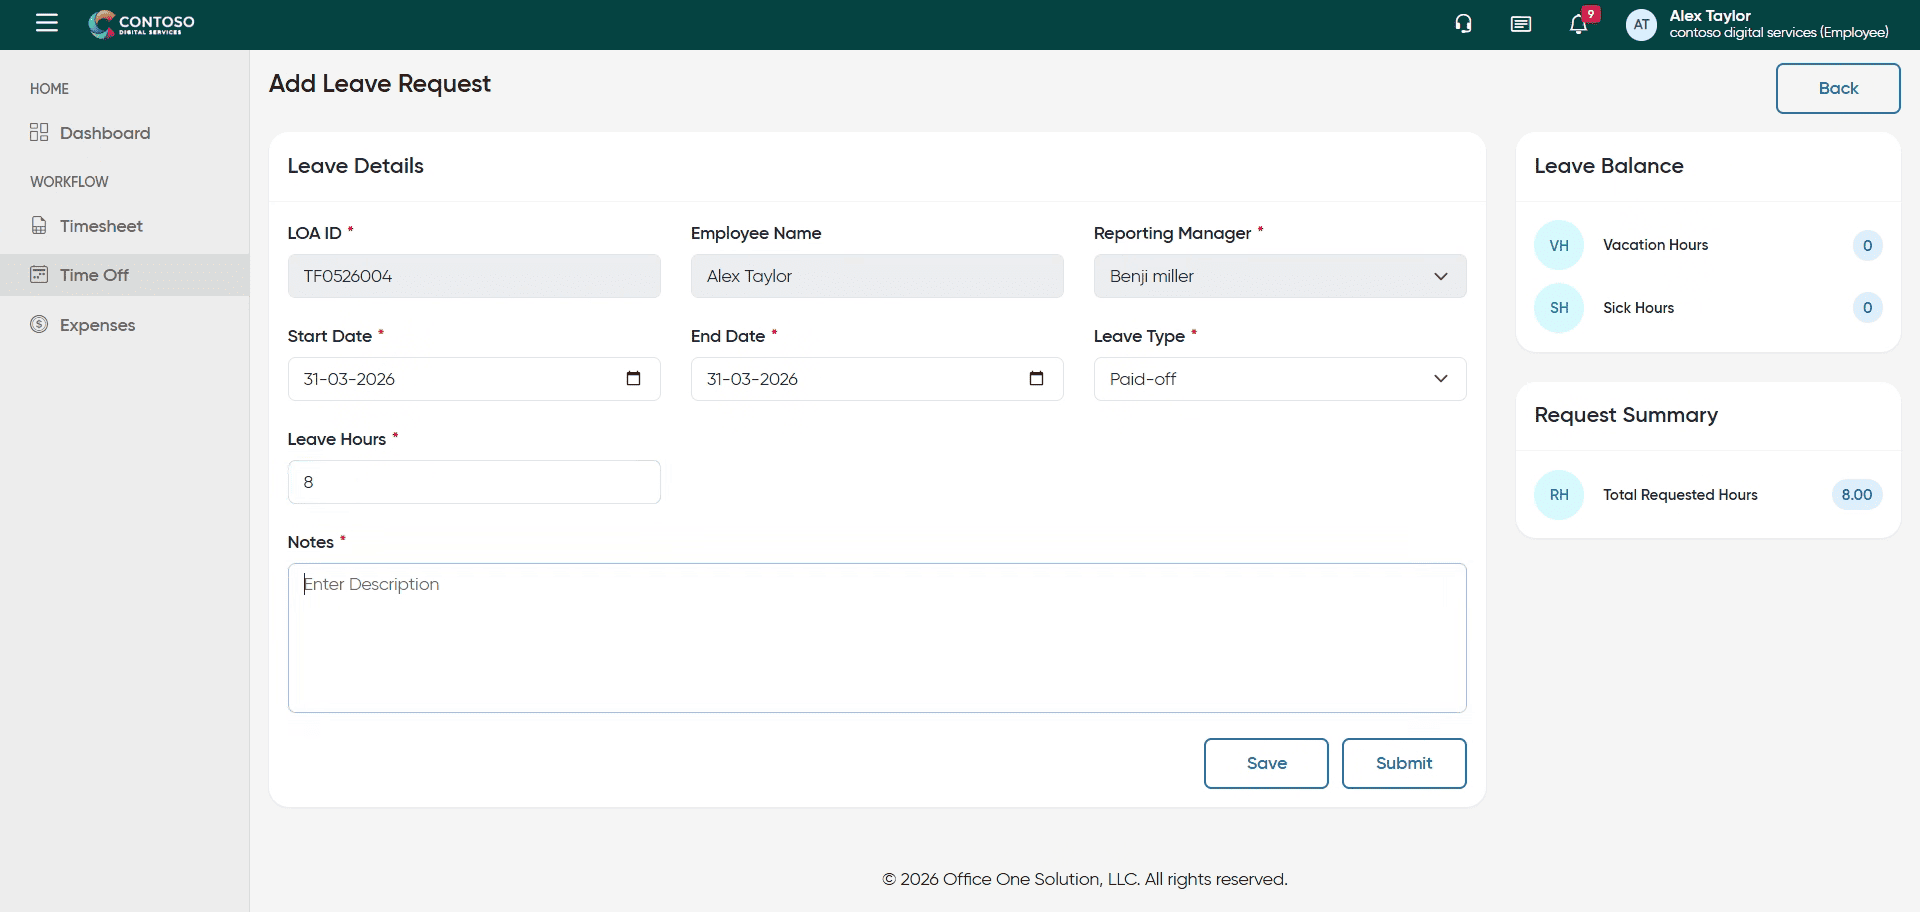
3. Open Add Leave Form
Click the Add Leave button to start a new leave request.
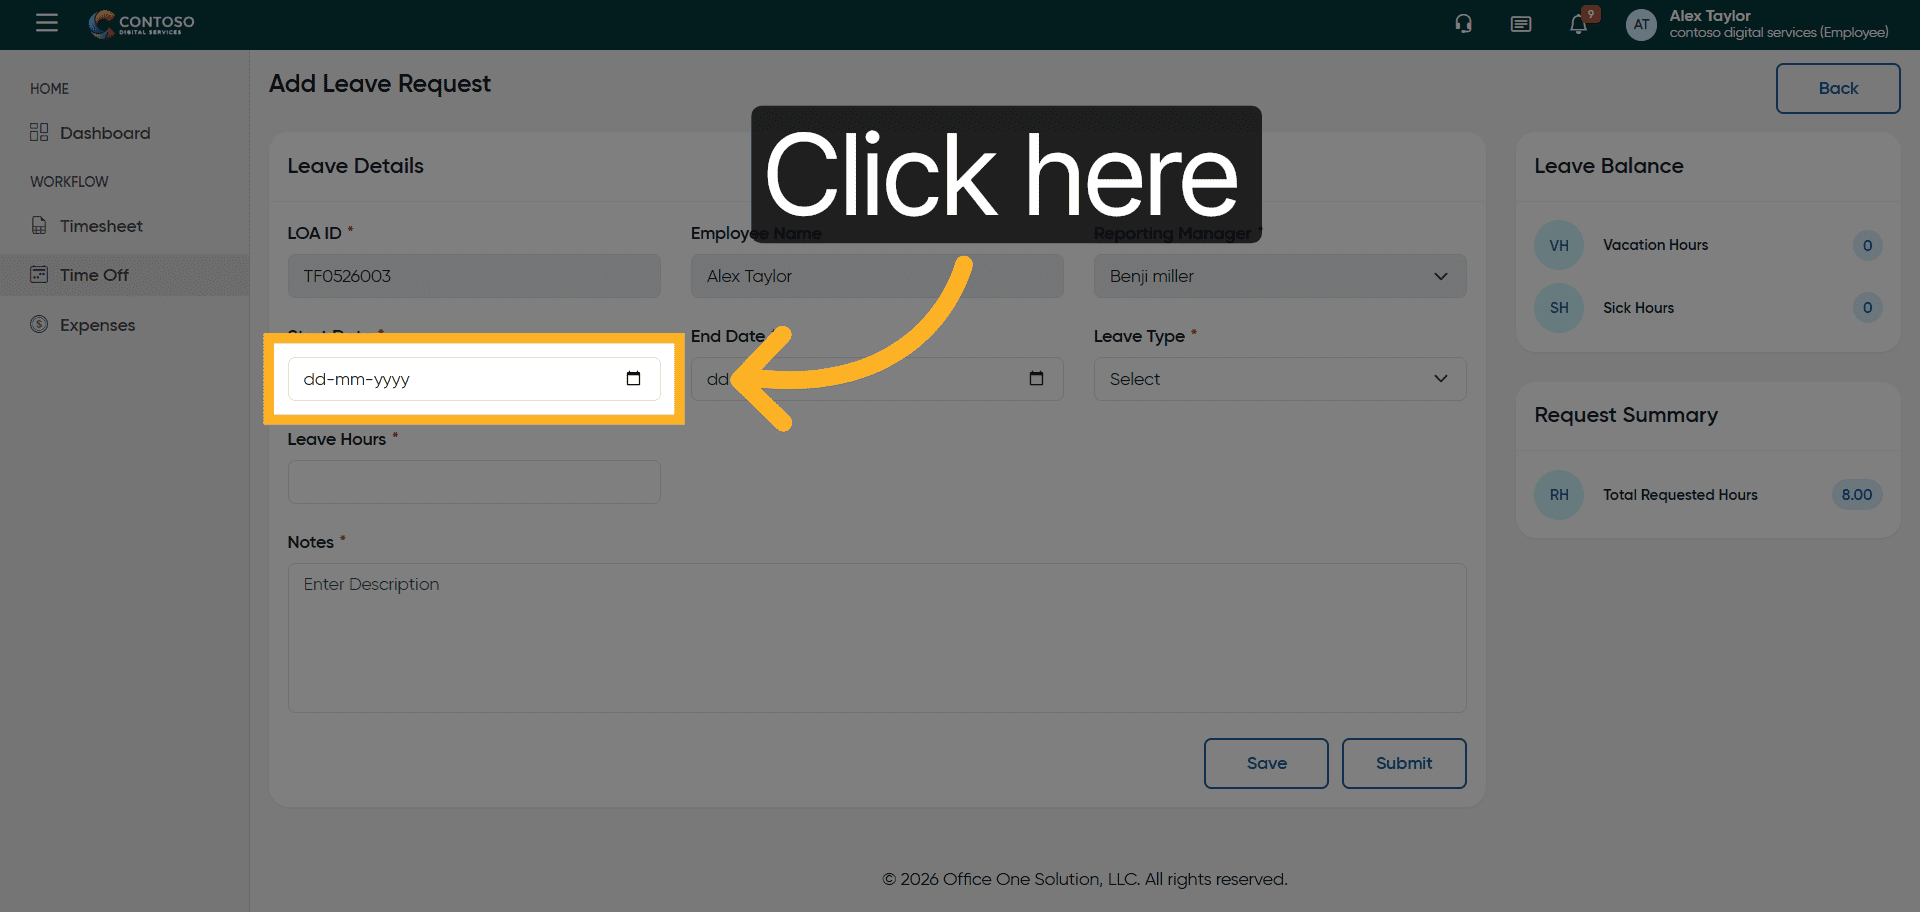
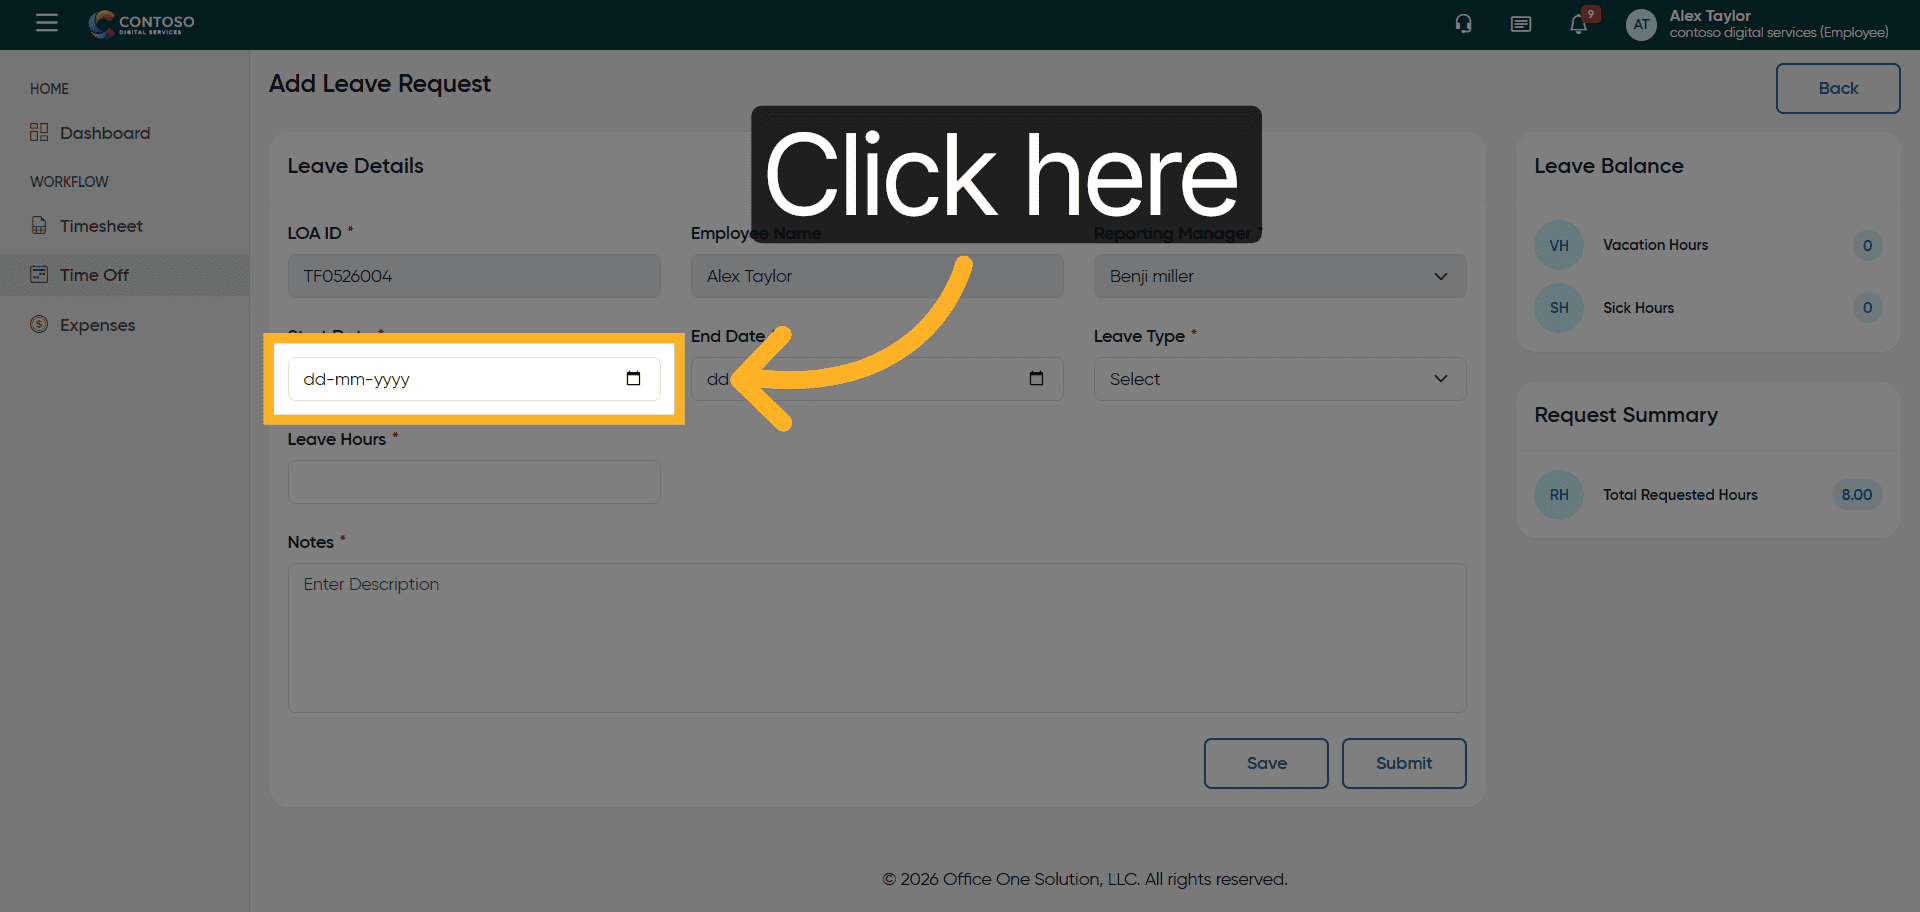
4. Initiate Leave Date Entry
Click the date field to specify the leave start date.
5. Enter Leave Start Date
Enter the leave start date as 2026-03-30.

6. Open Leave Type Dropdown
Click the leave type dropdown to select the type of leave.
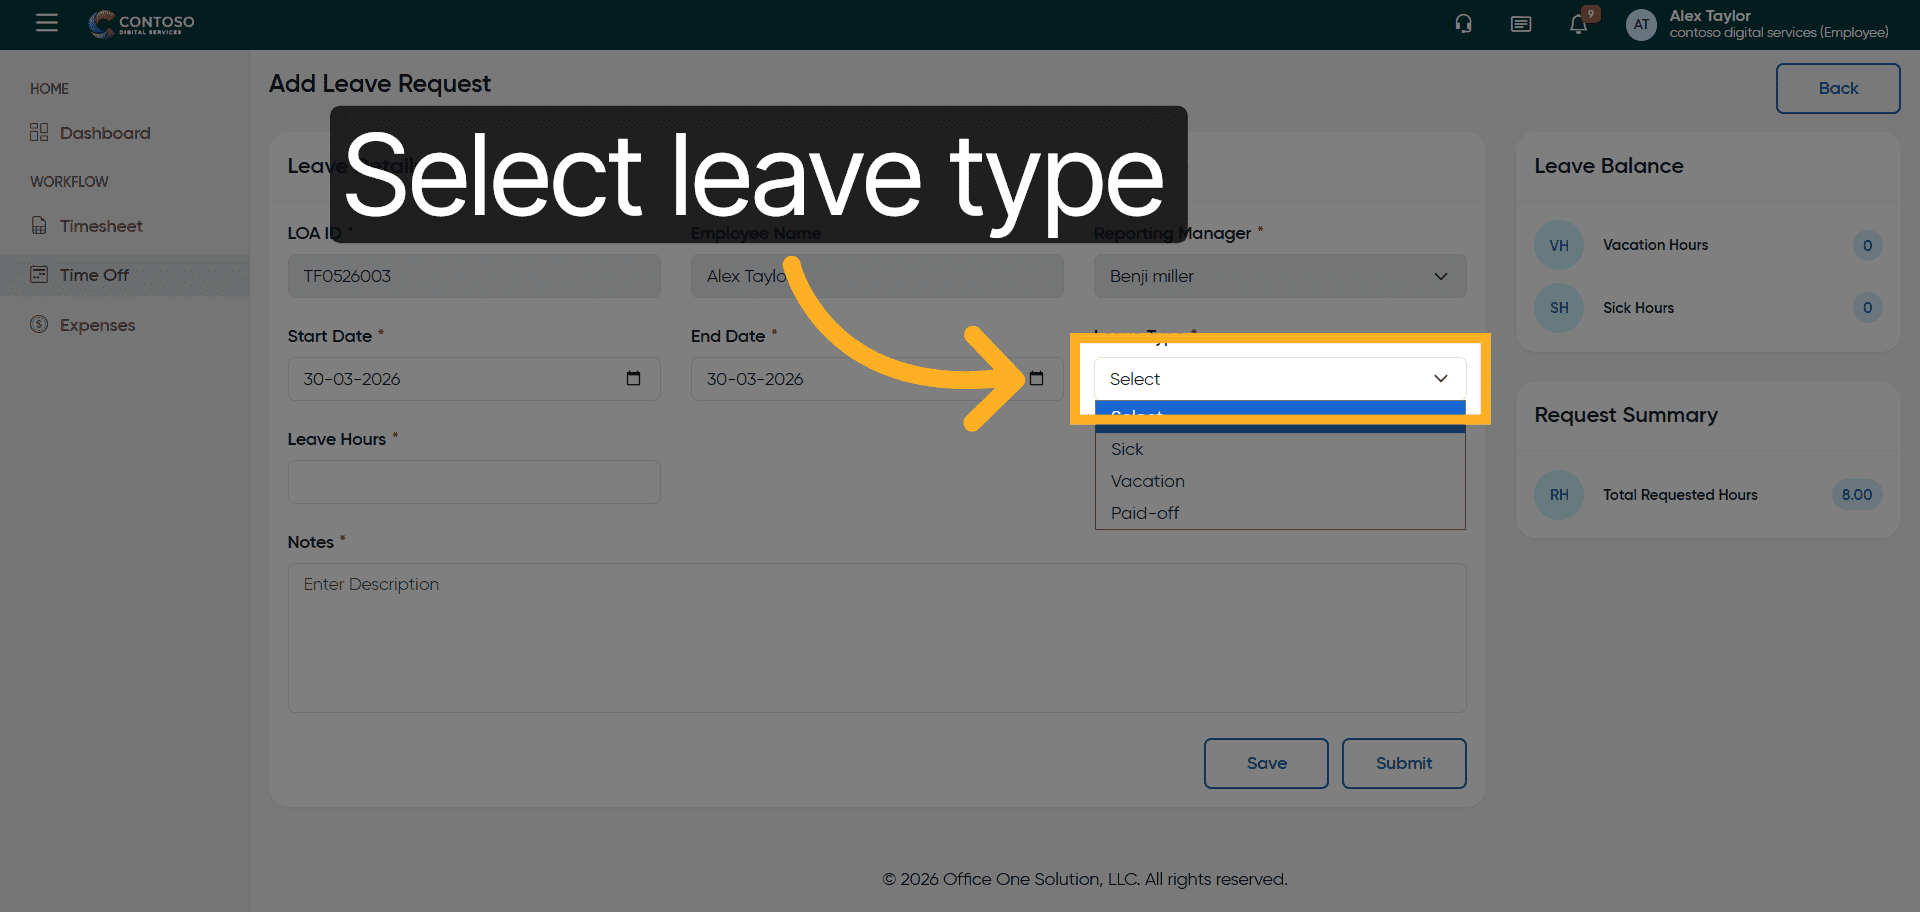
7. Choose Leave Type
Select the appropriate leave type such as Sick, Vacation, or Paid-off.
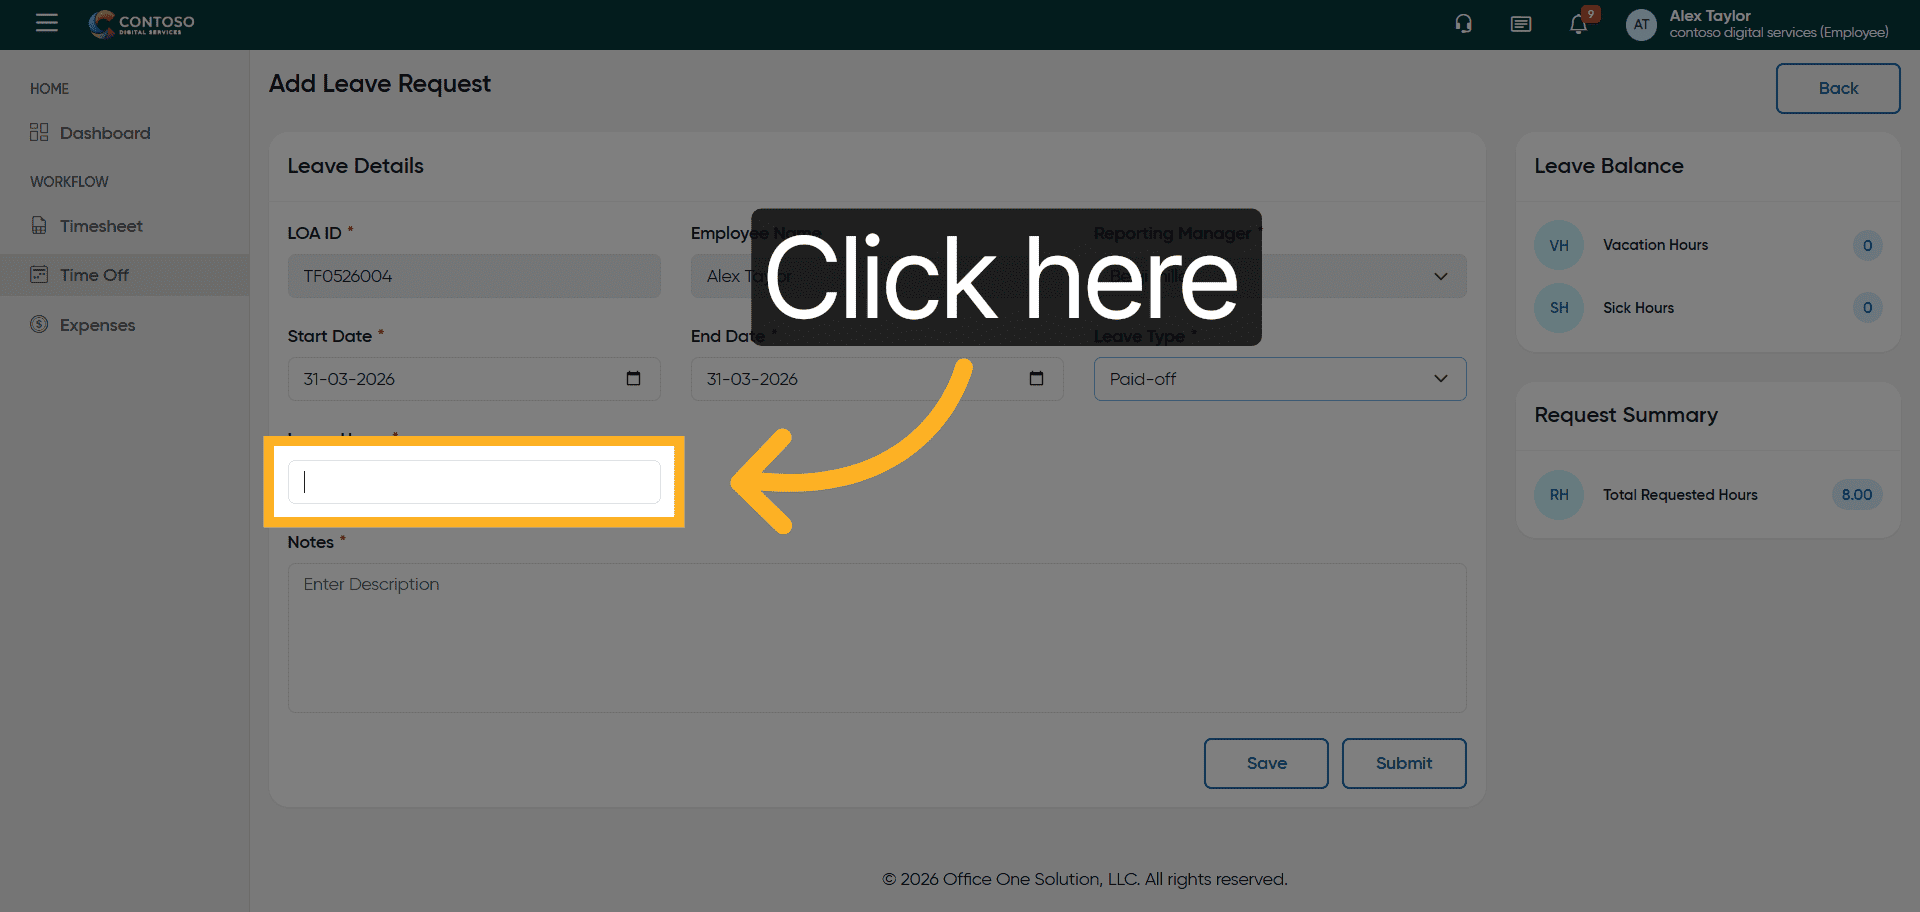
8. Activate Leave Hours Field
Click the hours field to specify the number of leave hours.

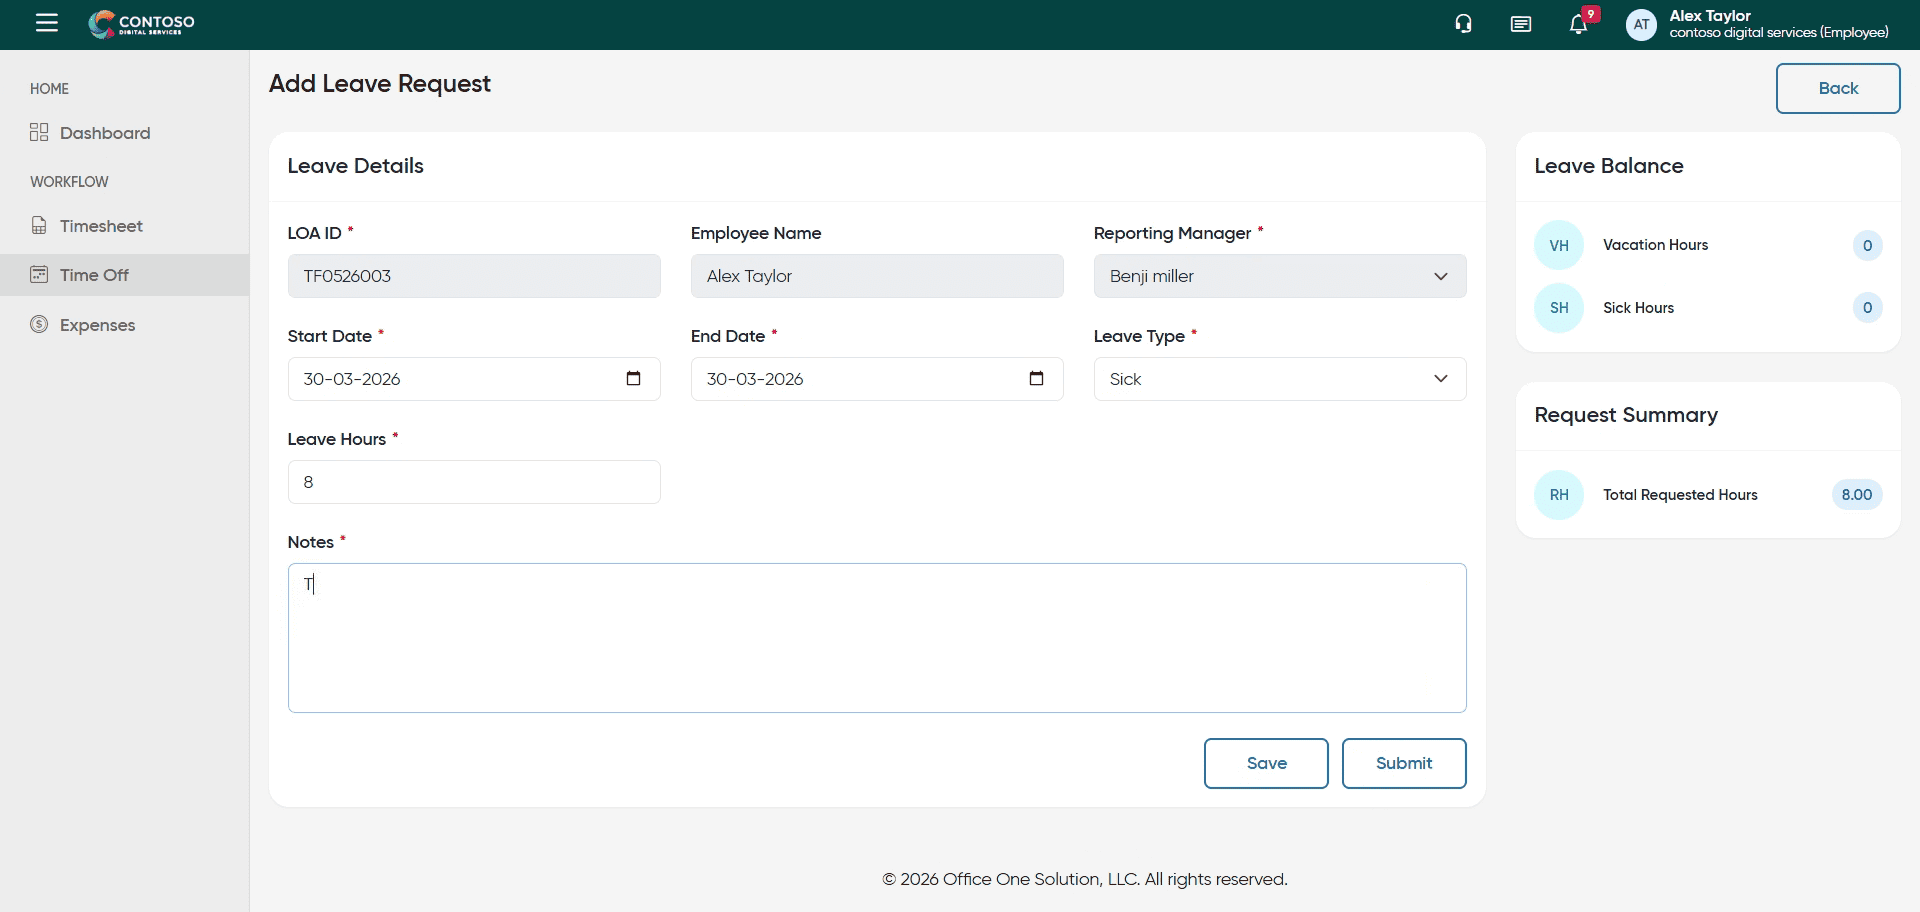
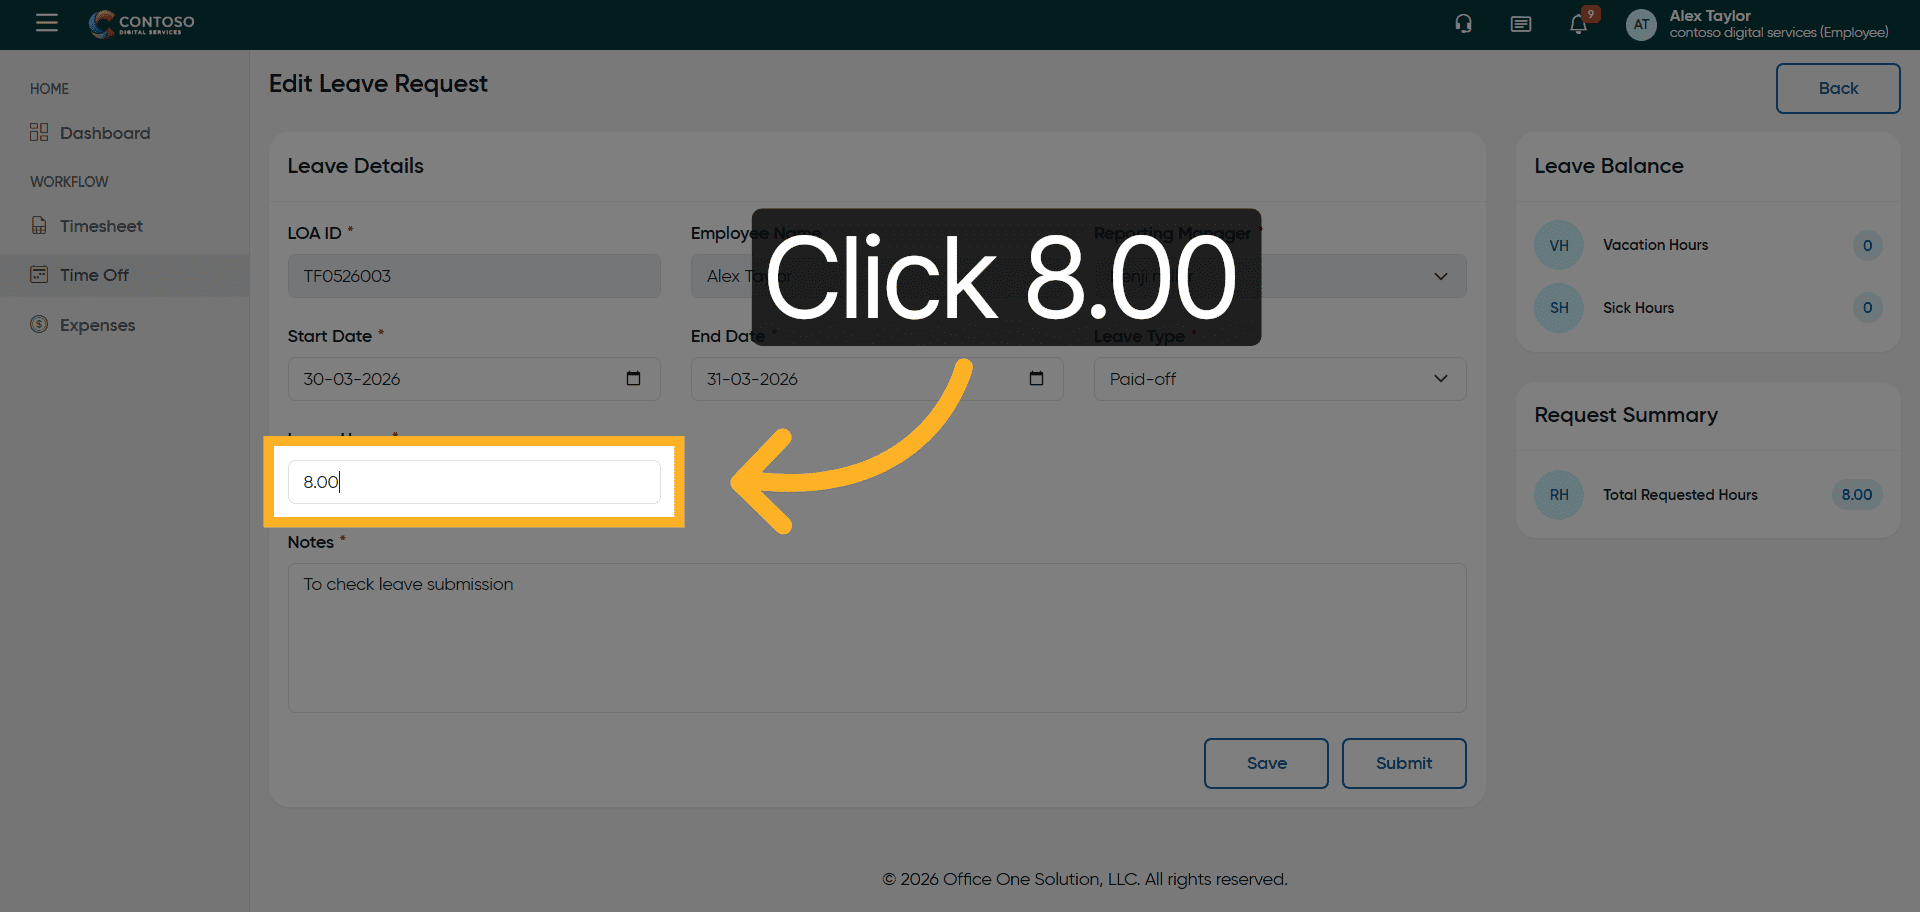
9. Enter Leave Hours
Enter the number of leave hours as 8.

10. Open Description Field
Click the description field to add details about the leave request.
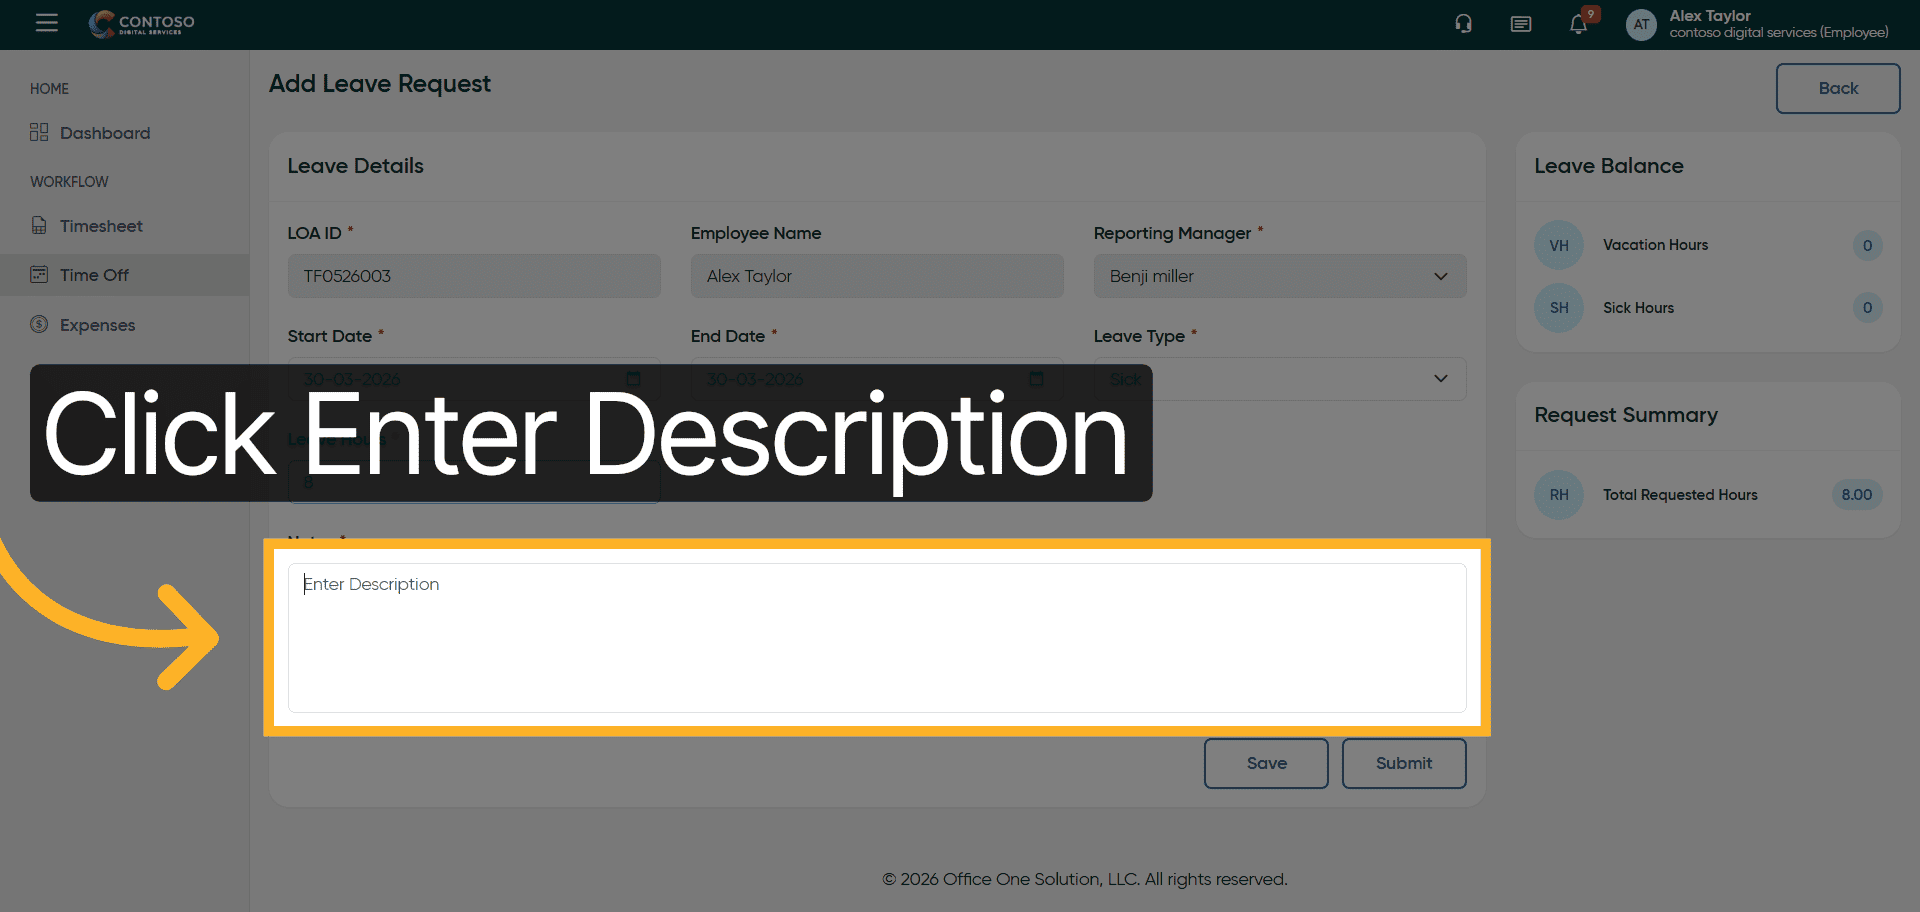
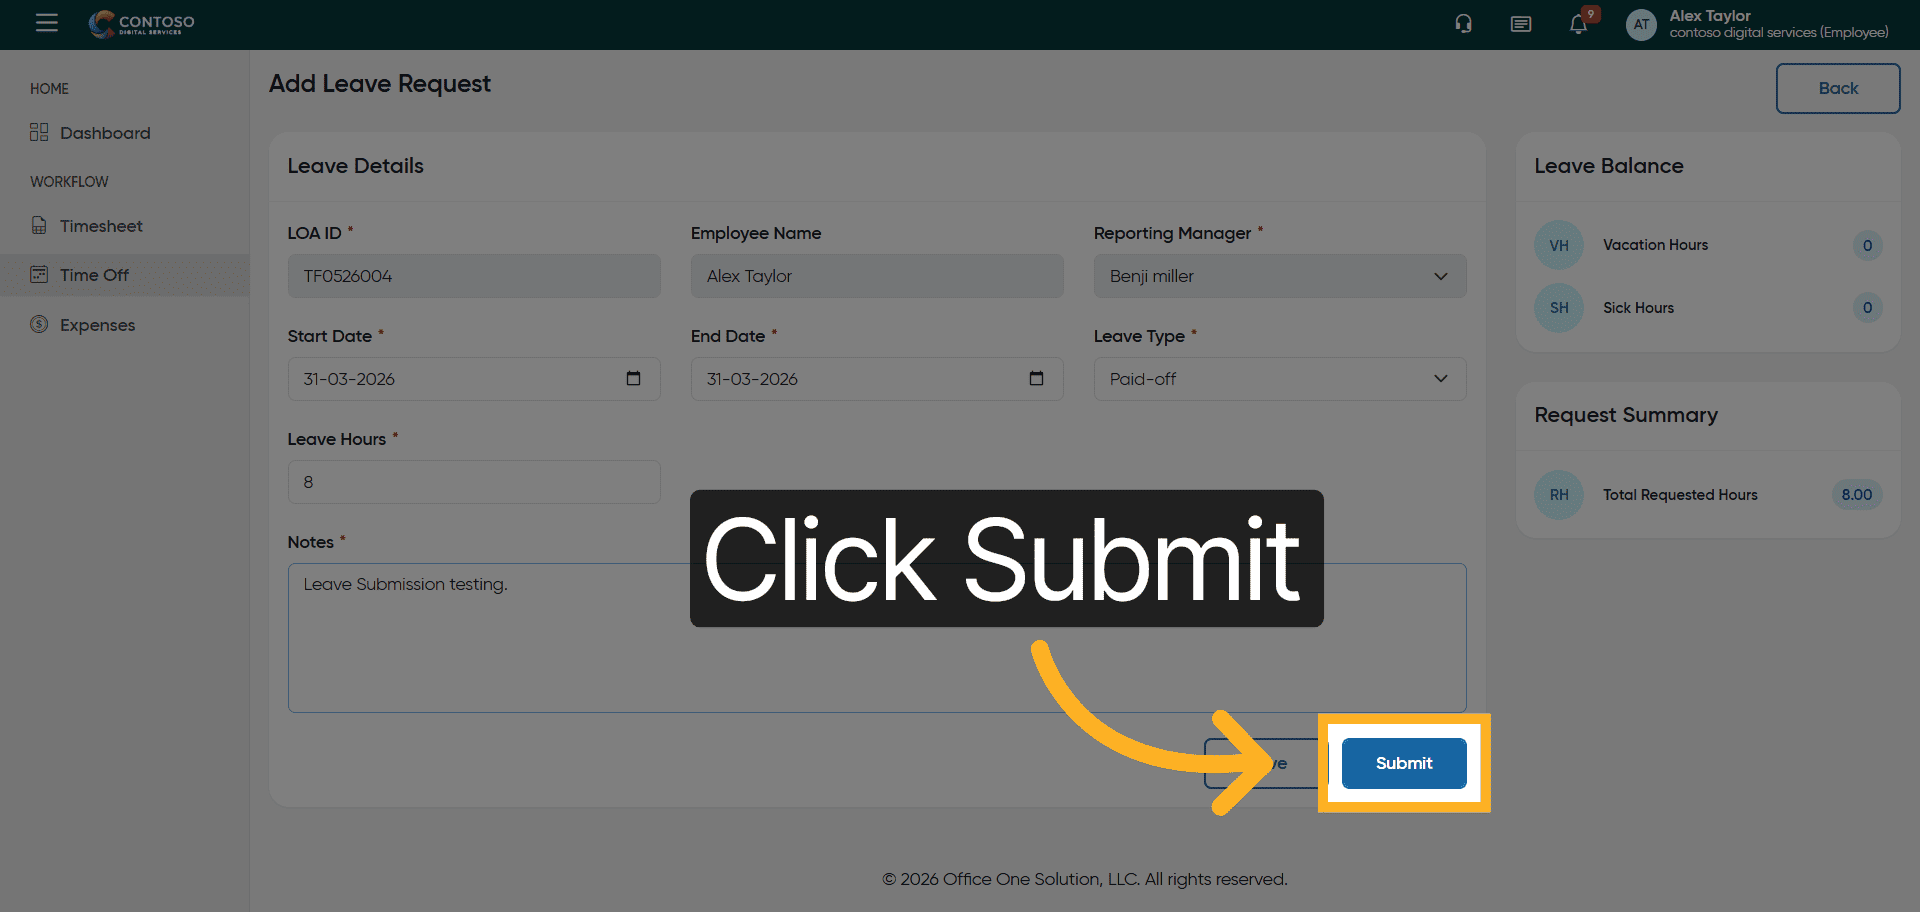
11. Add Leave Description
Enter the description: To check leave submission.
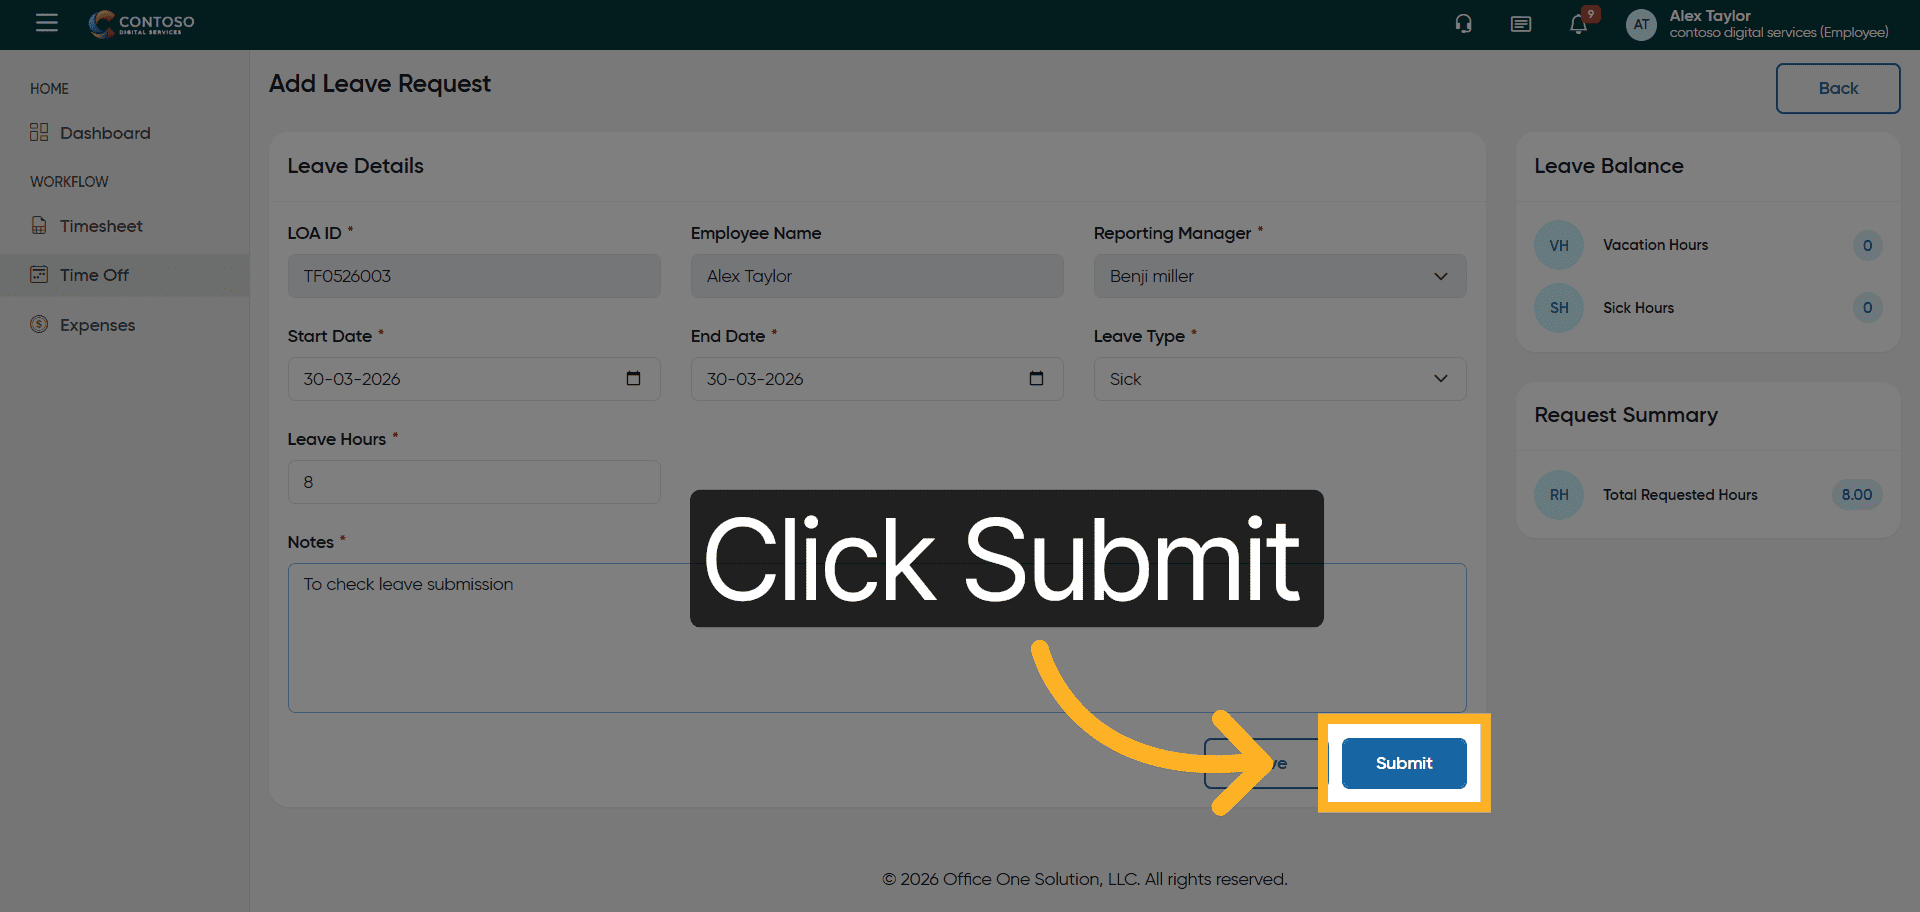
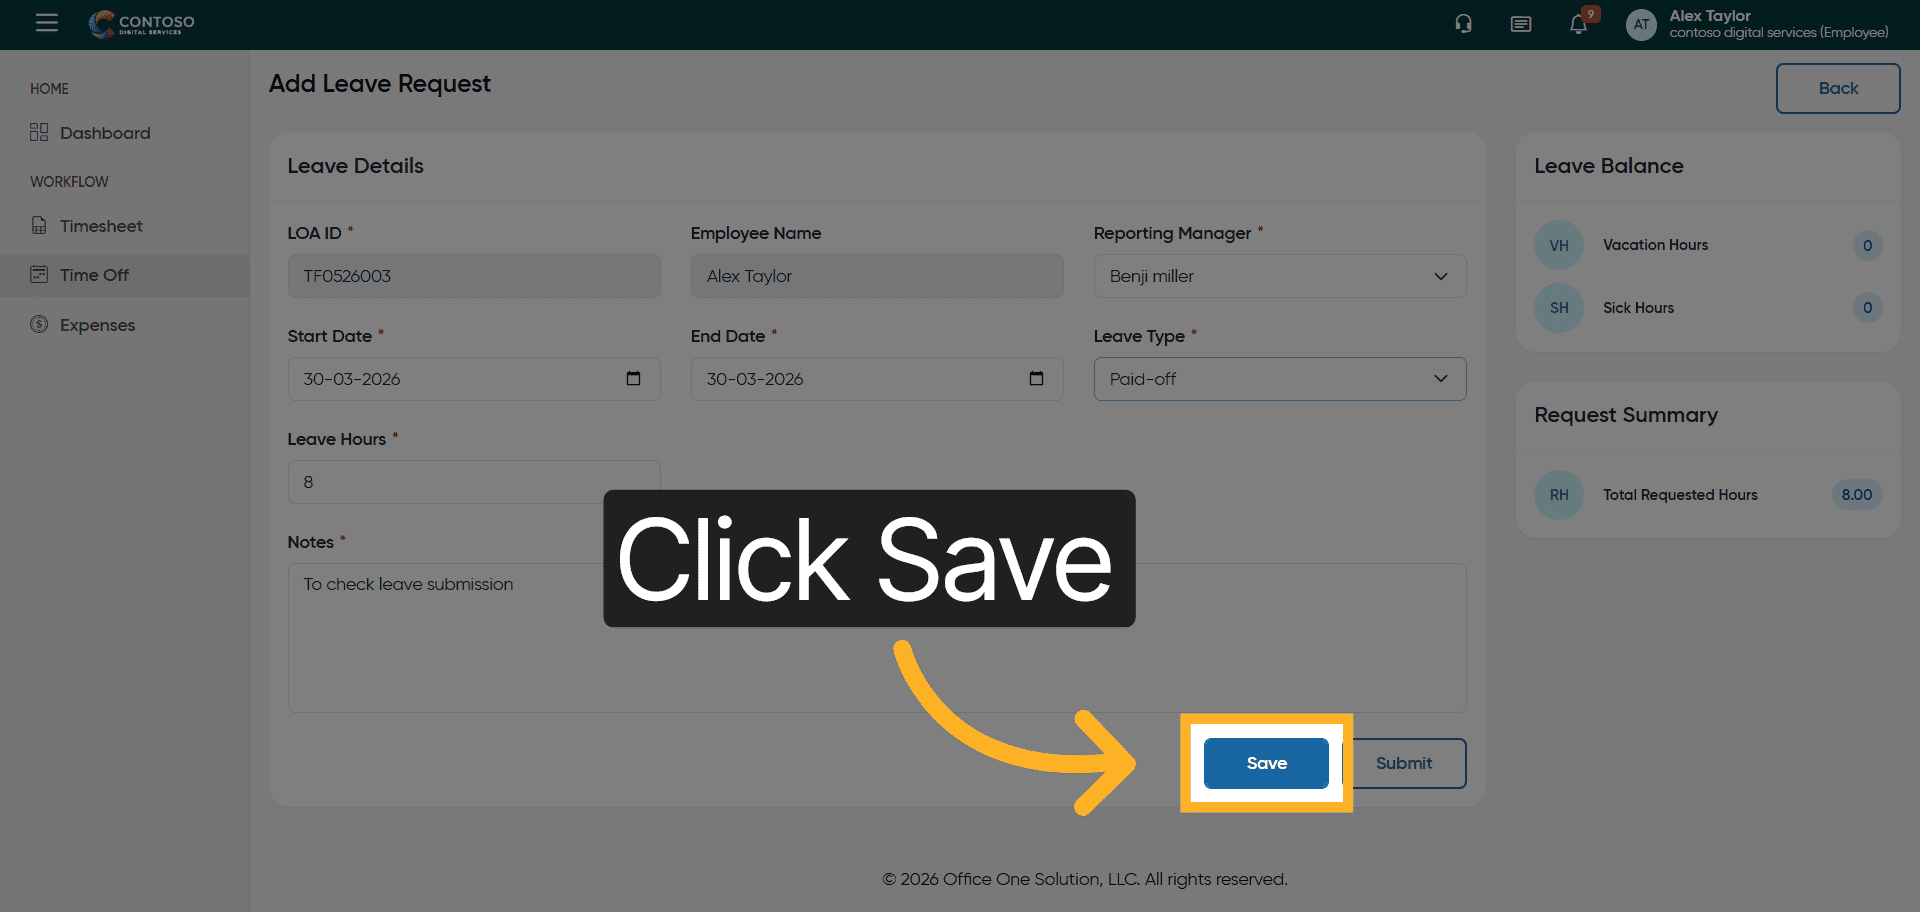
12. Submit Leave Request
Click the Submit button to send the leave request for approval.
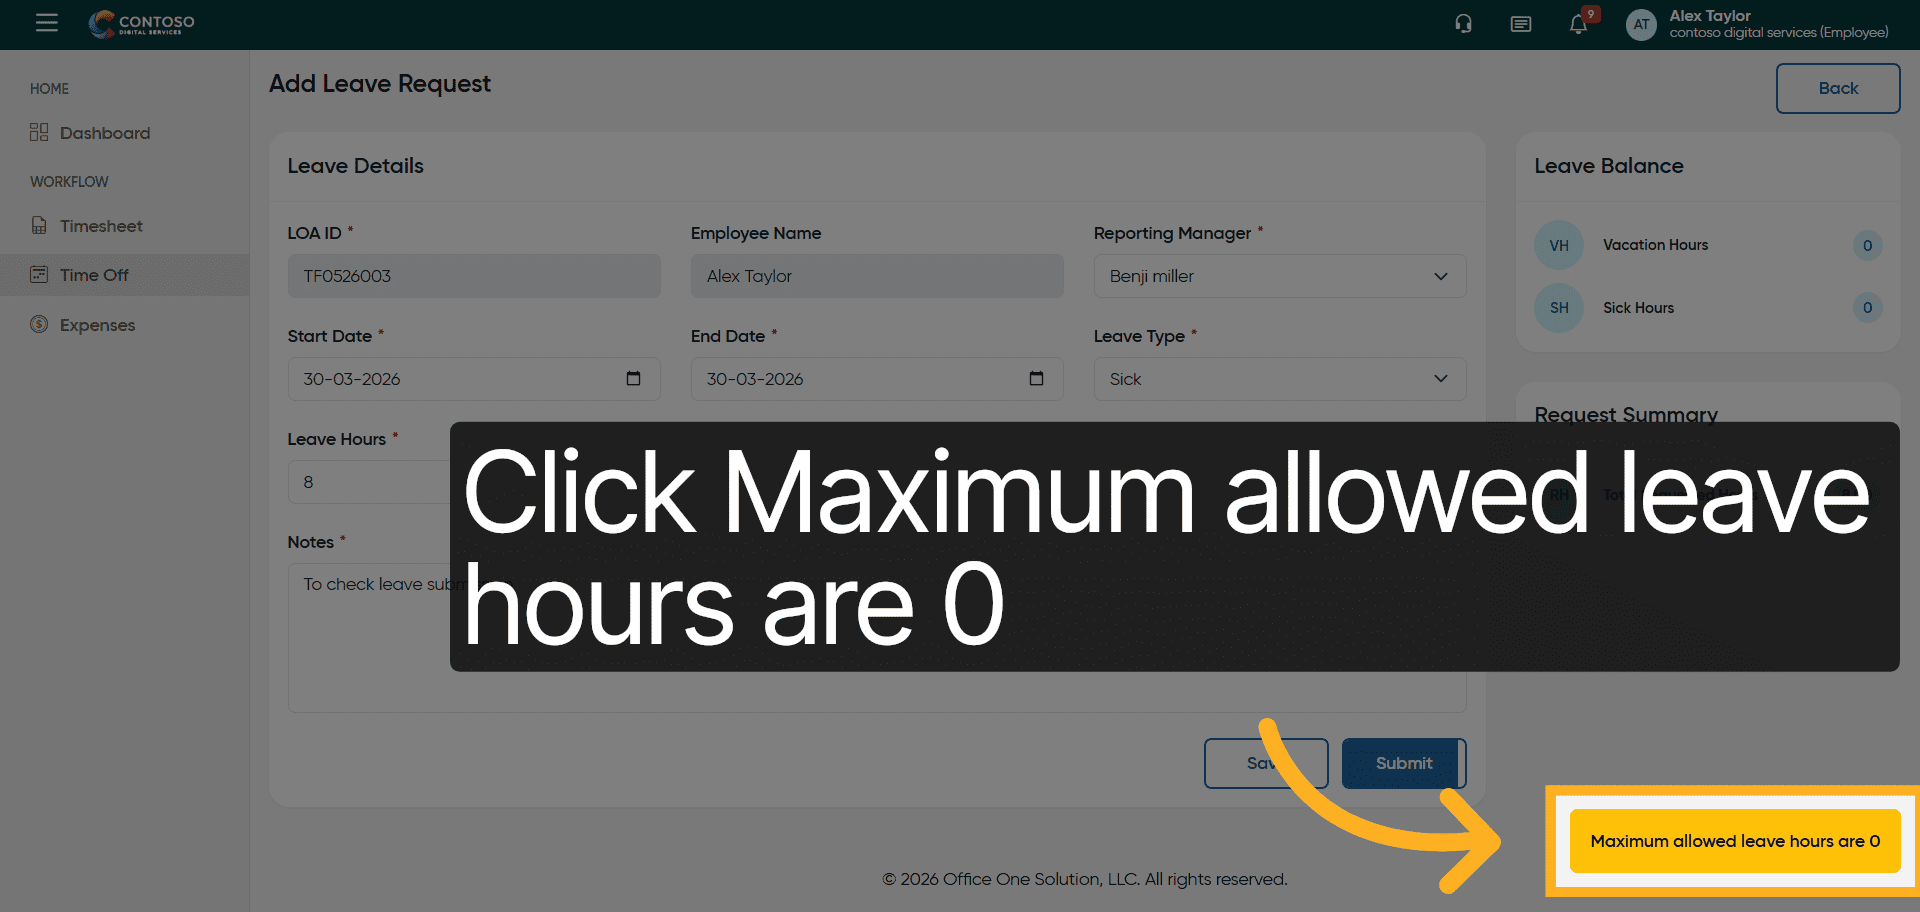
13. View Leave Hours Limit
Click the message indicating maximum allowed leave hours are 0 to review limits.
14. Reopen Leave Type Dropdown
Click the leave type dropdown again to adjust the leave category.
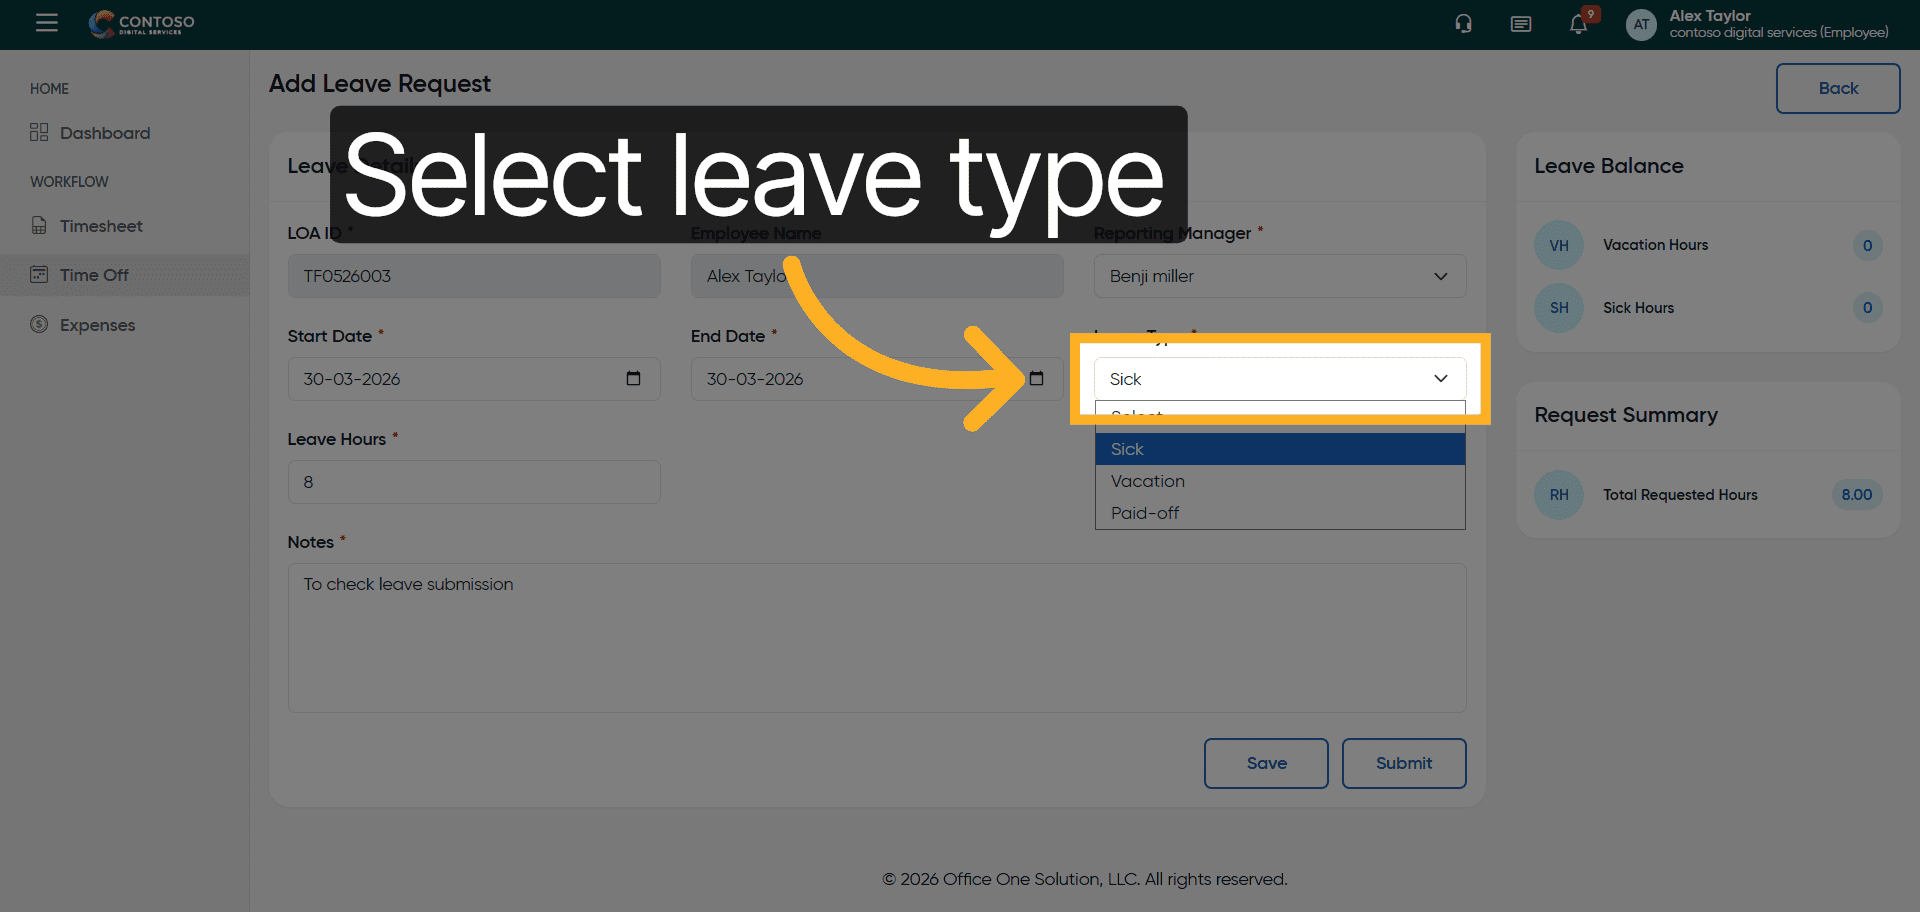
15. Modify Leave Type
Select a different leave type such as Sick, Vacation, or Paid-off as needed.
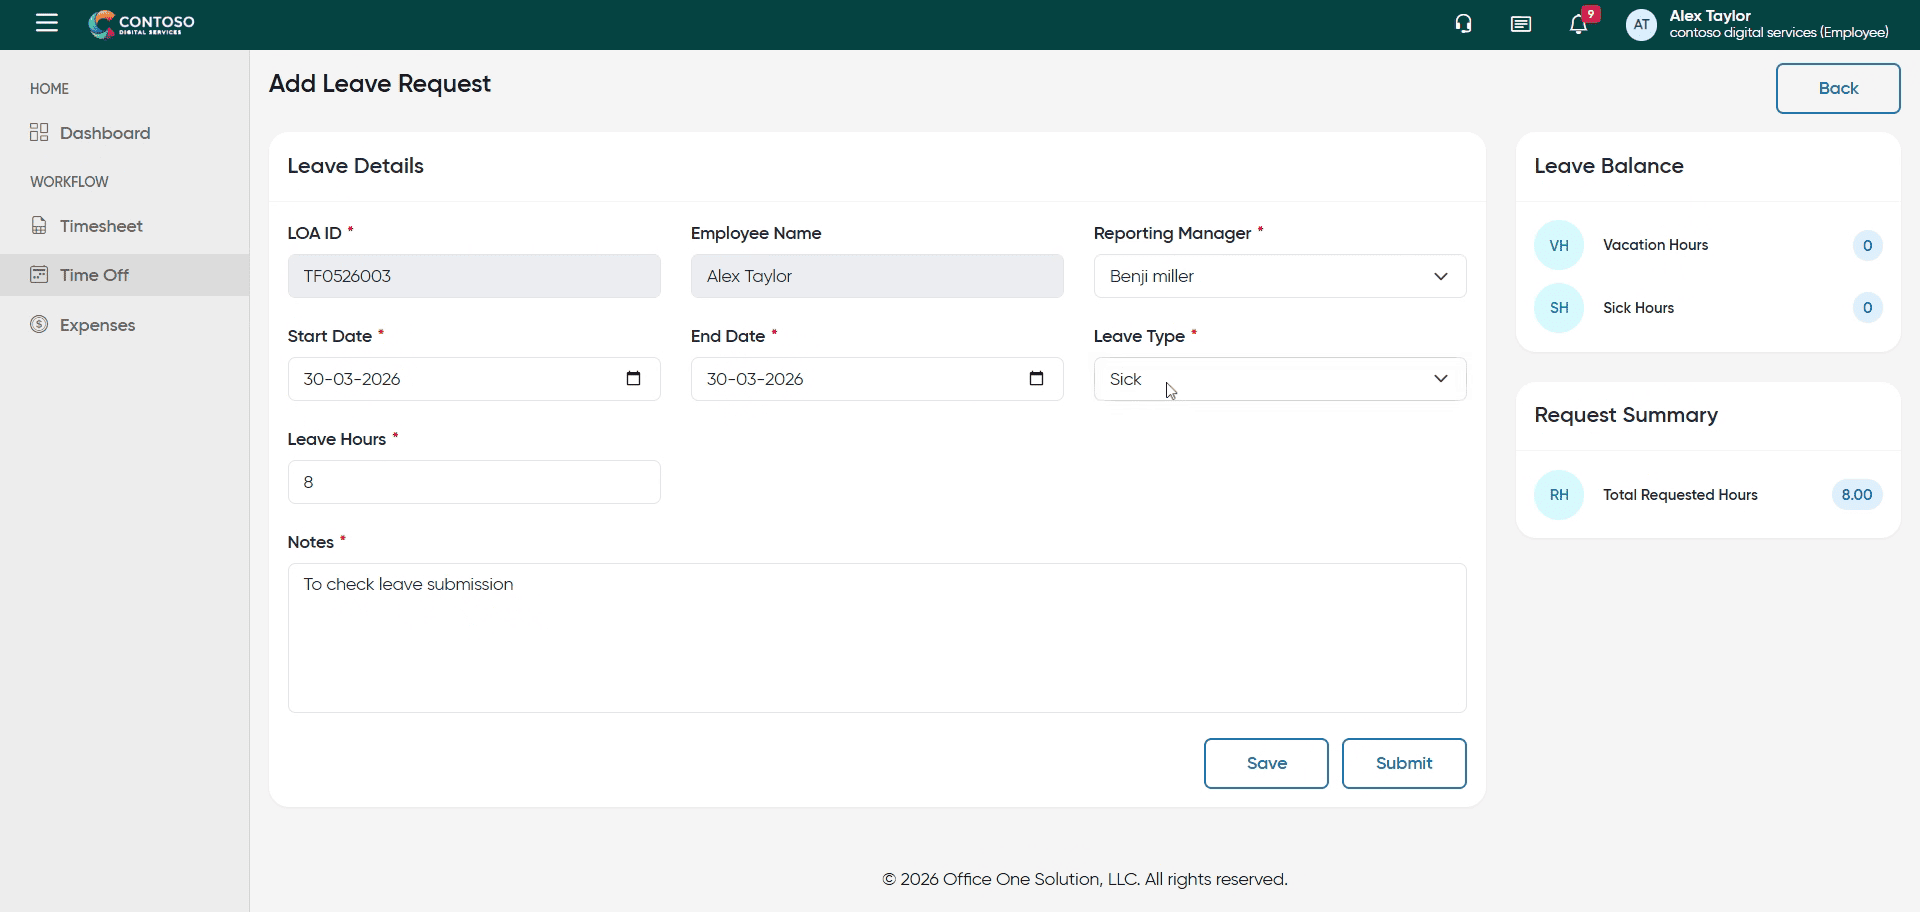
16. Save Leave Type Changes
Click the Save button to apply changes to the leave type.
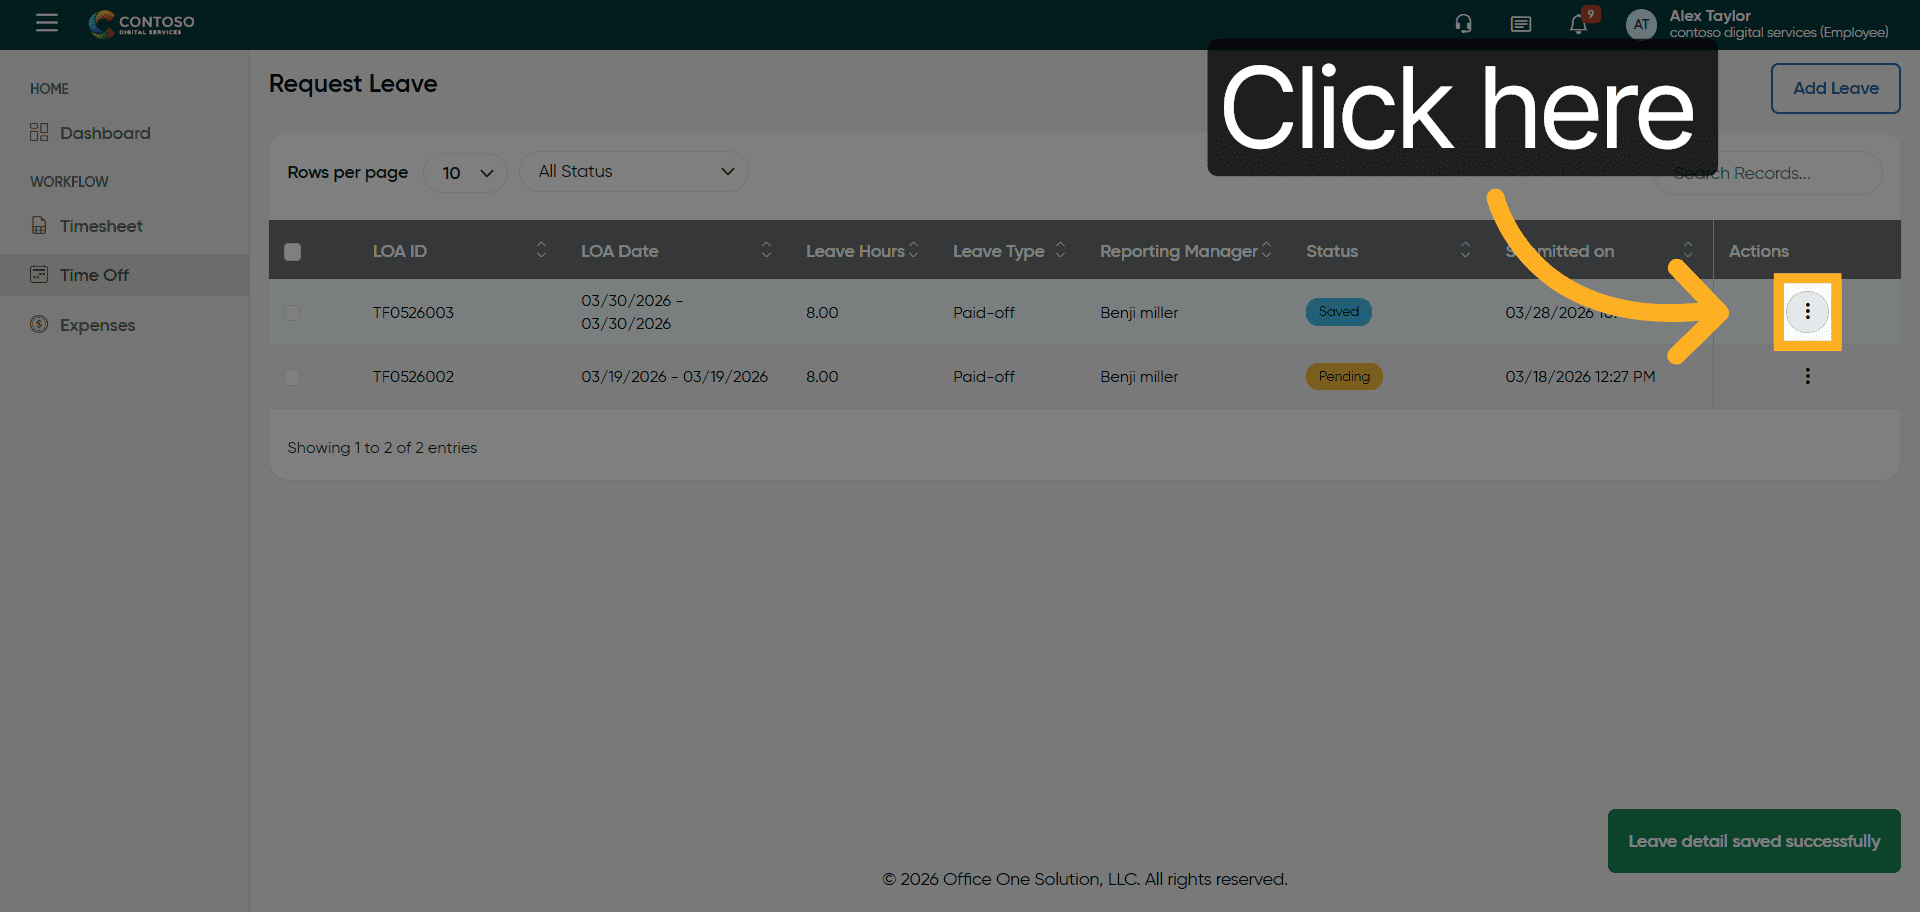
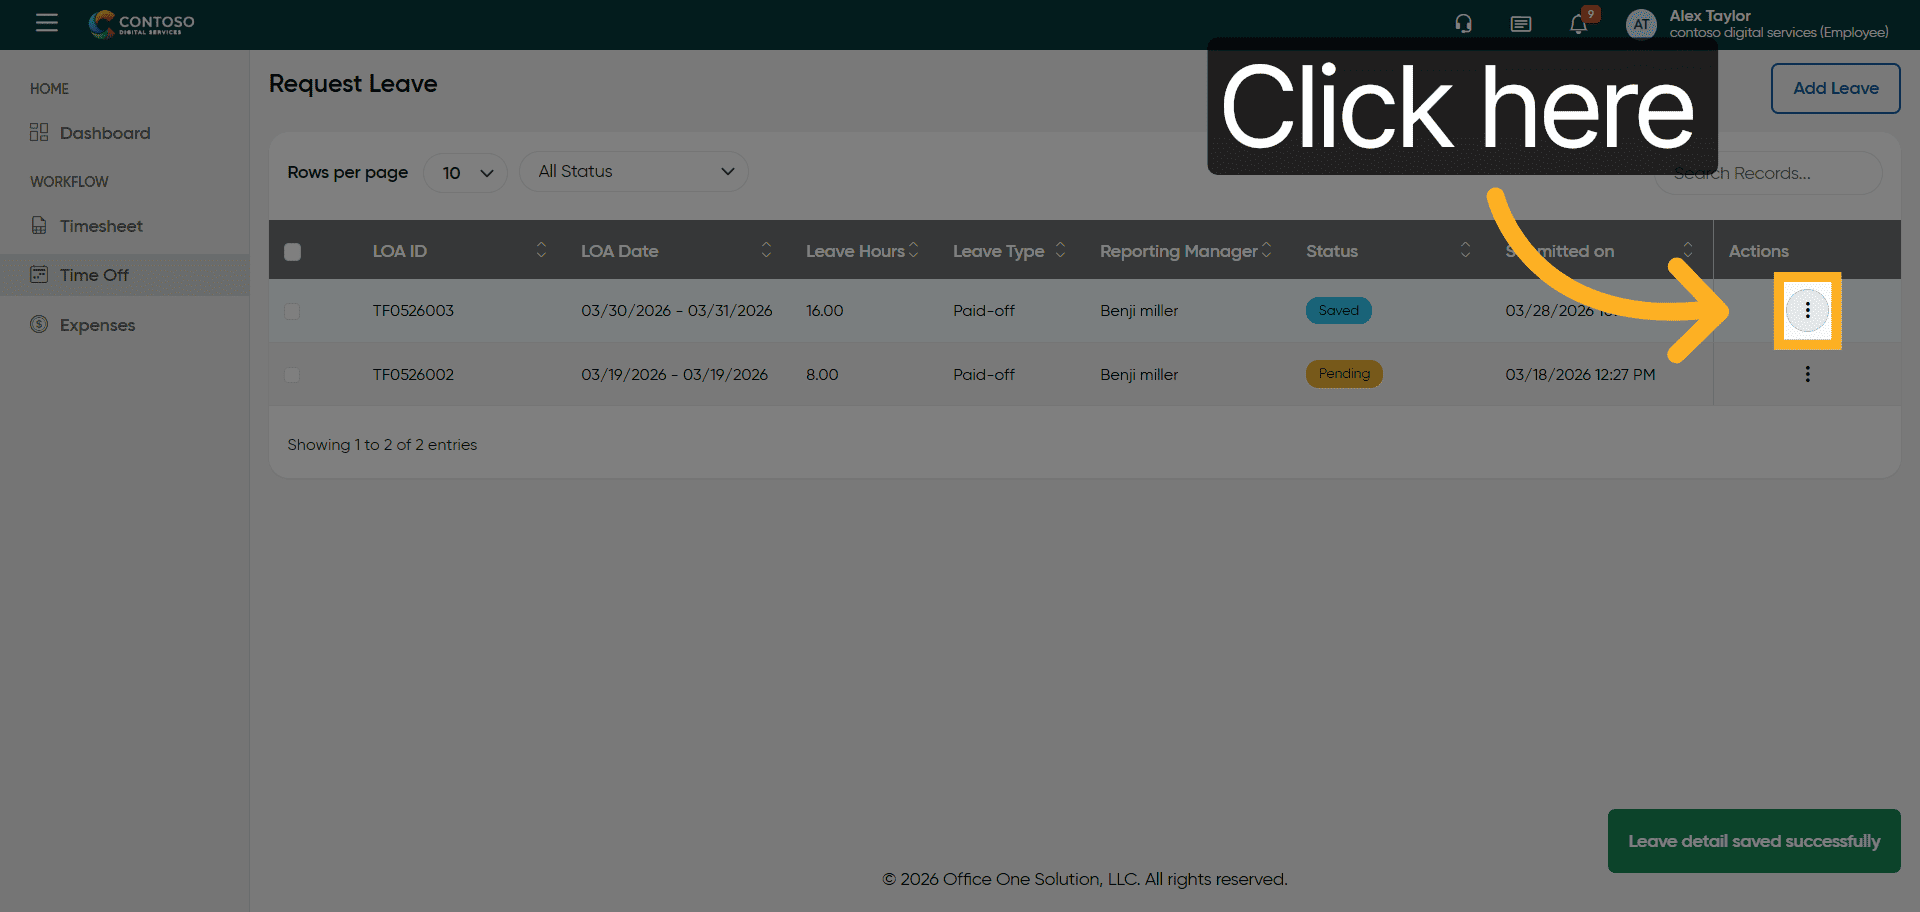
17. Access Leave Entry Options
Click the options menu to manage existing leave entries.
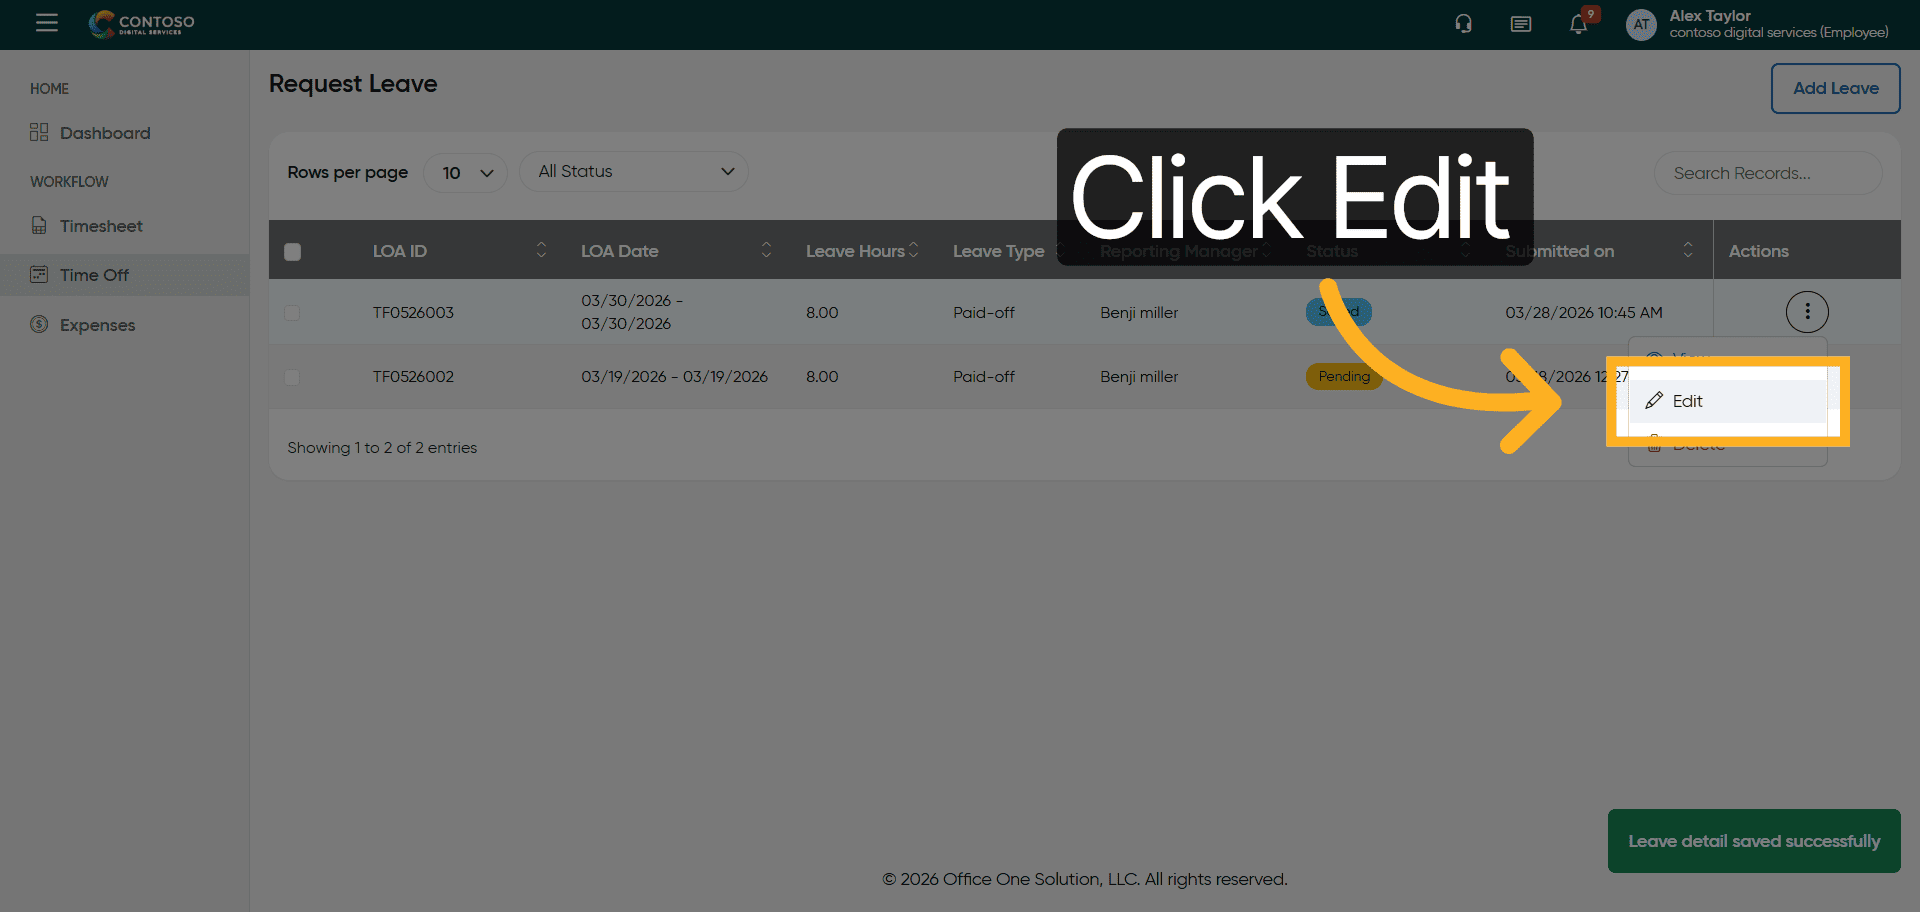
18. Edit Leave Entry
Click the Edit button to modify the selected leave request.
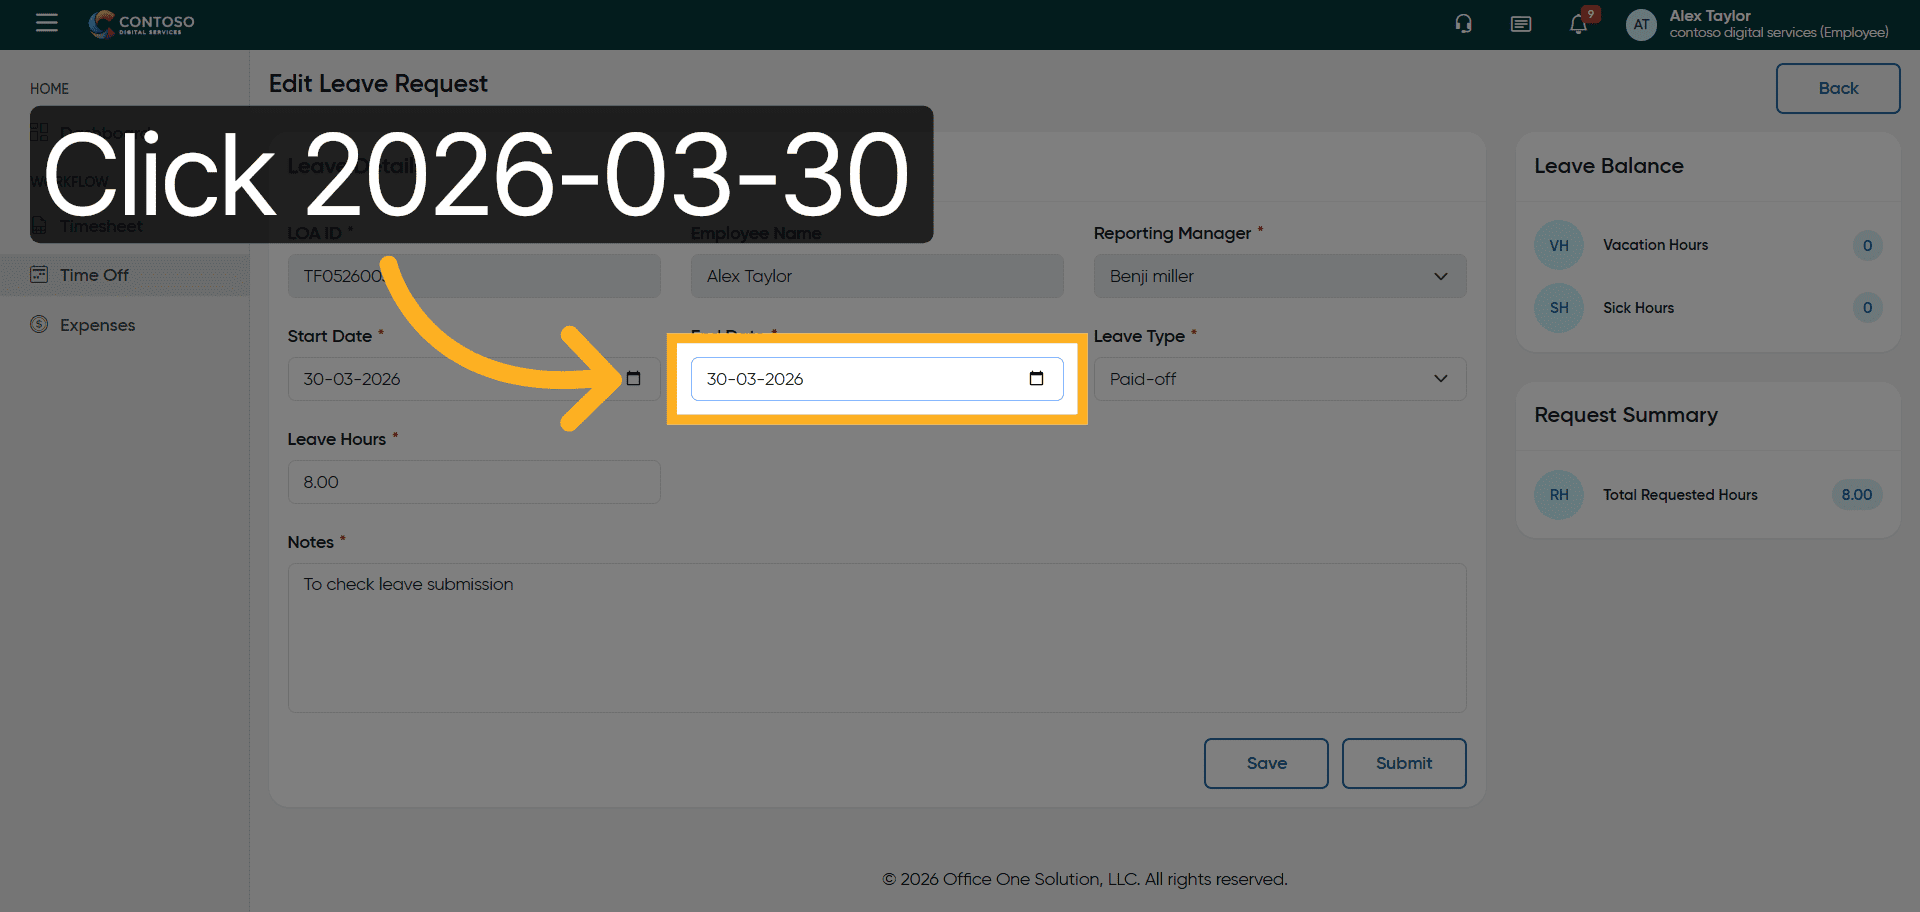
19. Select Original Leave Date
Click the original leave date field to update the start date.

20. Confirm Original Leave Date
Click the original leave date again to confirm selection.
21. Update Leave Start Date
Enter the new leave start date as 2026-03-31.

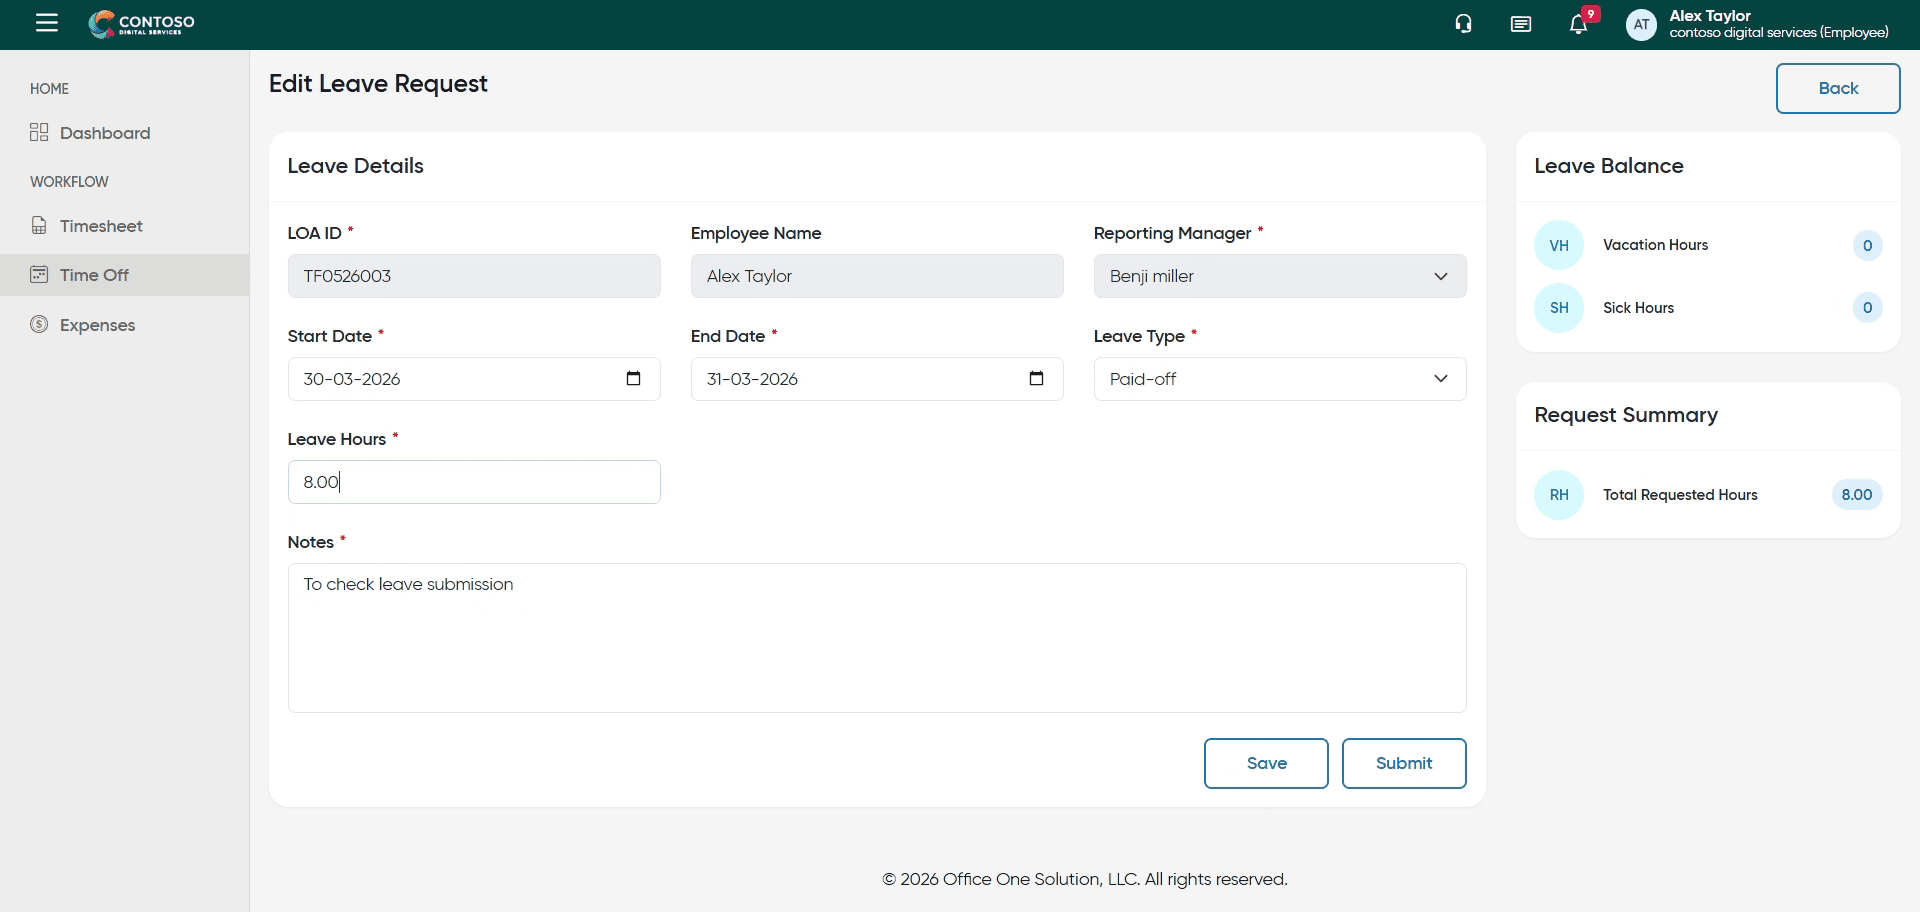
22. Select Leave Hours Field
Click the leave hours field to update the number of hours.
23. Enter Updated Leave Hours
Enter the updated leave hours as 16.
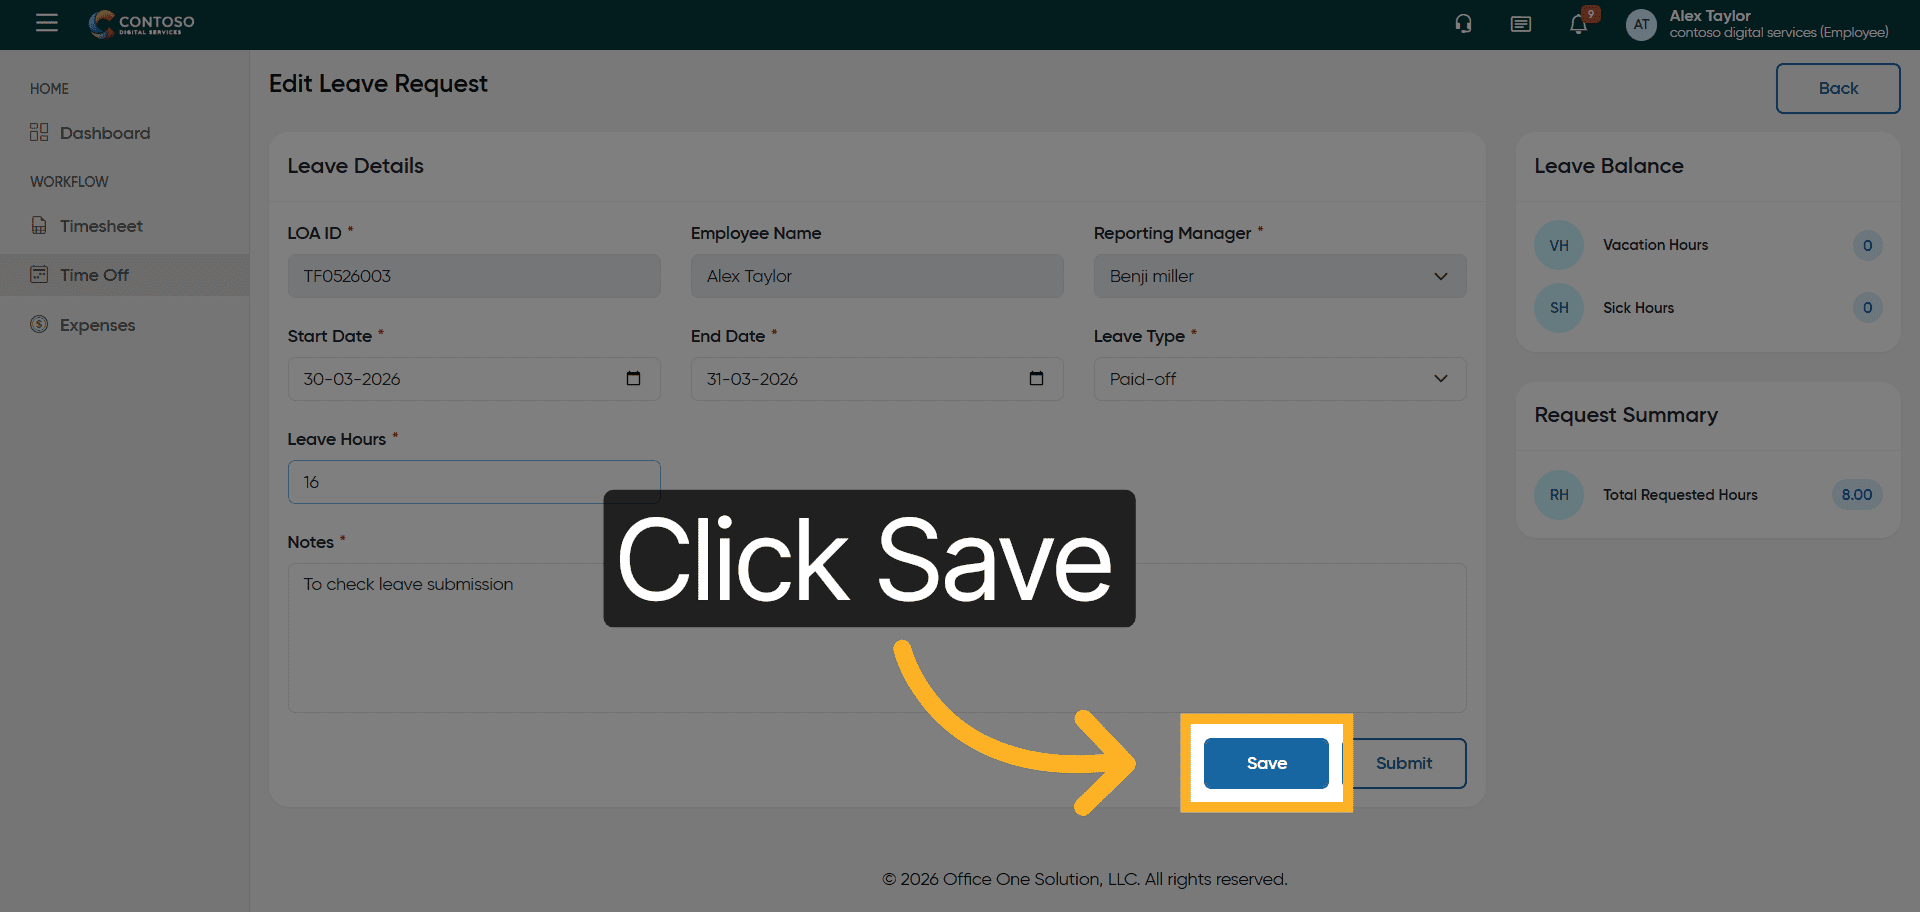
24. Save Leave Changes
Click the Save button to apply the updated leave information.
25. Open Leave Entry Options
Click the options menu to manage the leave entry.
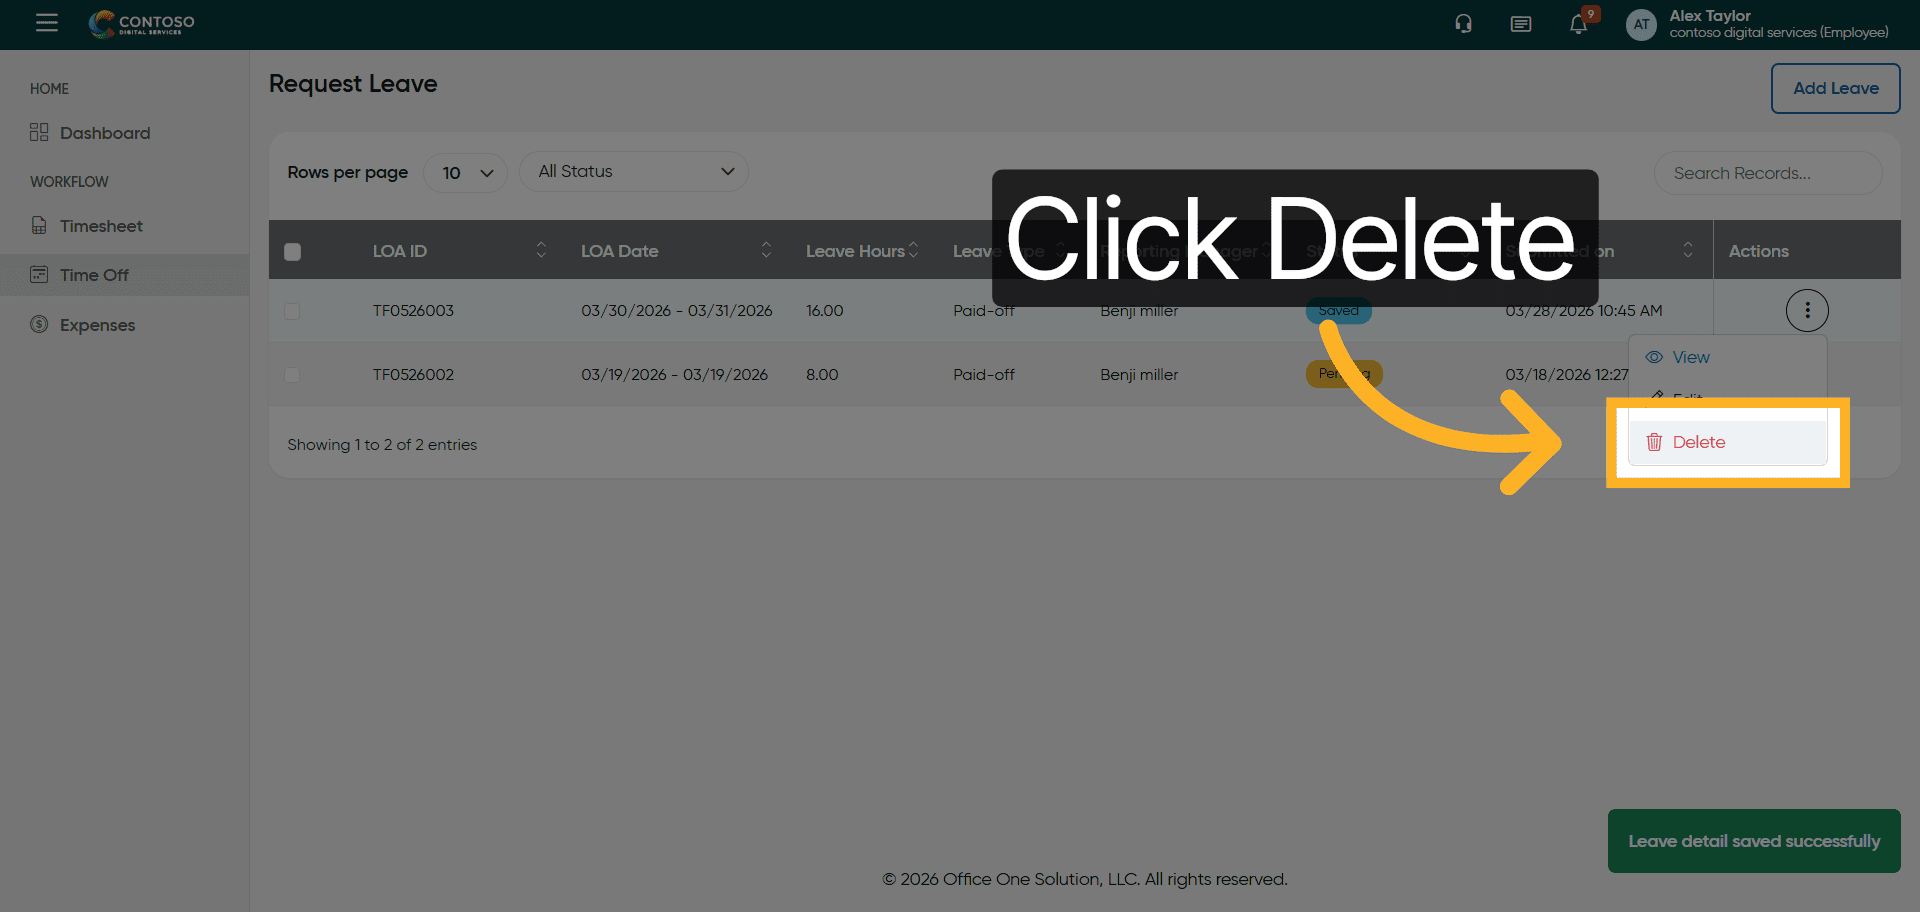
26. Delete Leave Entry
Click the Delete button to remove the leave request.
27. Confirm Leave Deletion
Click Yes to confirm the deletion of the leave entry.

28. Start New Leave Request
Click the Add Leave button to create another leave request.
29. Activate Date Field
Click the date field to specify the new leave start date.
30. Enter New Leave Date
Enter the leave start date as 2026-03-31.

31. Open Leave Type Selector
Click the leave type dropdown to choose the leave category.

32. Select Leave Category
Select the leave type such as Sick, Vacation, or Paid-off.

33. Activate Hours Field
Click the hours field to enter the number of leave hours.
34. Enter Leave Duration
Enter the number of leave hours as 8.

35. Open Description Input
Click the description field to add notes about the leave request.

36. Add Leave Notes
Enter the description: Leave Submission testing.
37. Submit Leave Form
Click the Submit button to finalize and send the leave request.
After completing this training, you will be able to efficiently manage employee leave requests by adding, editing, and deleting leave entries within Office1solution. Practice these steps to ensure accurate leave tracking and compliance with company policies.