
Submit Leave
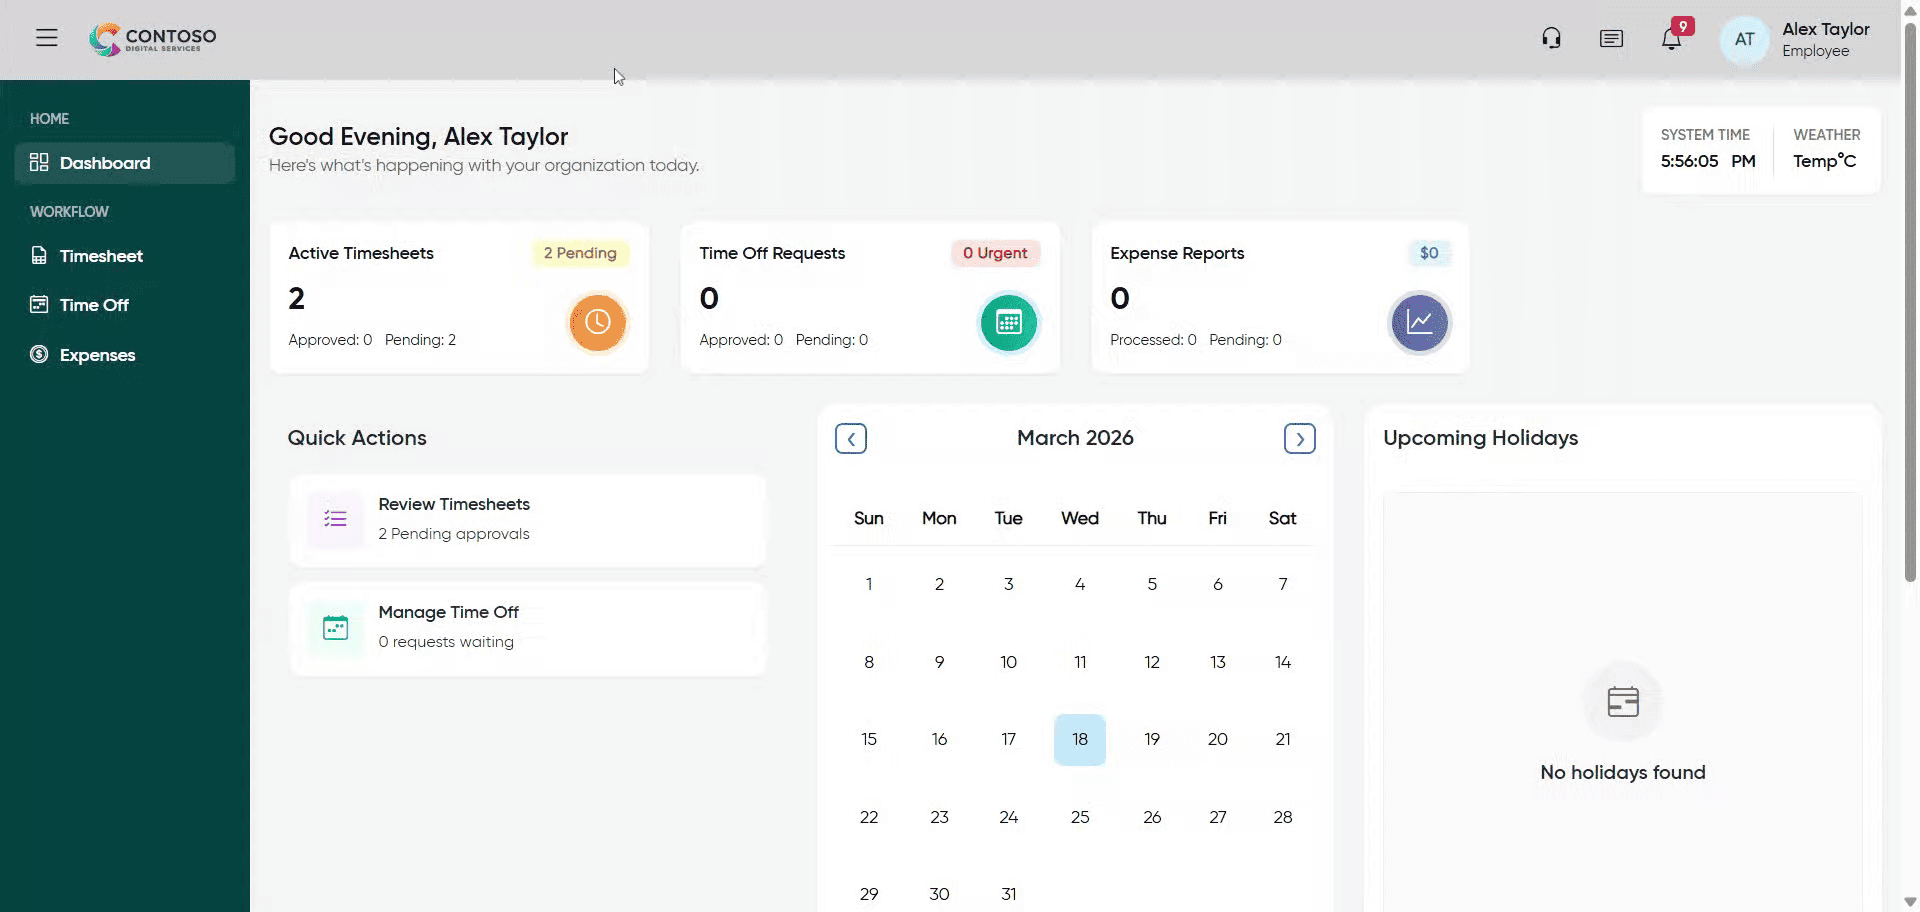
This training will teach you how to manage leave requests using OfficeOne solution effectively.
Go to app.office1solution.com
1. Introduction
You will learn to add, edit, and delete leave entries to maintain accurate time off records.
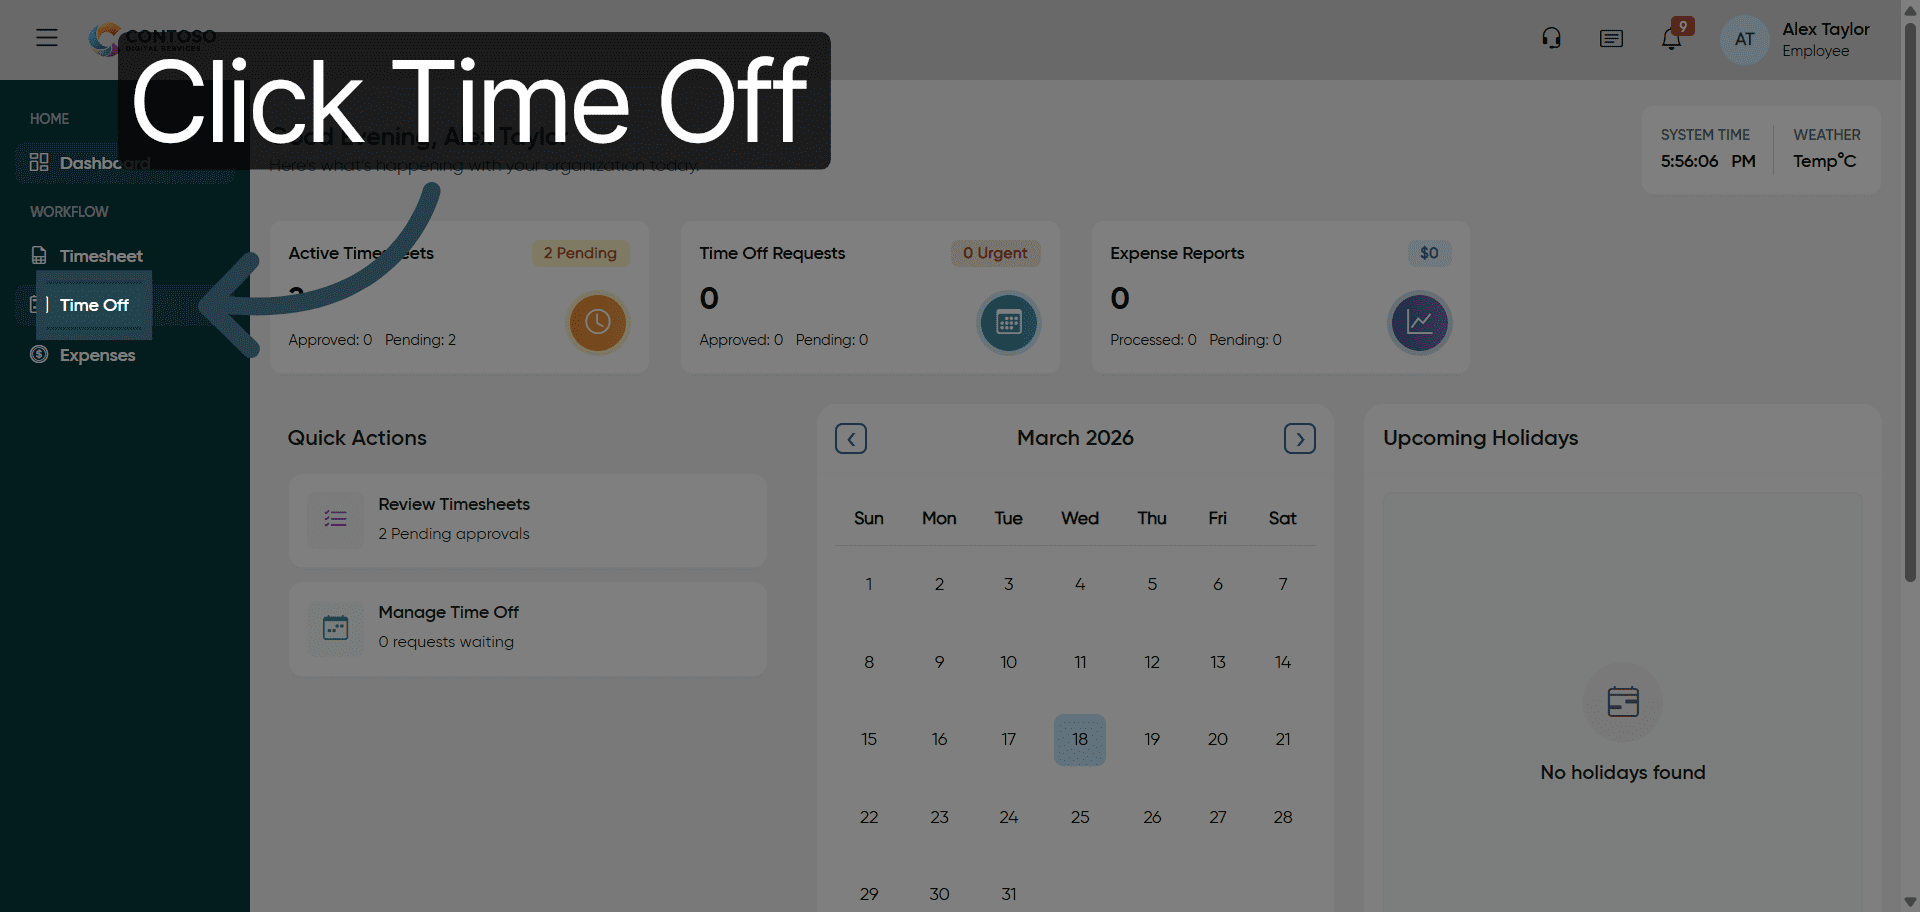
2. Access Time Off Section
Click the “Time Off” section to begin managing your leave requests.
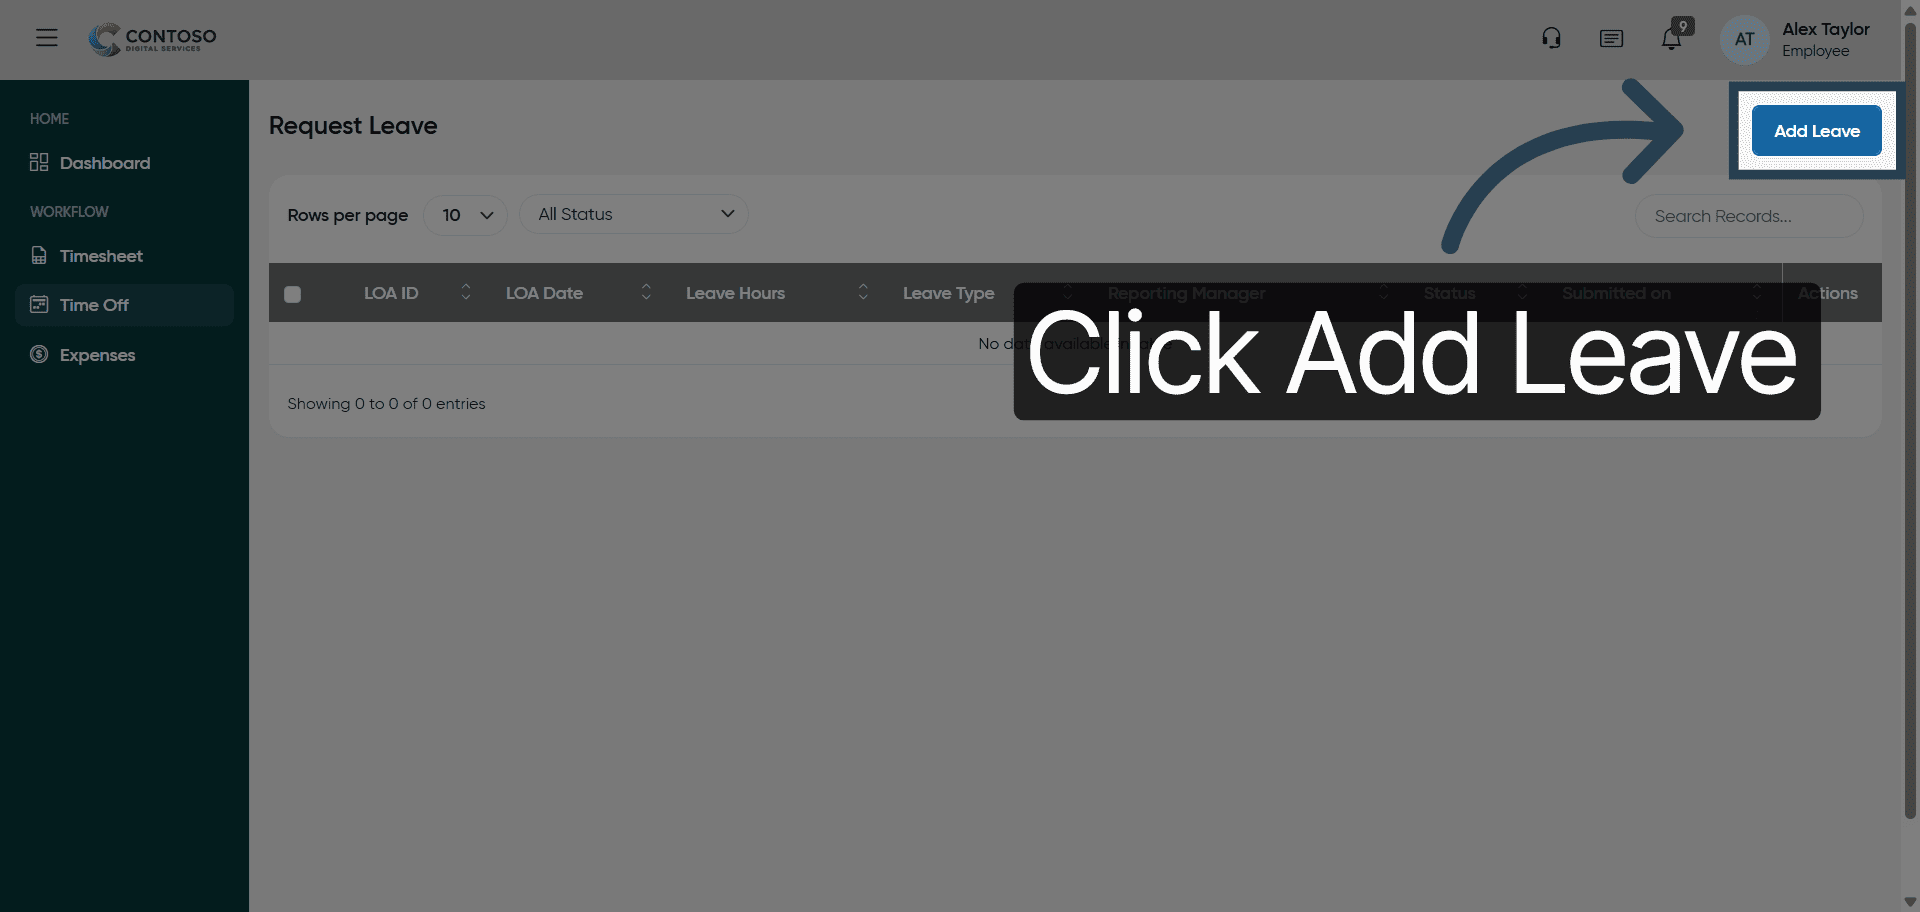
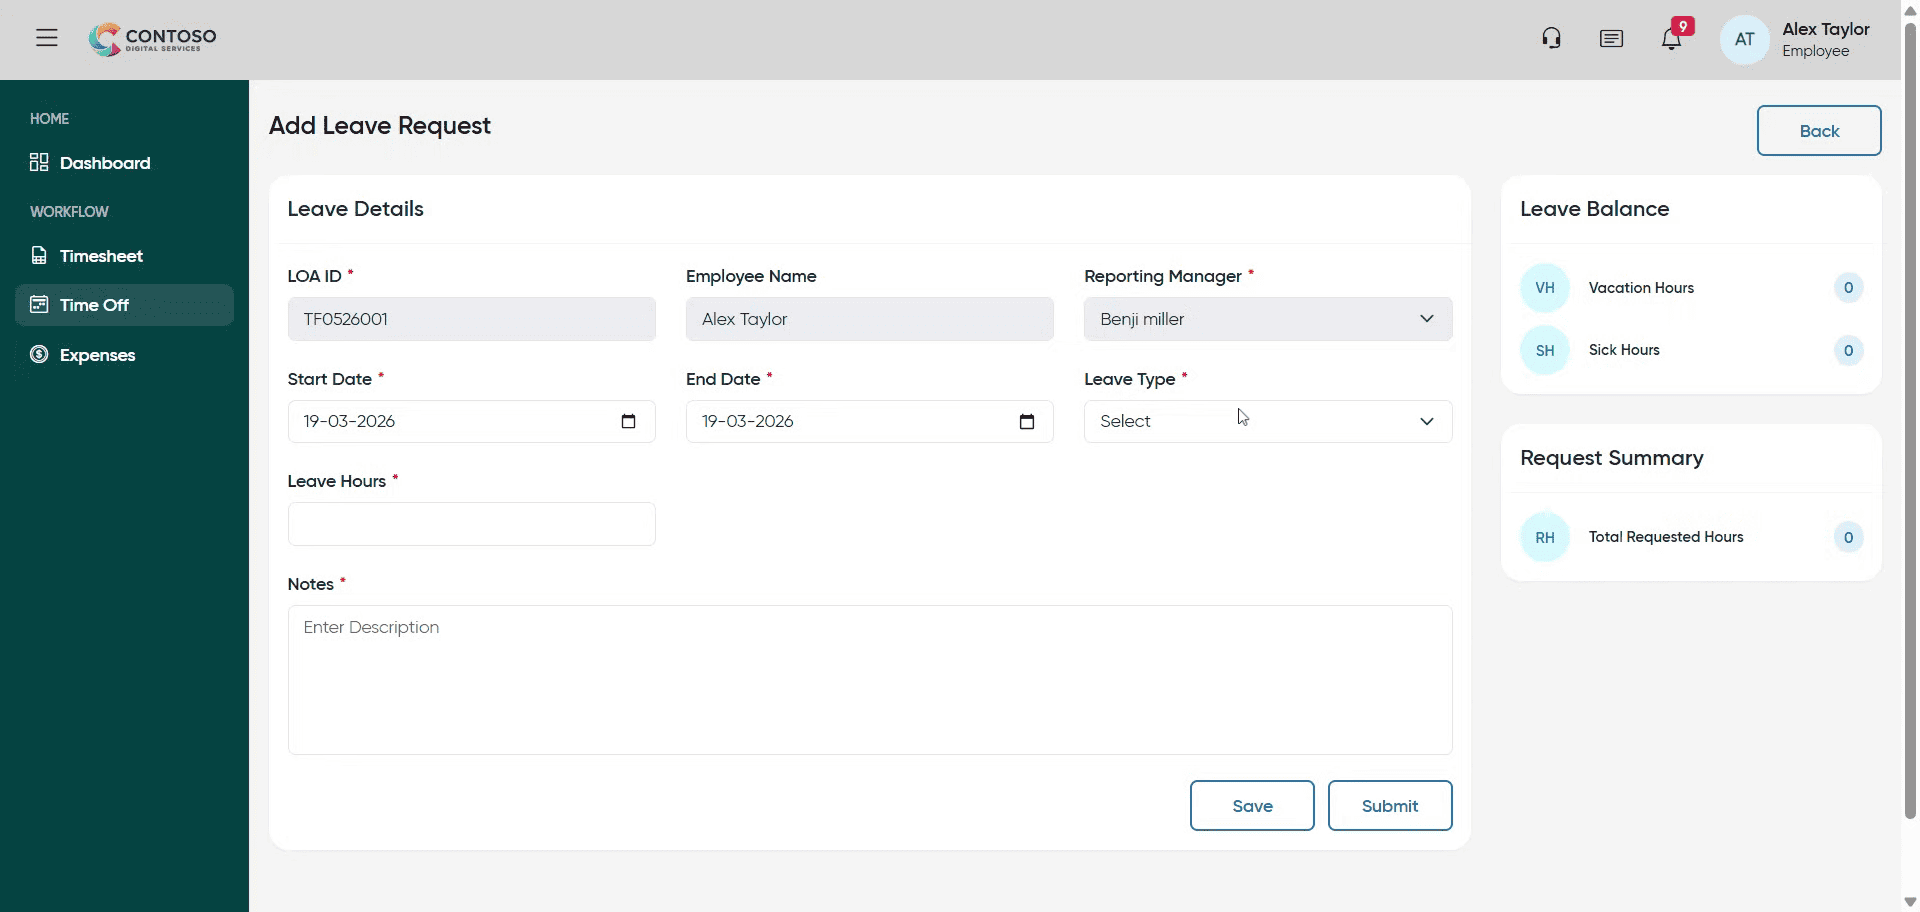
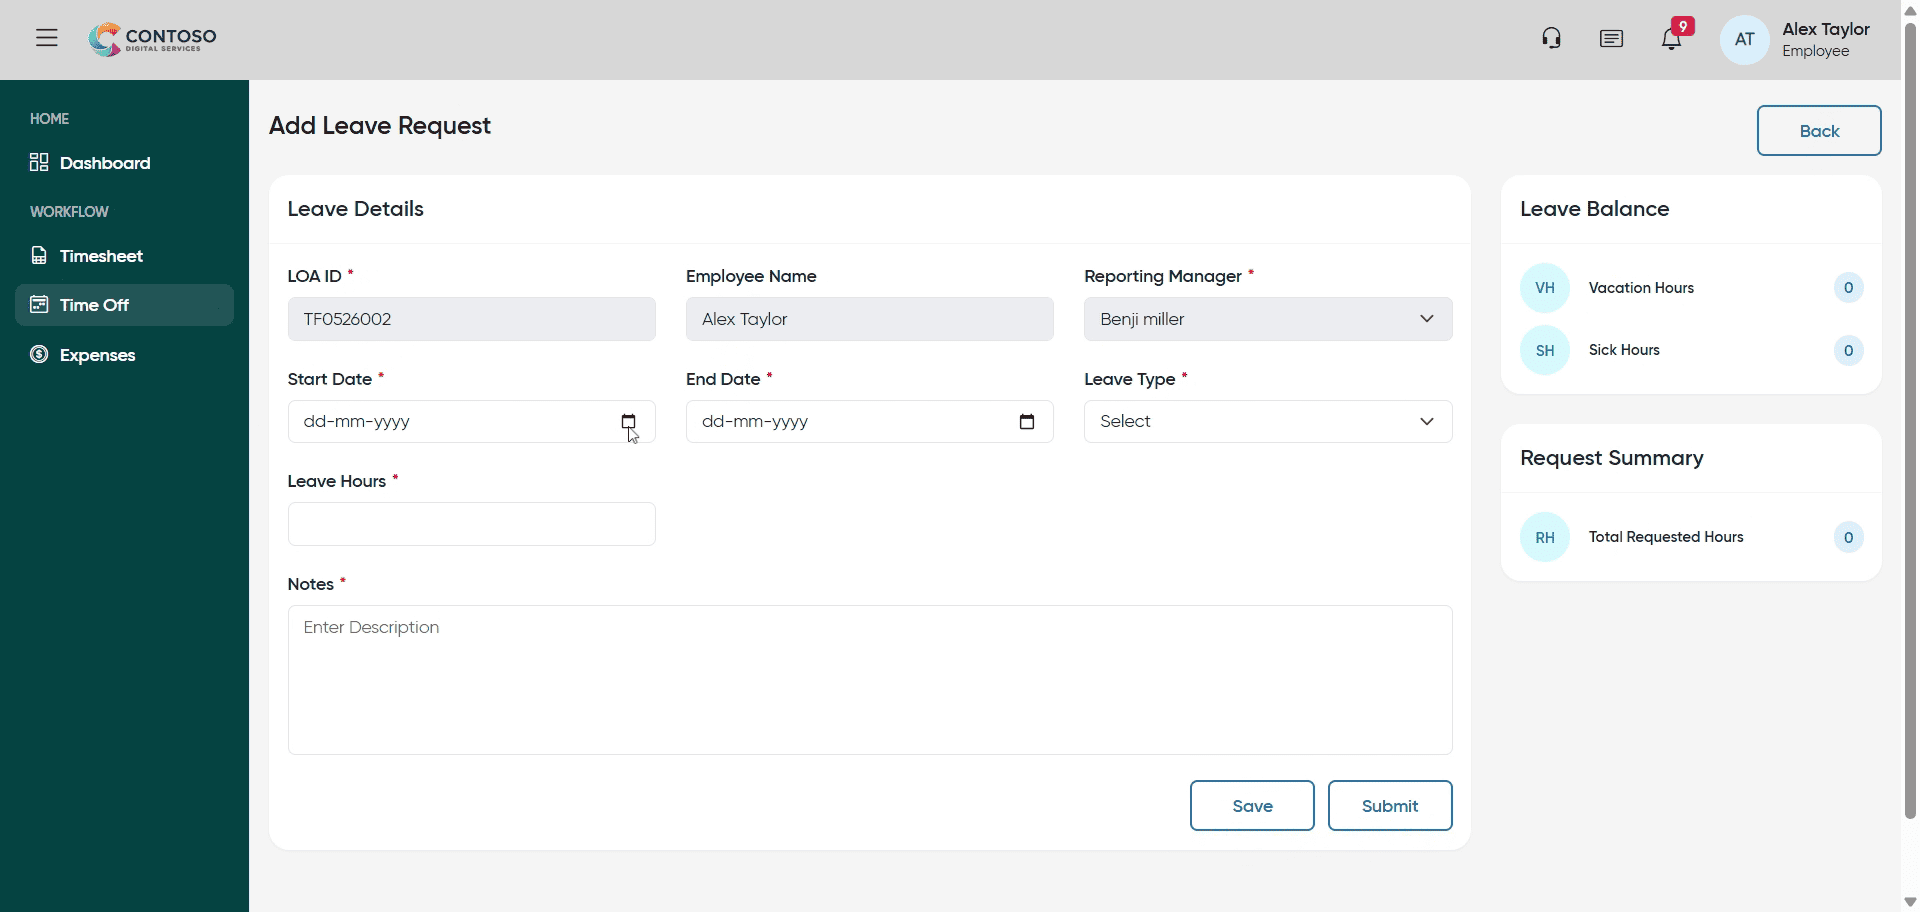
3. Open Add Leave Form
Click “Add Leave” to open the form for submitting a new leave request.
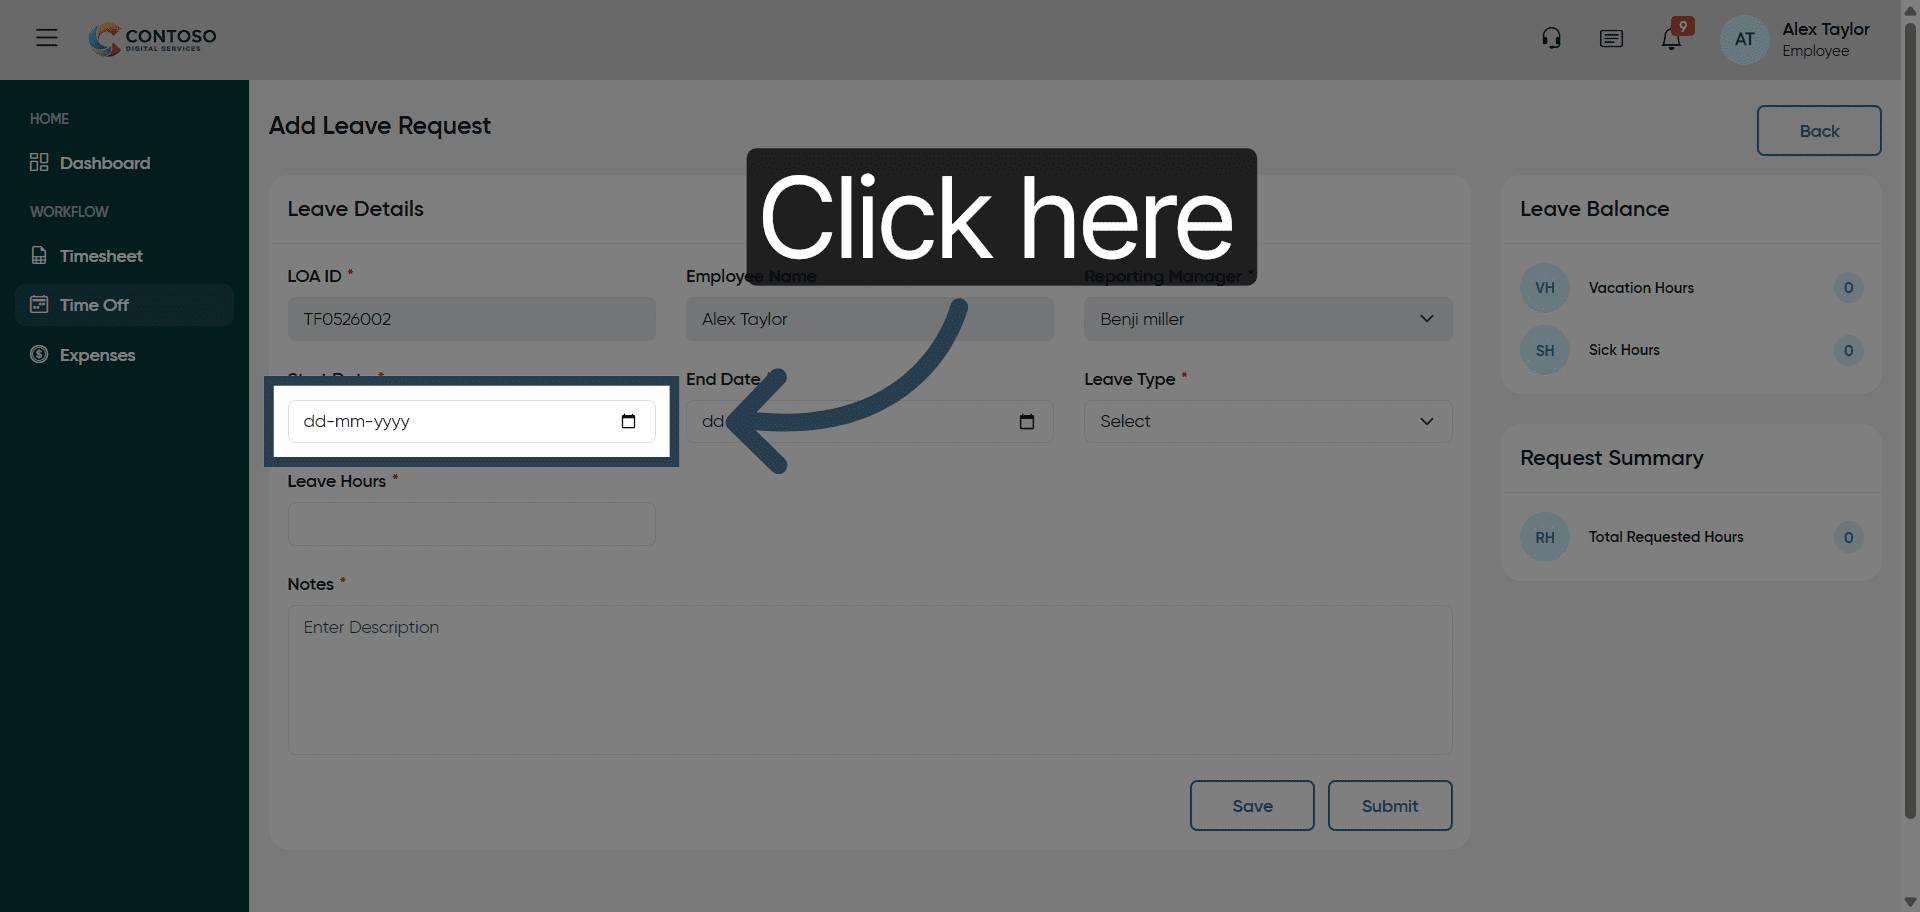
4. Initiate Leave Date Entry
Click here to start entering the leave date for your request.
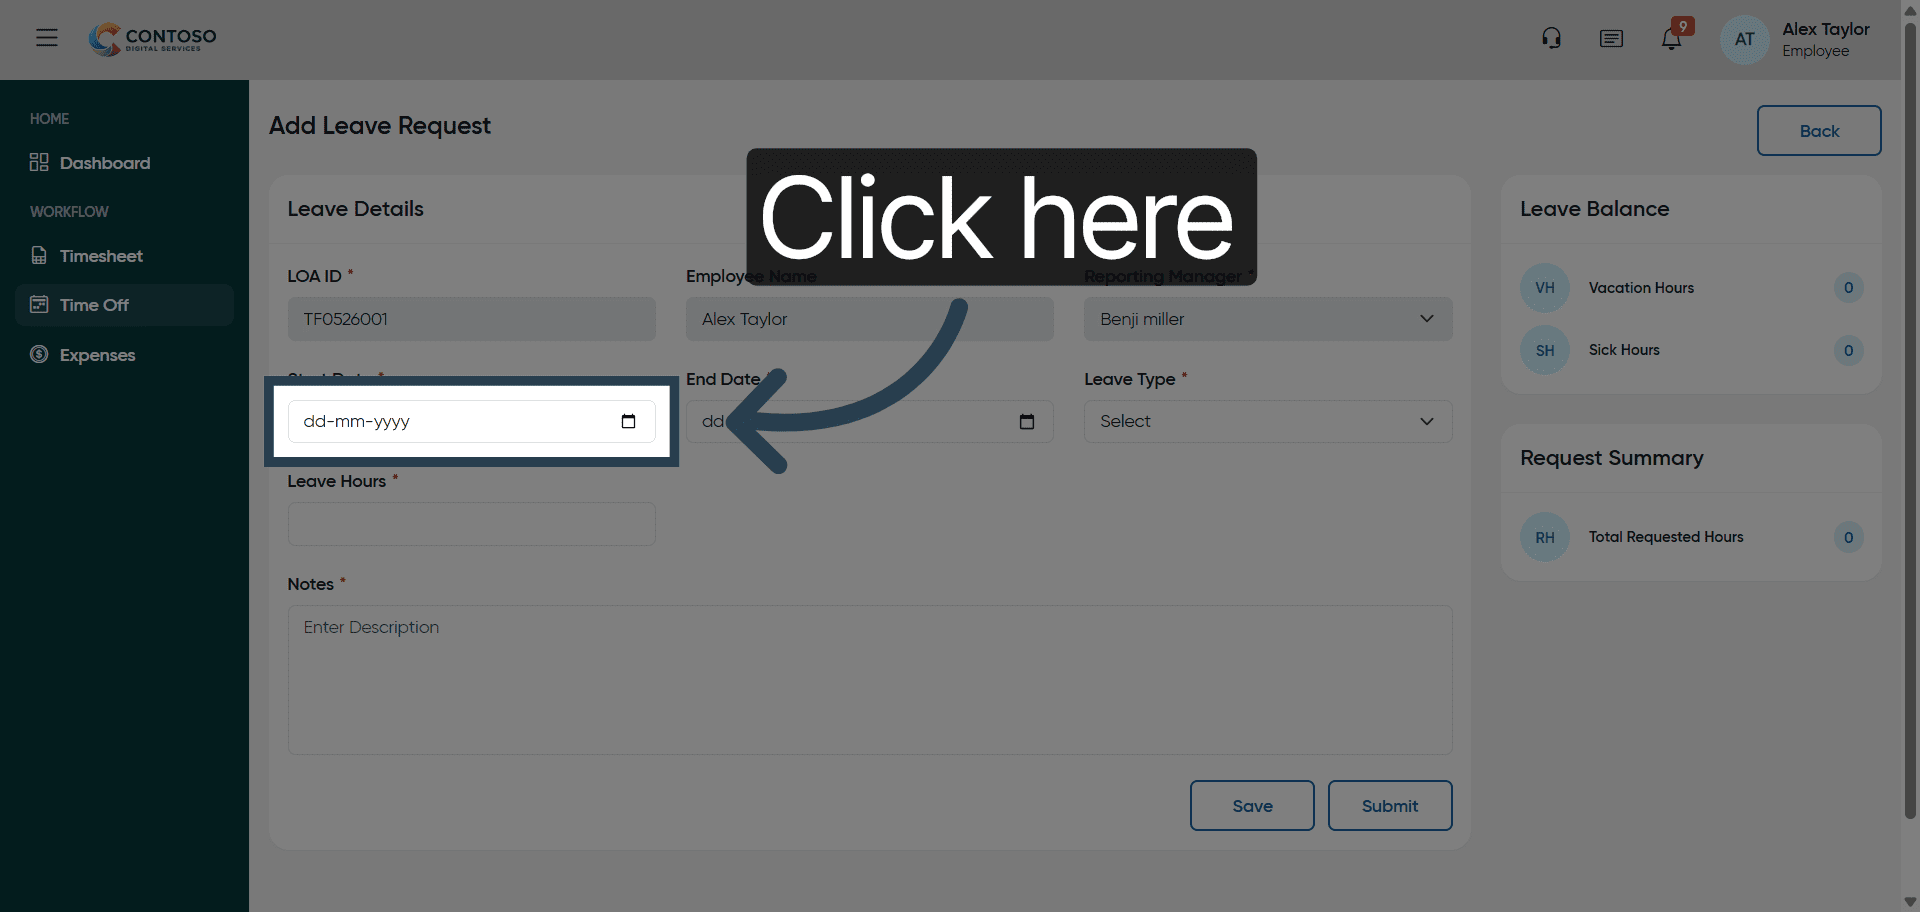
5. Enter Leave Start Date
Enter the leave start date as 2026-03-19 in the date field.

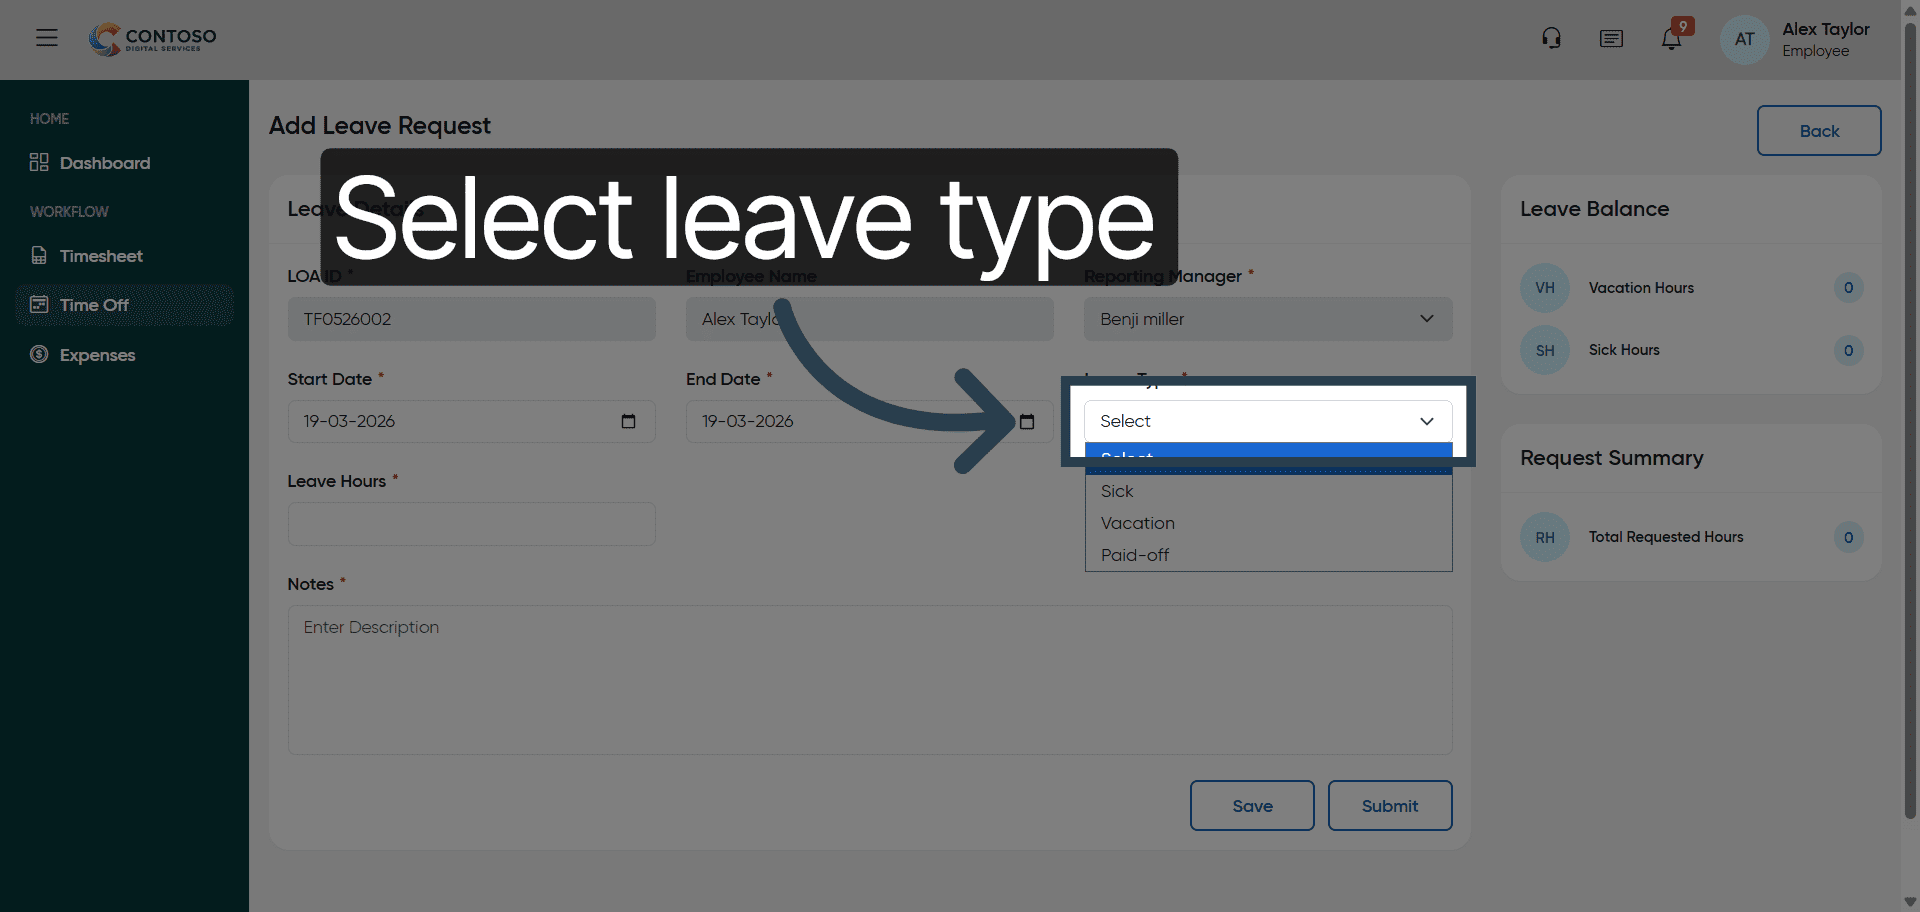
6. Select Leave Type
Click the leave type dropdown to choose between Sick, Vacation, or Paid-off leave.
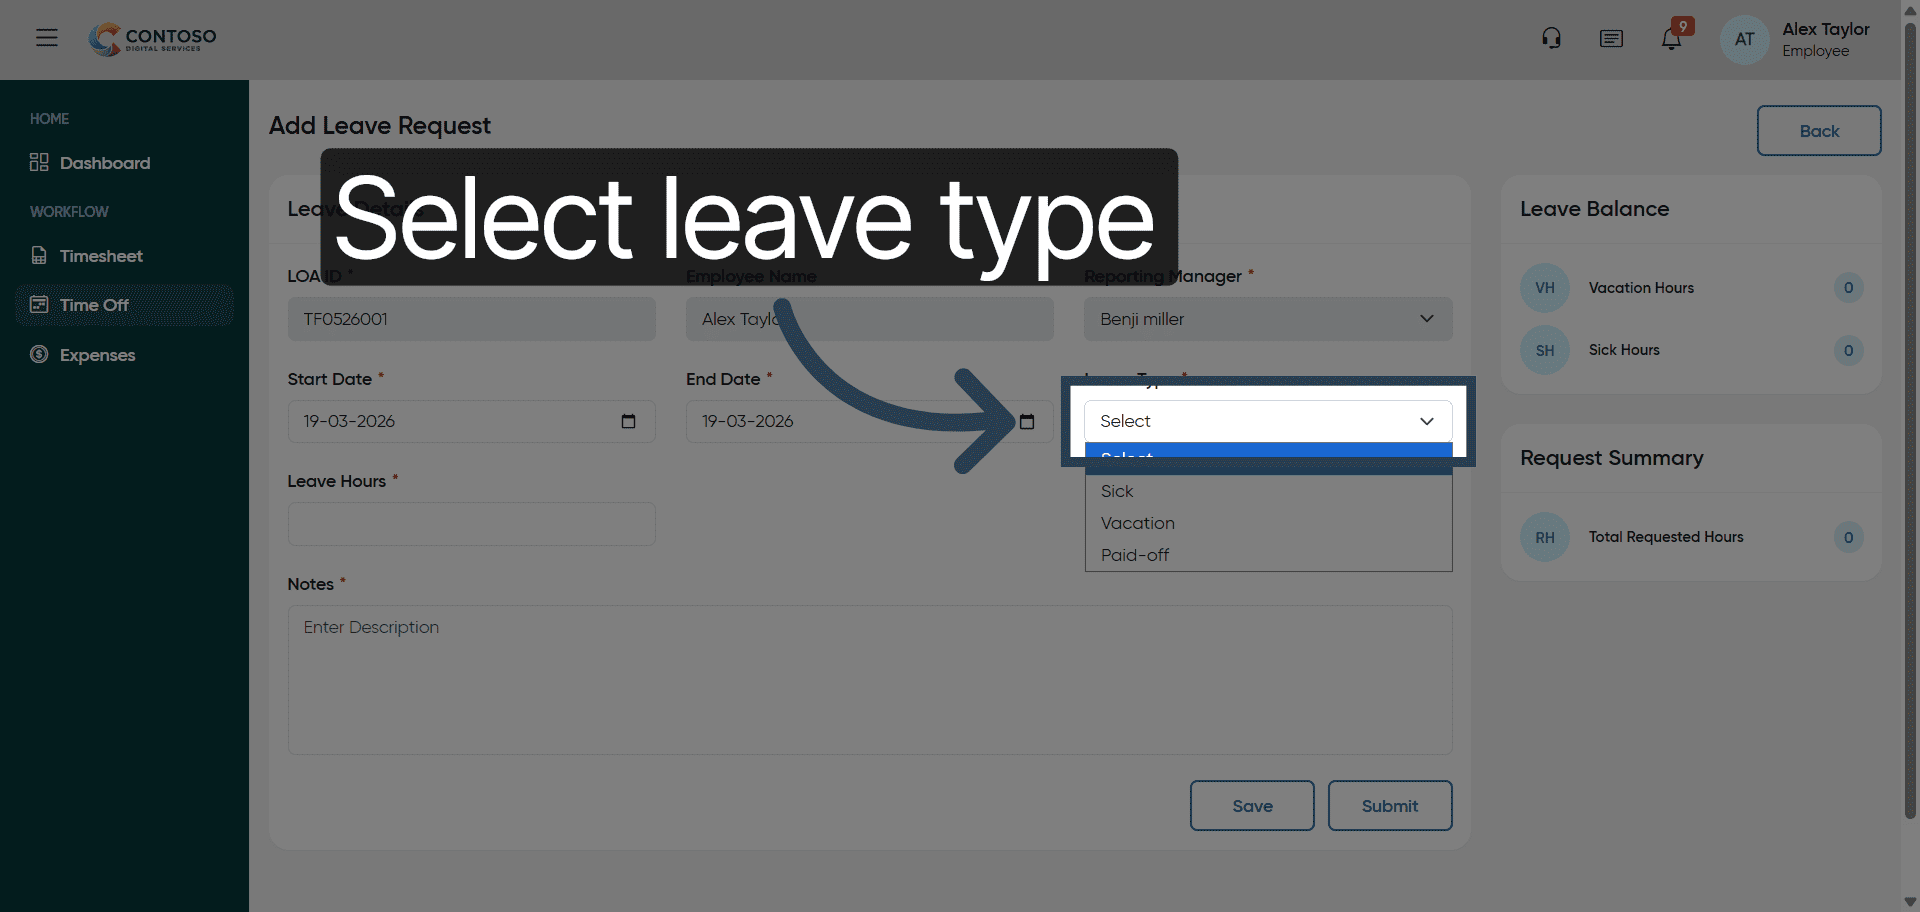
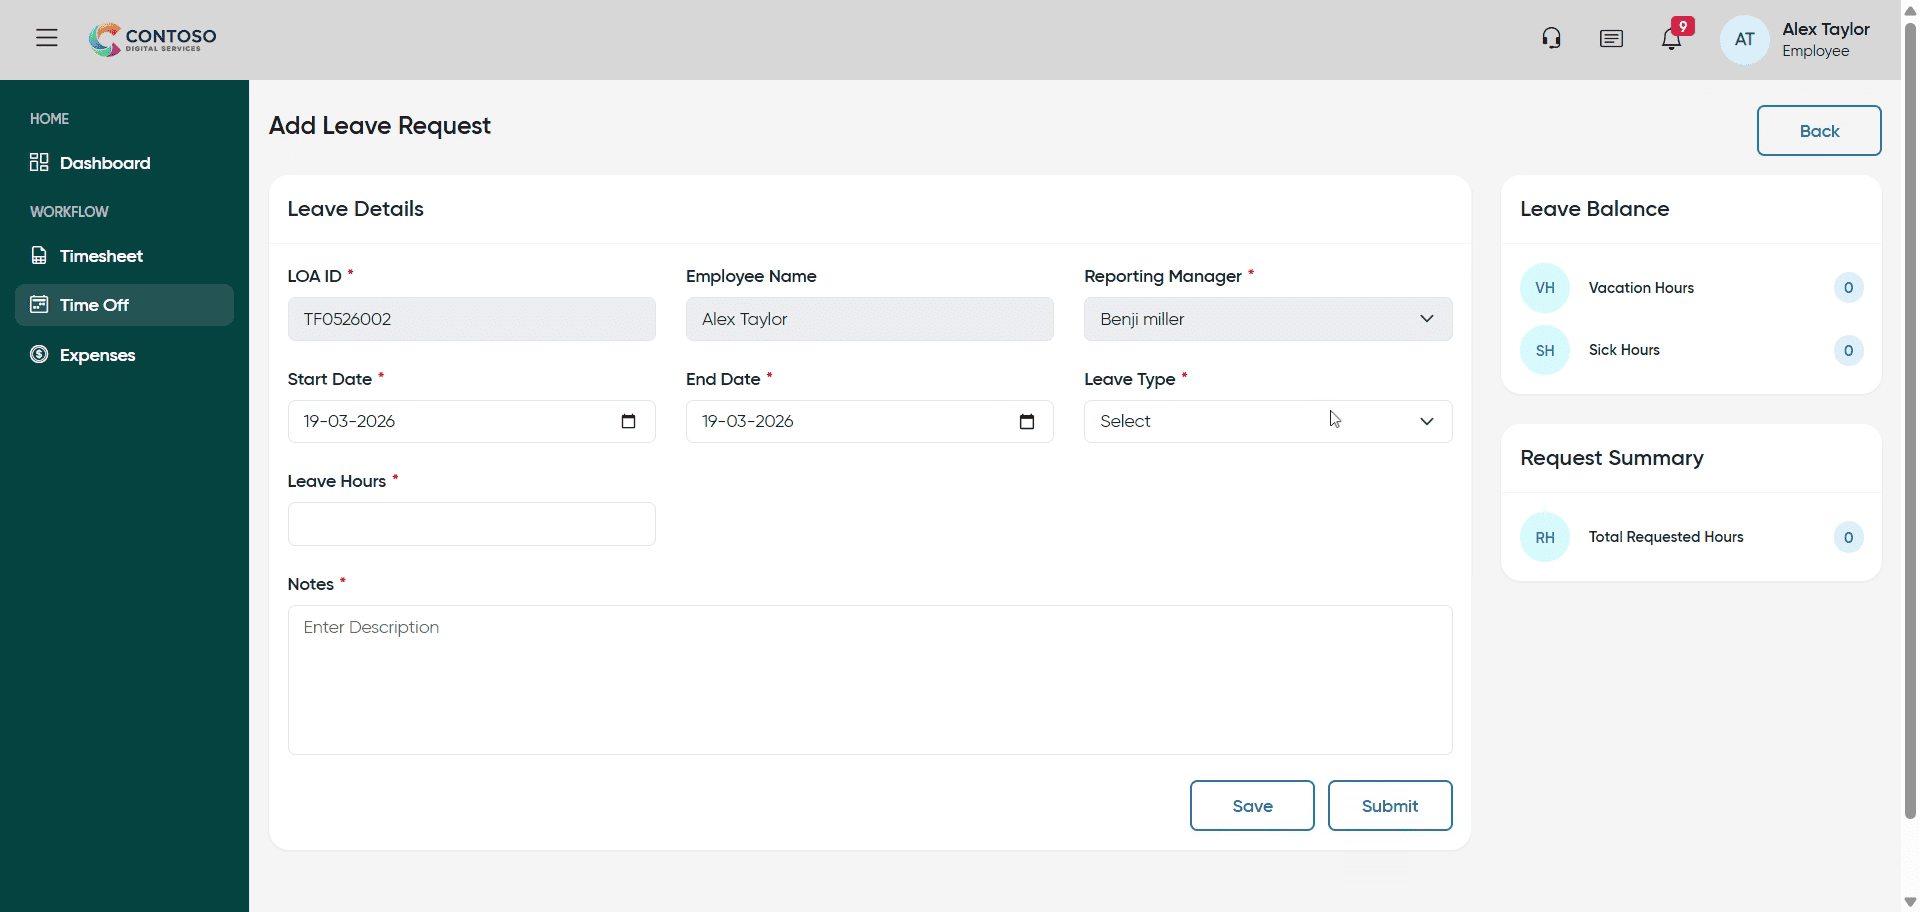
7. Specify Leave Category
Fill in the leave category by selecting Sick, Vacation, or Paid-off from the options.
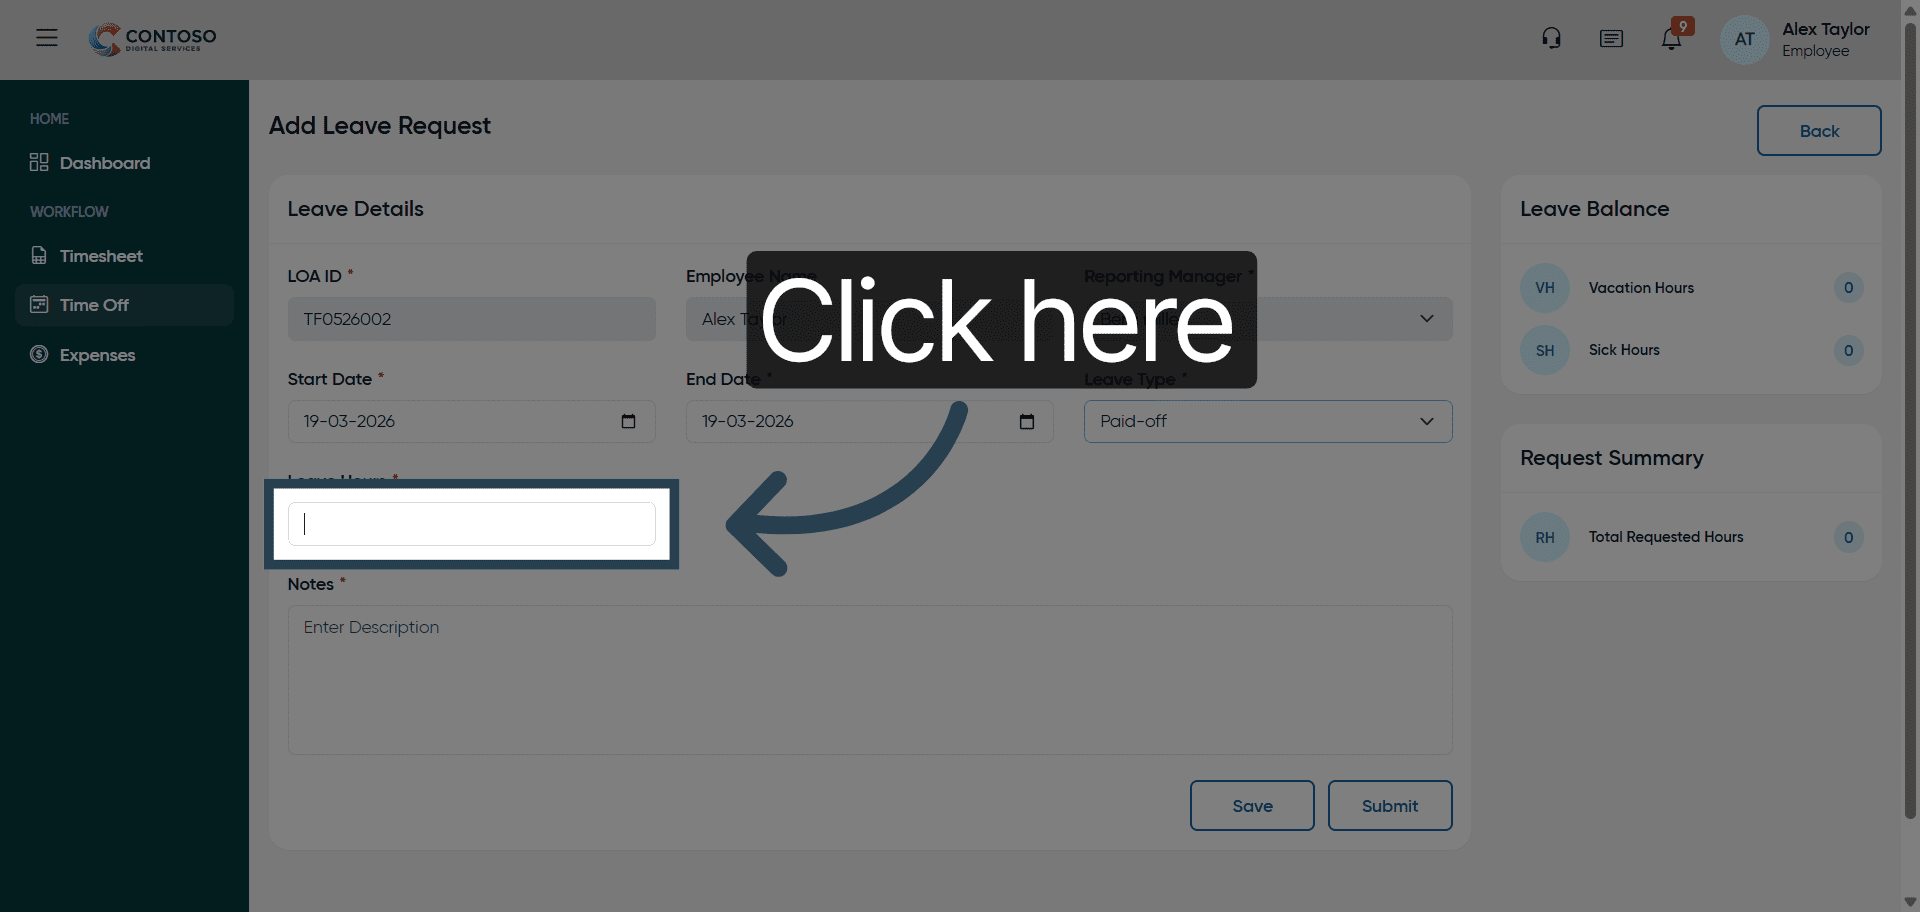
8. Begin Entering Leave Duration
Click here to enter the number of leave days you are requesting.

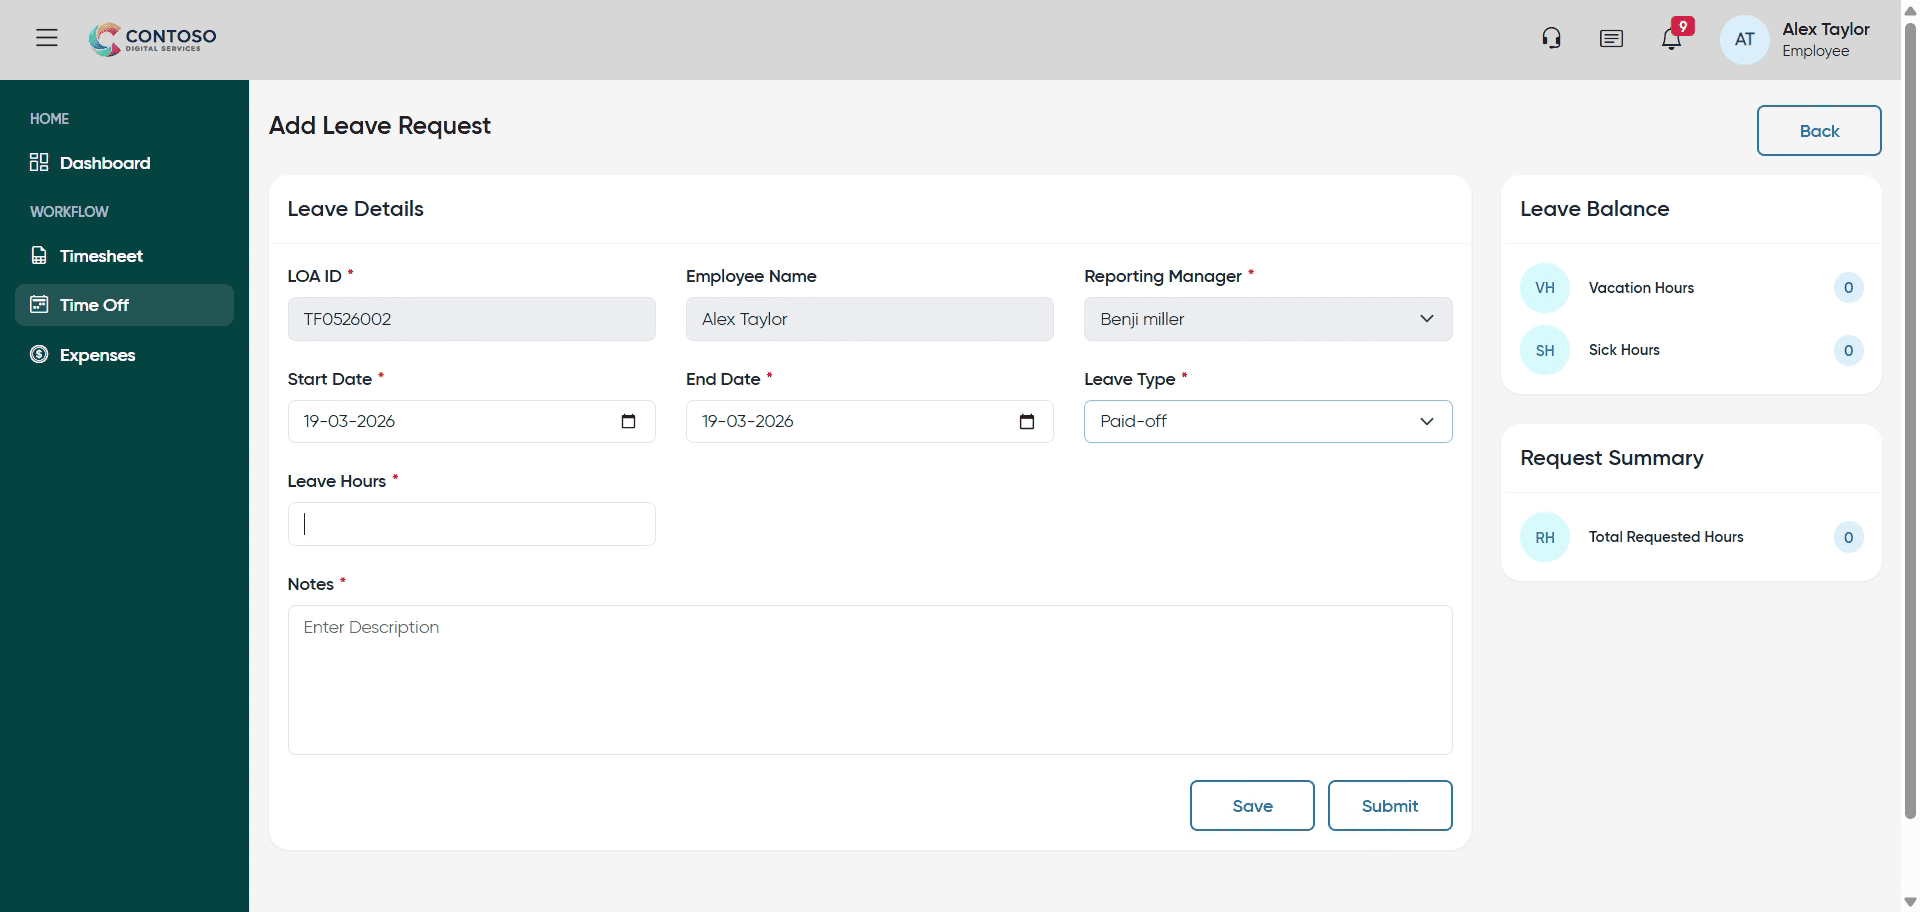
9. Input Leave Duration
Enter the number of leave days as 8 in the duration field.

10. Access Description Field
Click “Enter Description” to add details about your leave request.

11. Access Description Field
Click “Enter Description” again to ensure the description field is active.

12. Add Leave Description
Fill the description field with “Add leave request” to explain the purpose of your leave.

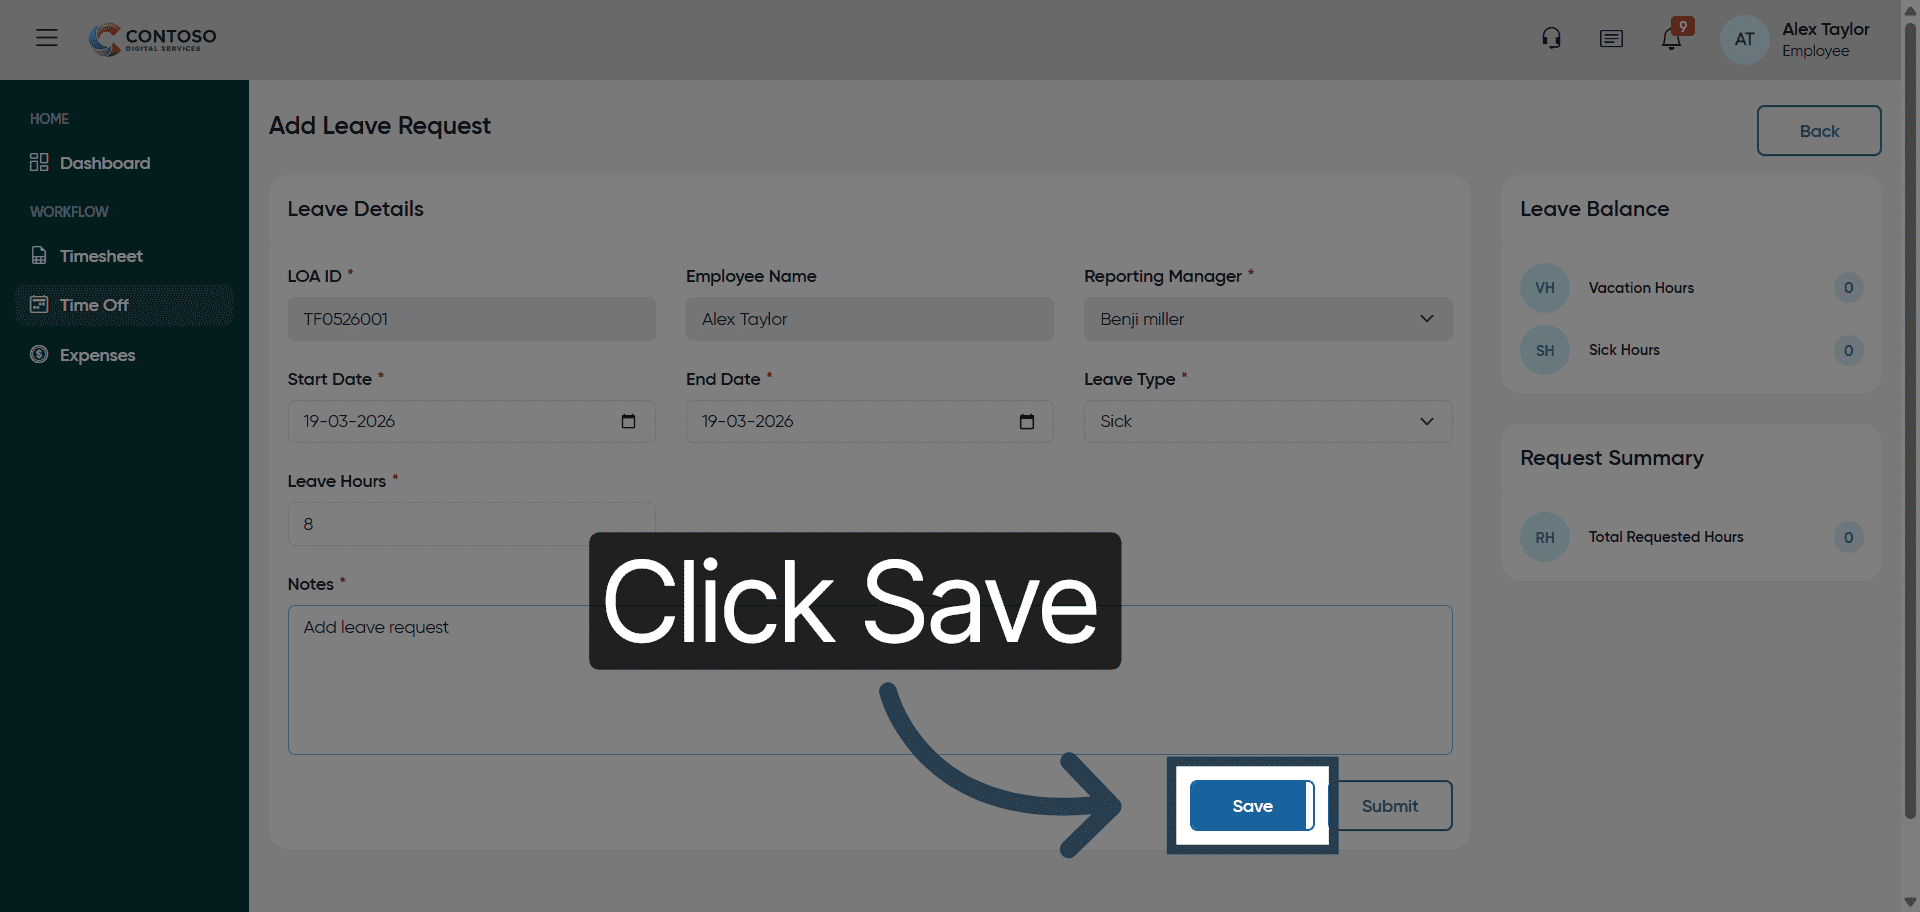
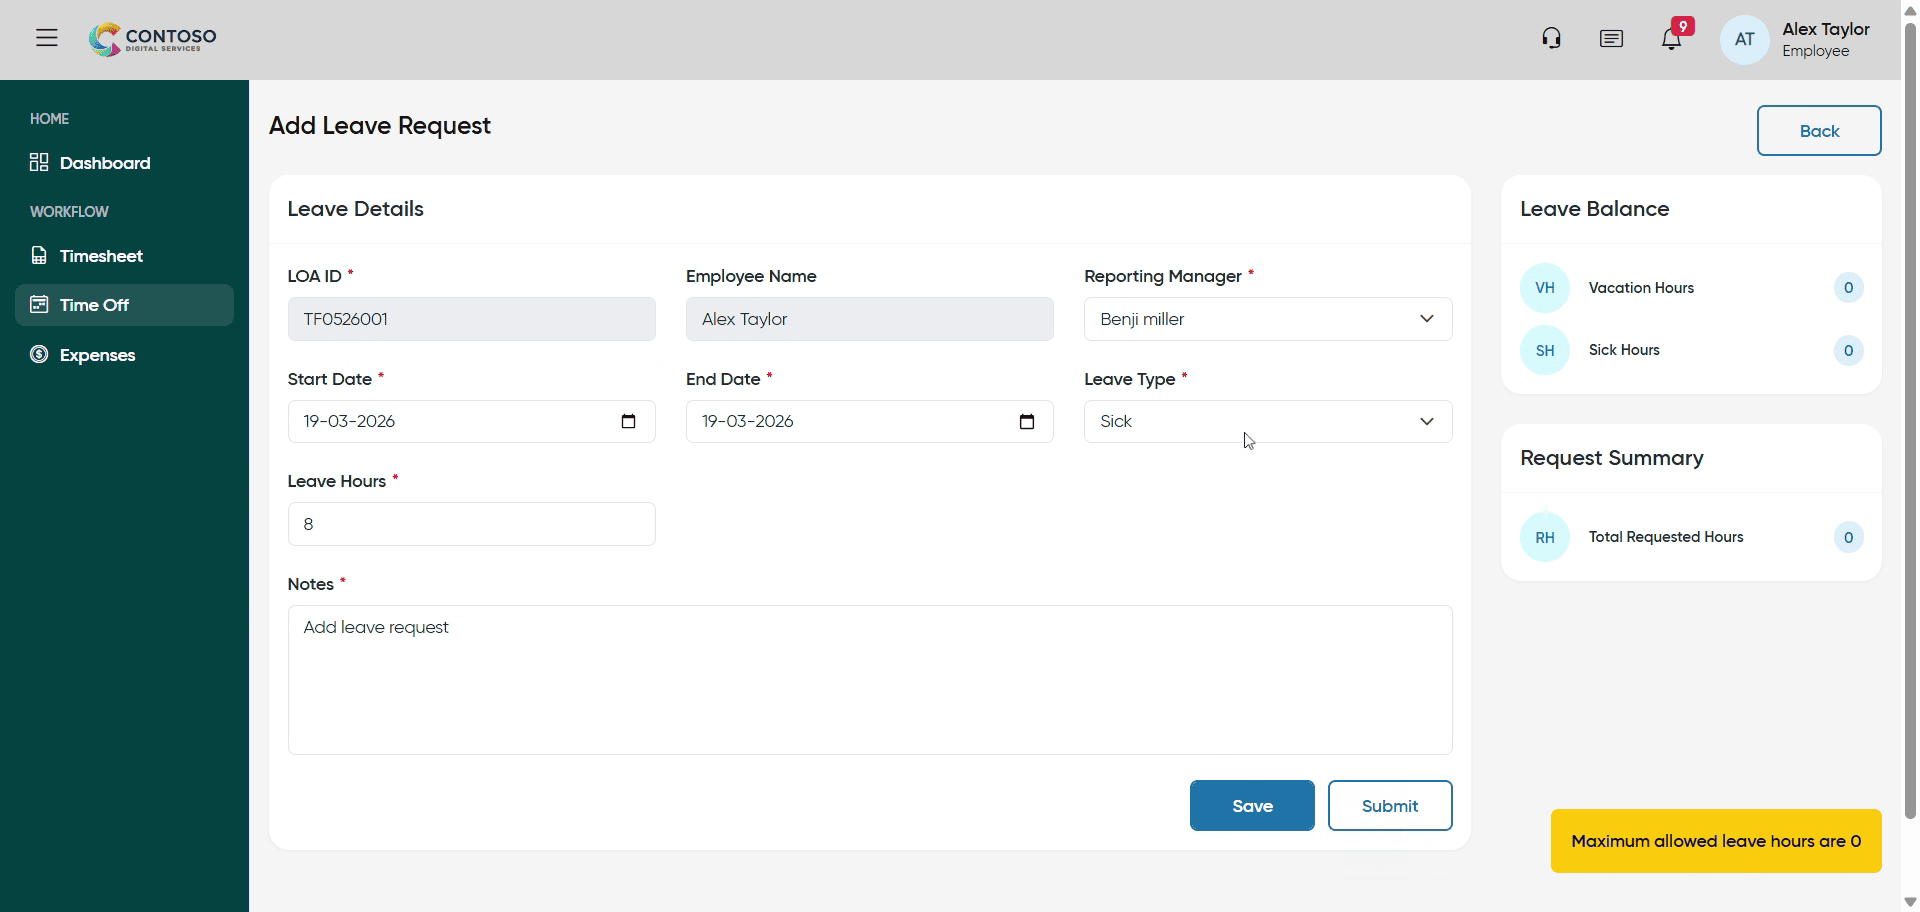
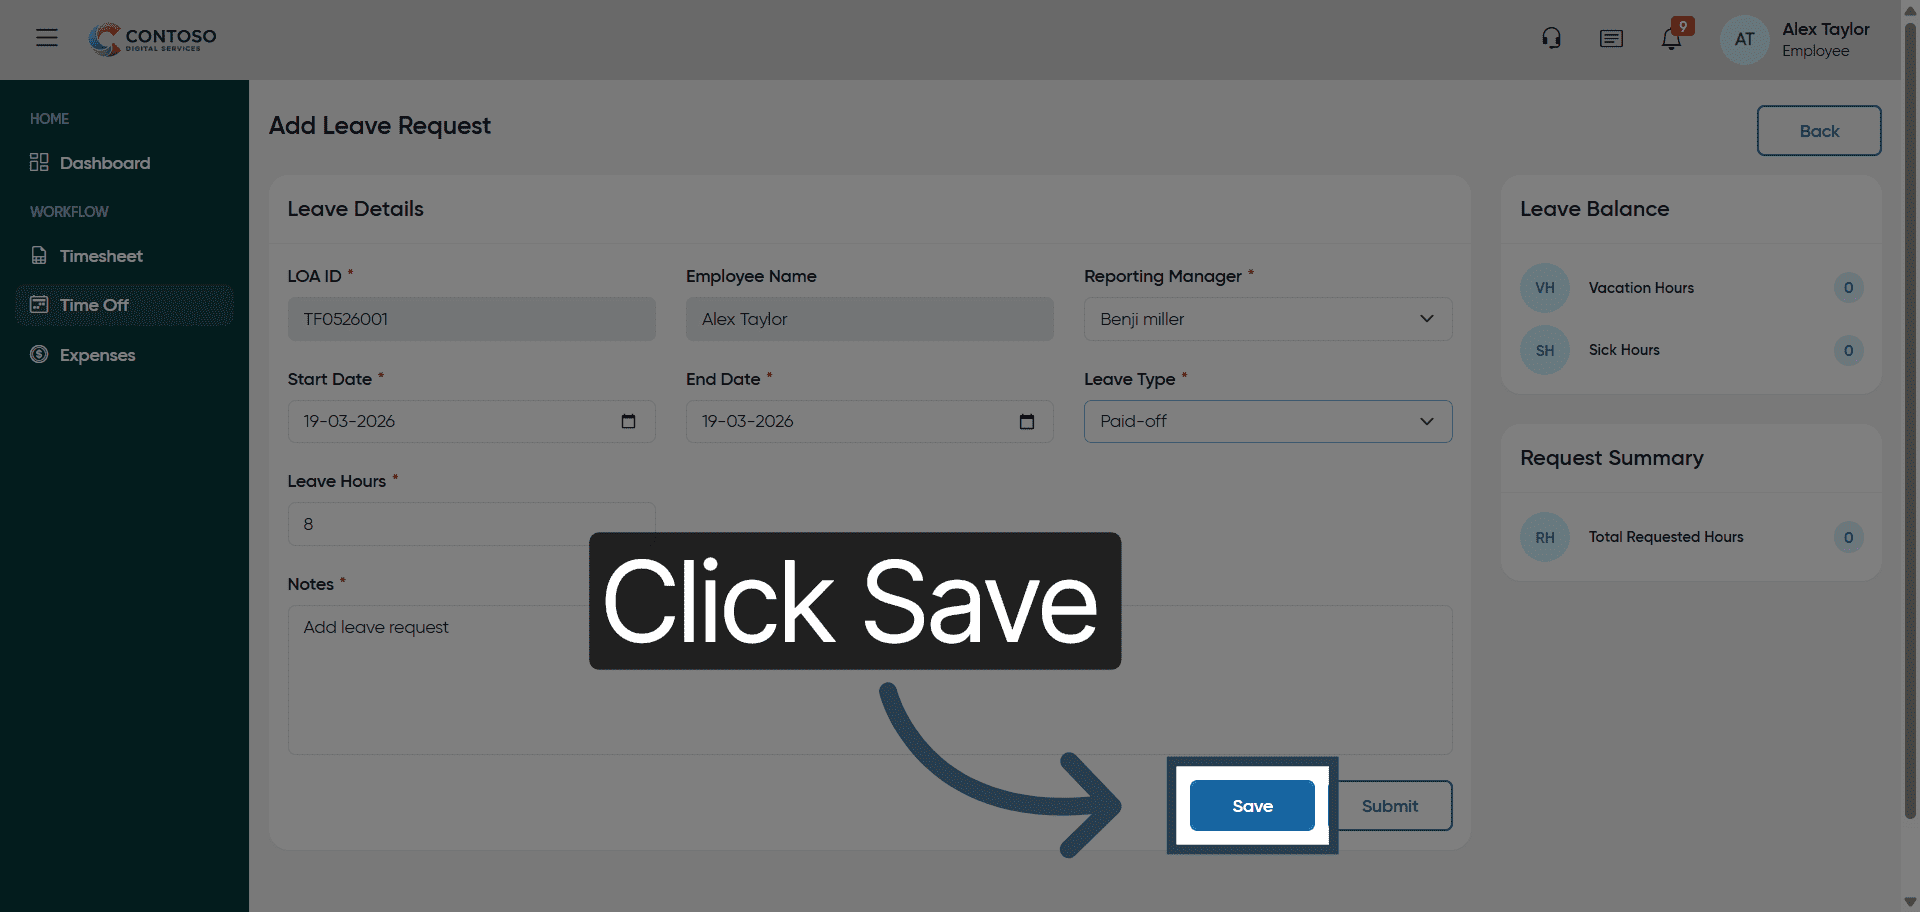
13. Save Leave Request
Click “Save” to submit your leave request for processing.
14. Select Leave Type Again
Click the leave type dropdown to modify or confirm your leave category selection.

15. Update Leave Category
Fill in the leave category by selecting Sick, Vacation, or Paid-off as needed.
16. Save Updated Leave
Click “Save” to apply changes to your leave request.
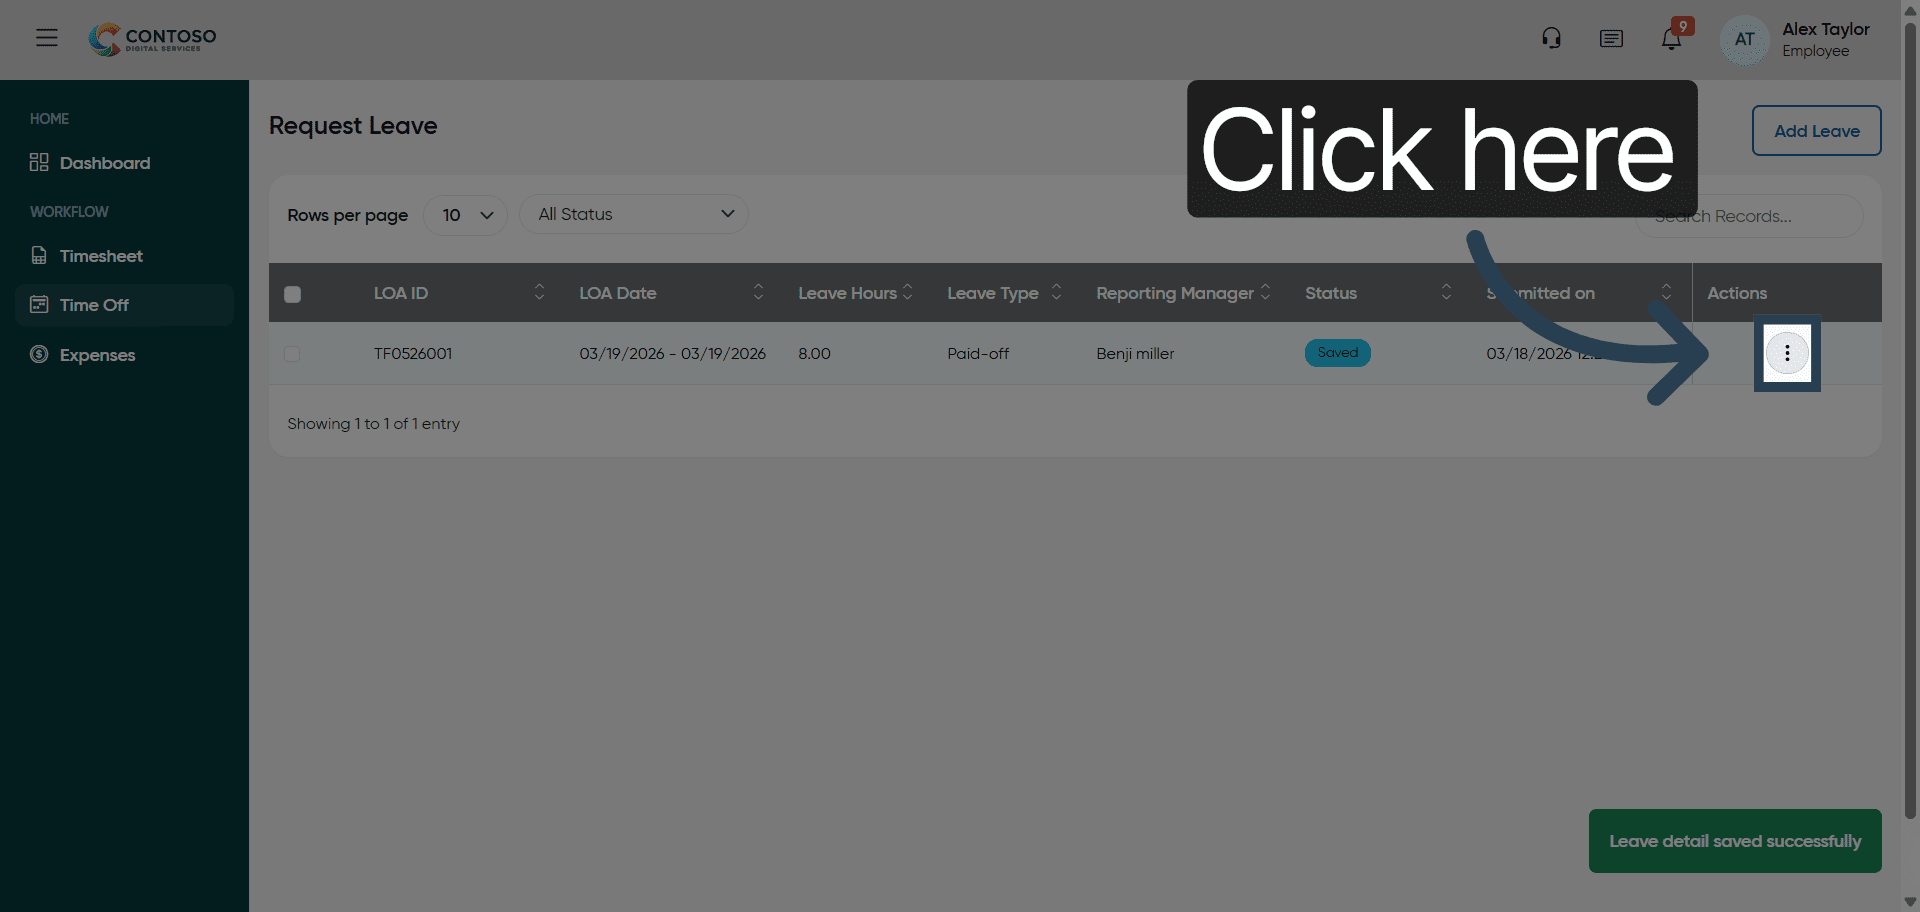
17. Access Leave Request
Click here to view or manage an existing leave request.
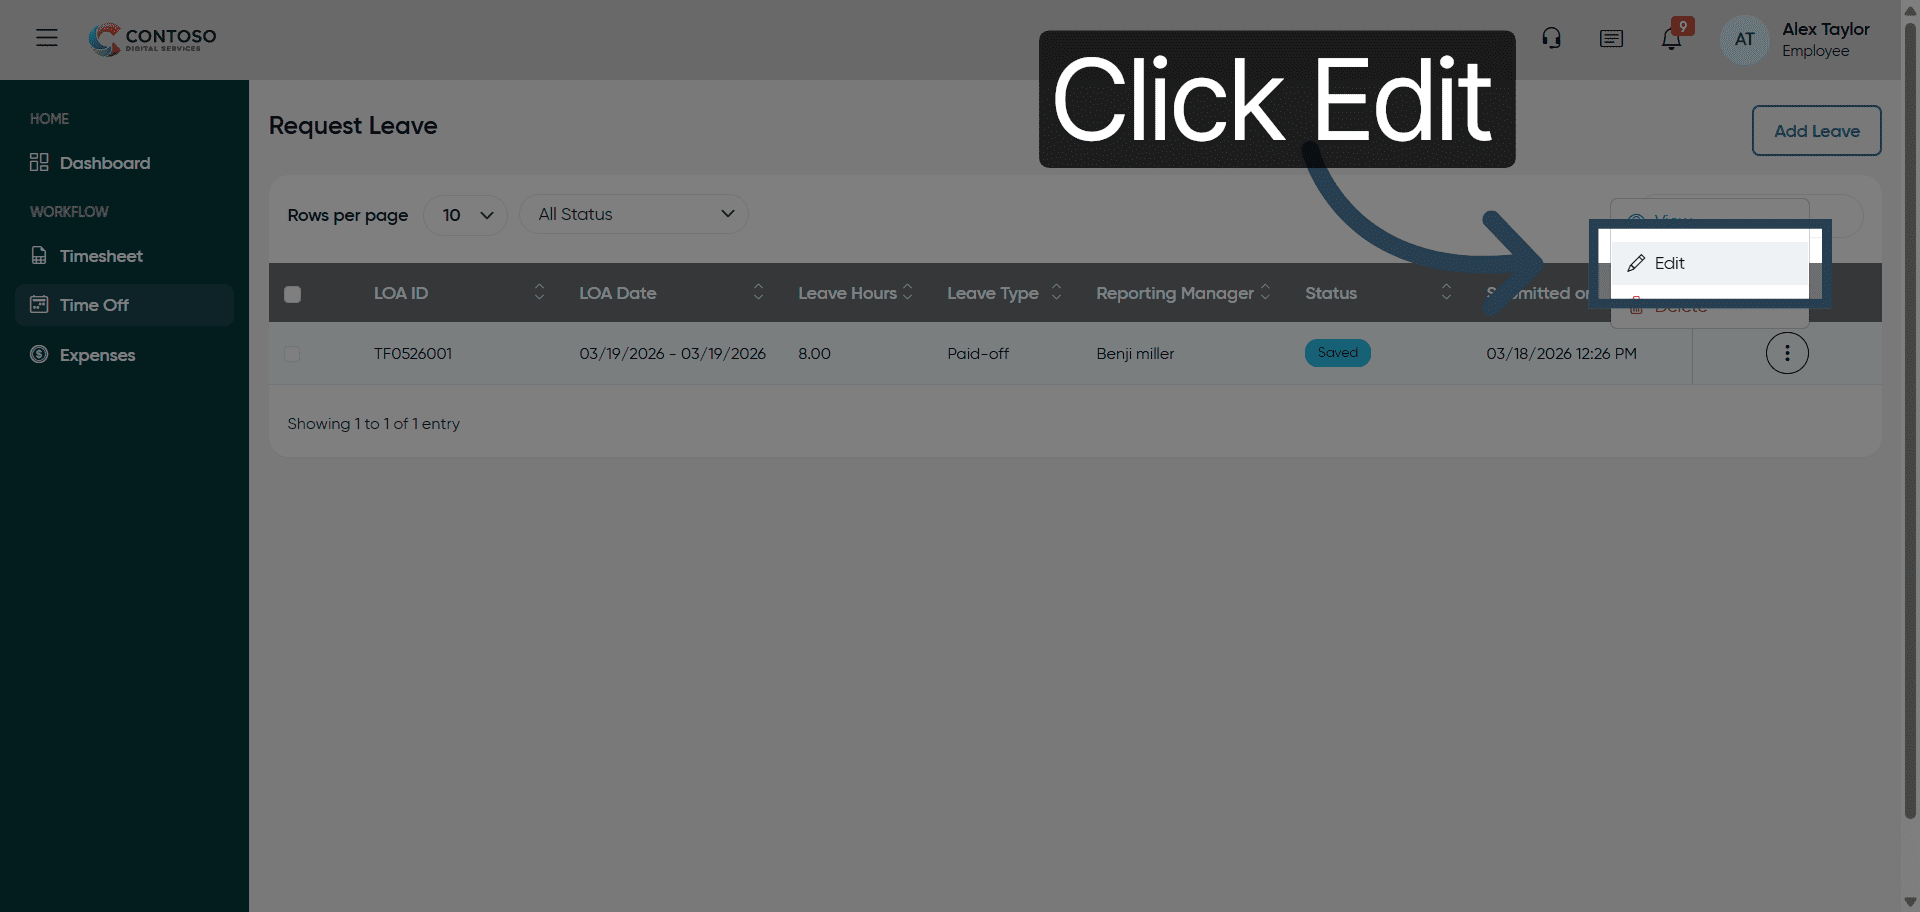
18. Edit Leave Request
Click “Edit” to modify the details of your selected leave request.
19. Select Current Leave Date
Click the current leave date, 2026-03-19, to change it.

20. Change Leave Date
Enter the new leave date as 2026-03-20 to update your request.

21. Save Leave Changes
Click “Save” to confirm the updated leave date.

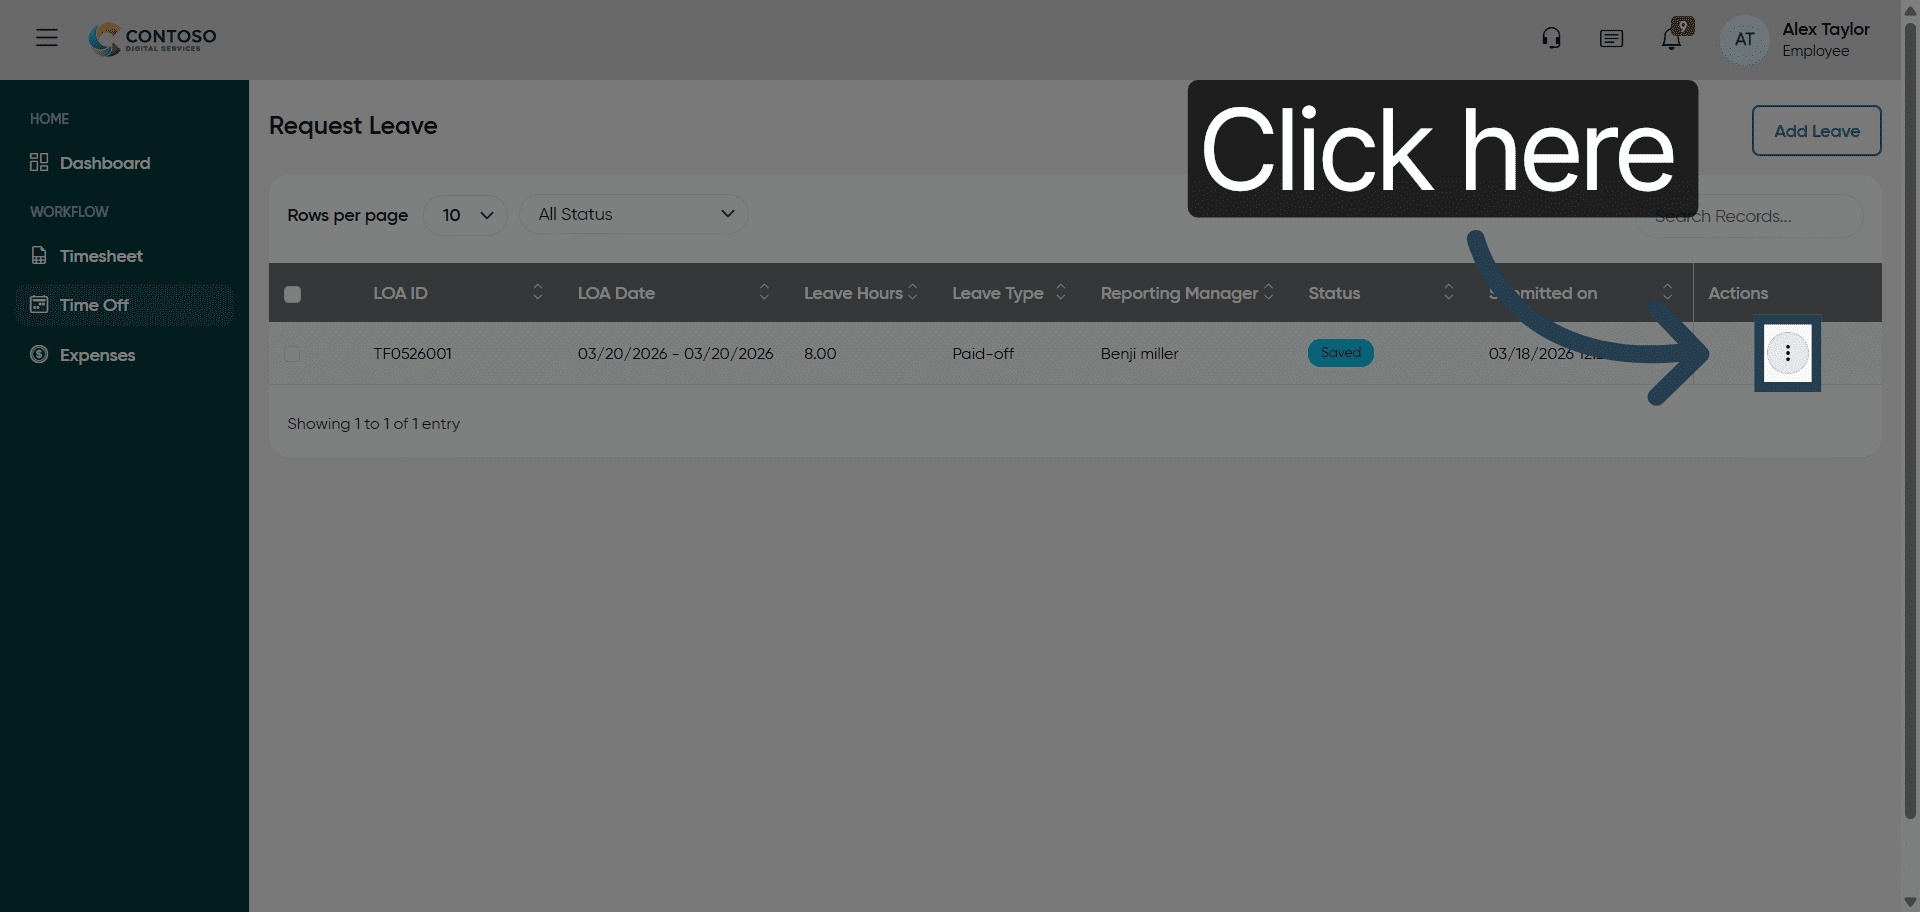
22. Select Leave Request
Click here to select the leave request you want to delete.
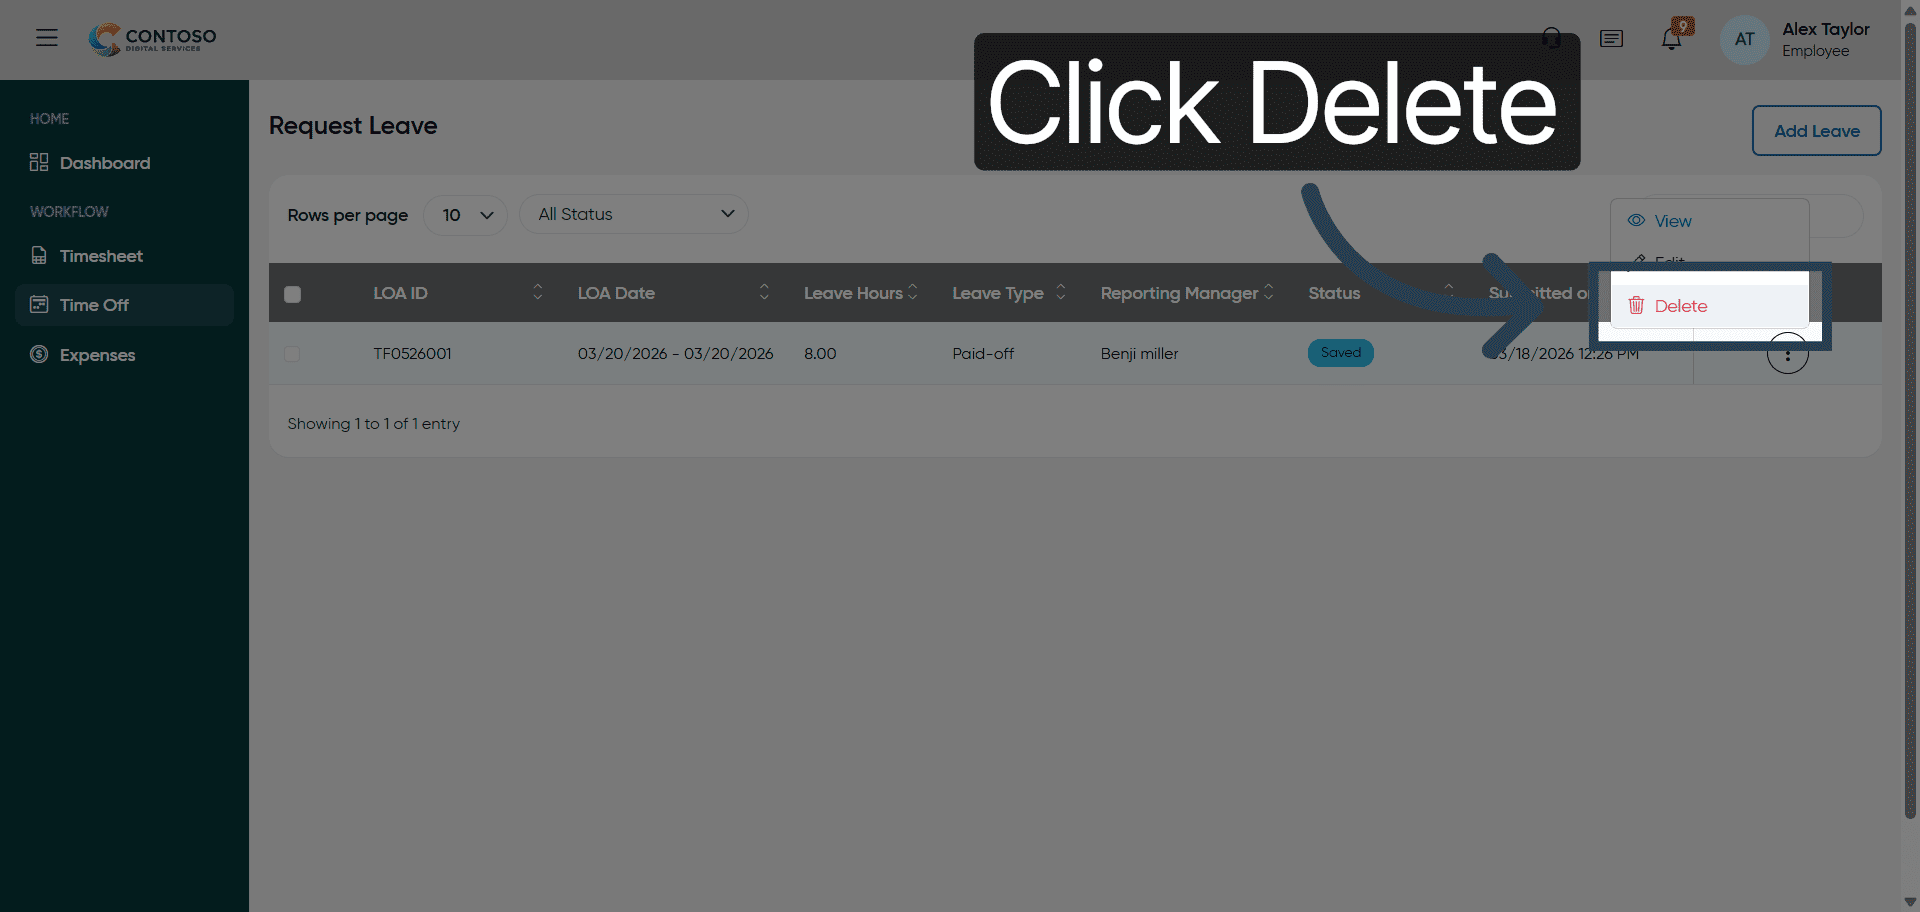
23. Delete Leave Request
Click “Delete” to remove the selected leave request from the system.
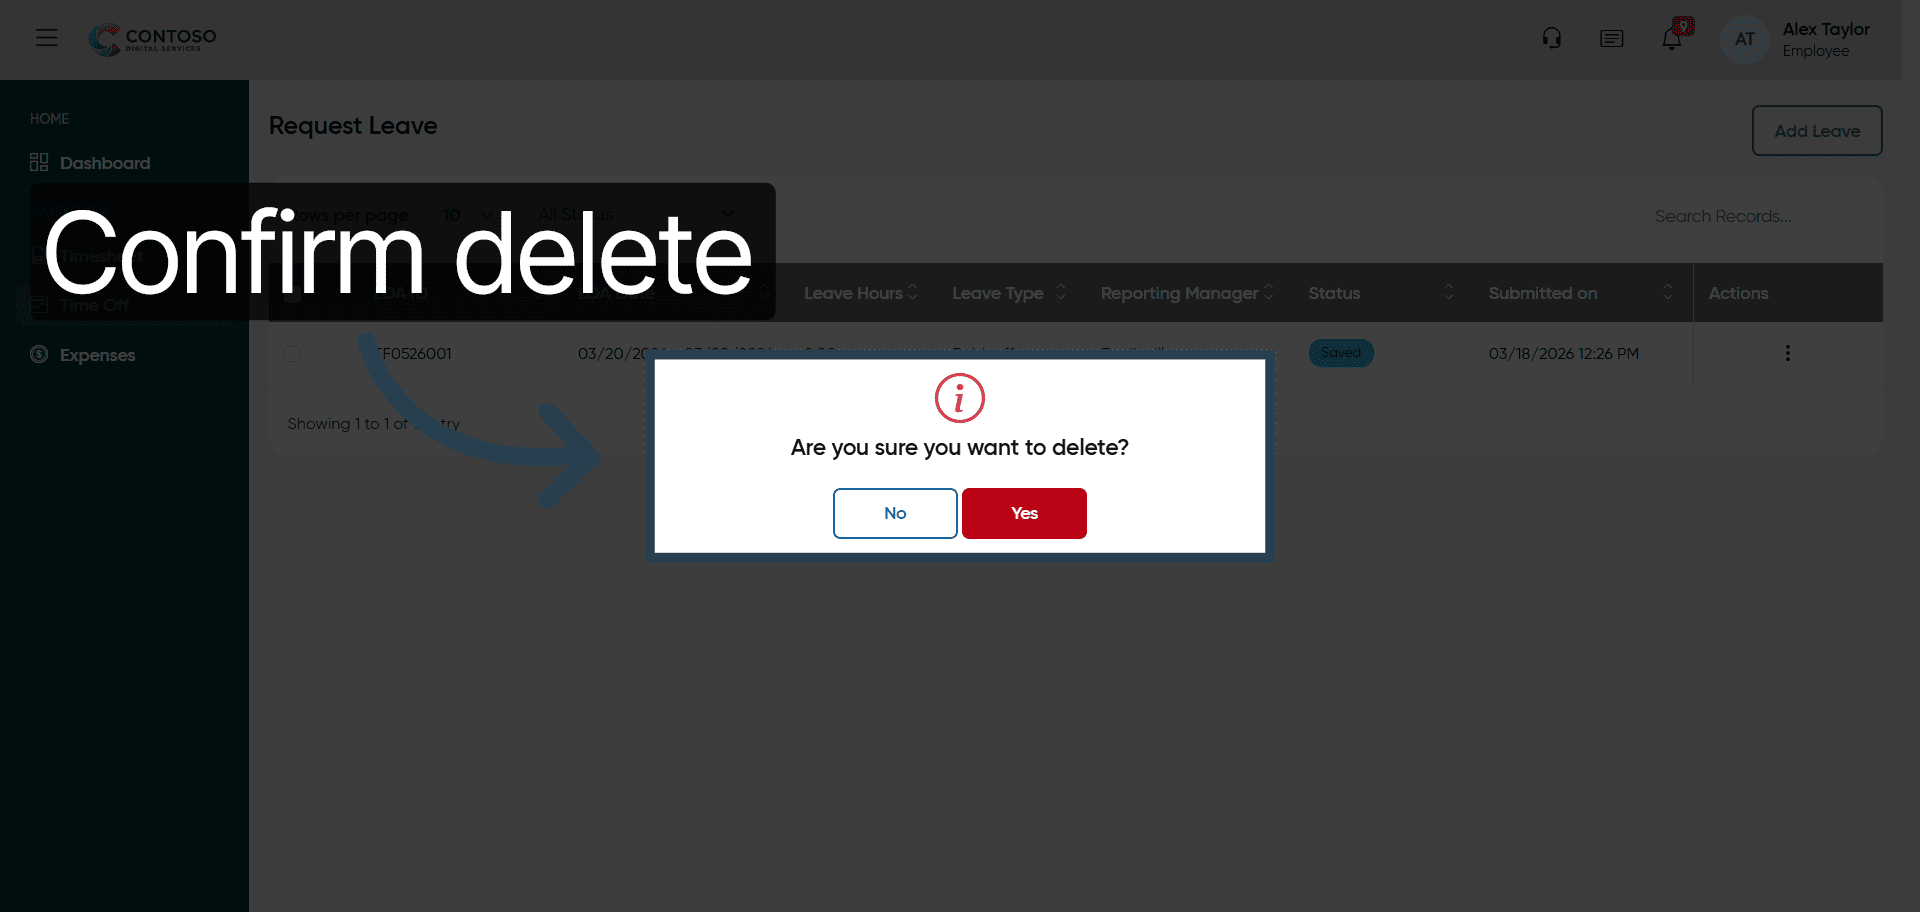
24. Confirm Deletion Prompt
Click “Are you sure you want to delete?” and choose between No or Yes to confirm your action.
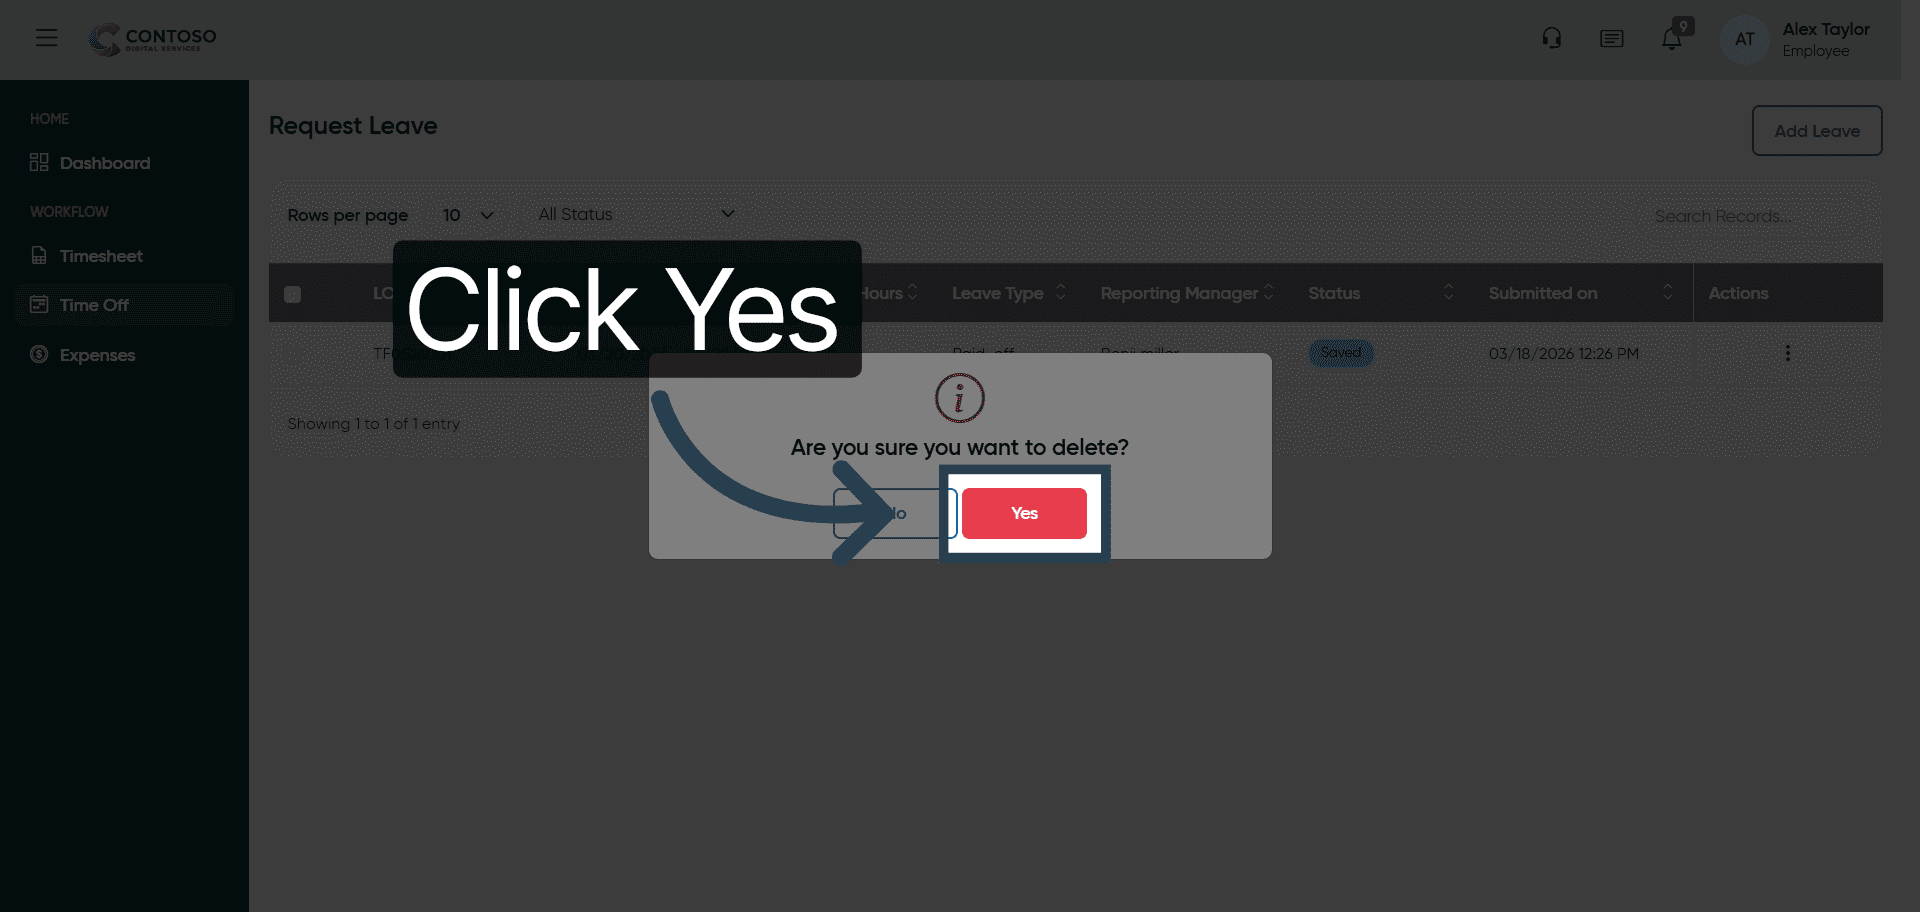
25. Confirm Leave Deletion
Click “Yes” to finalize the deletion of the leave request.
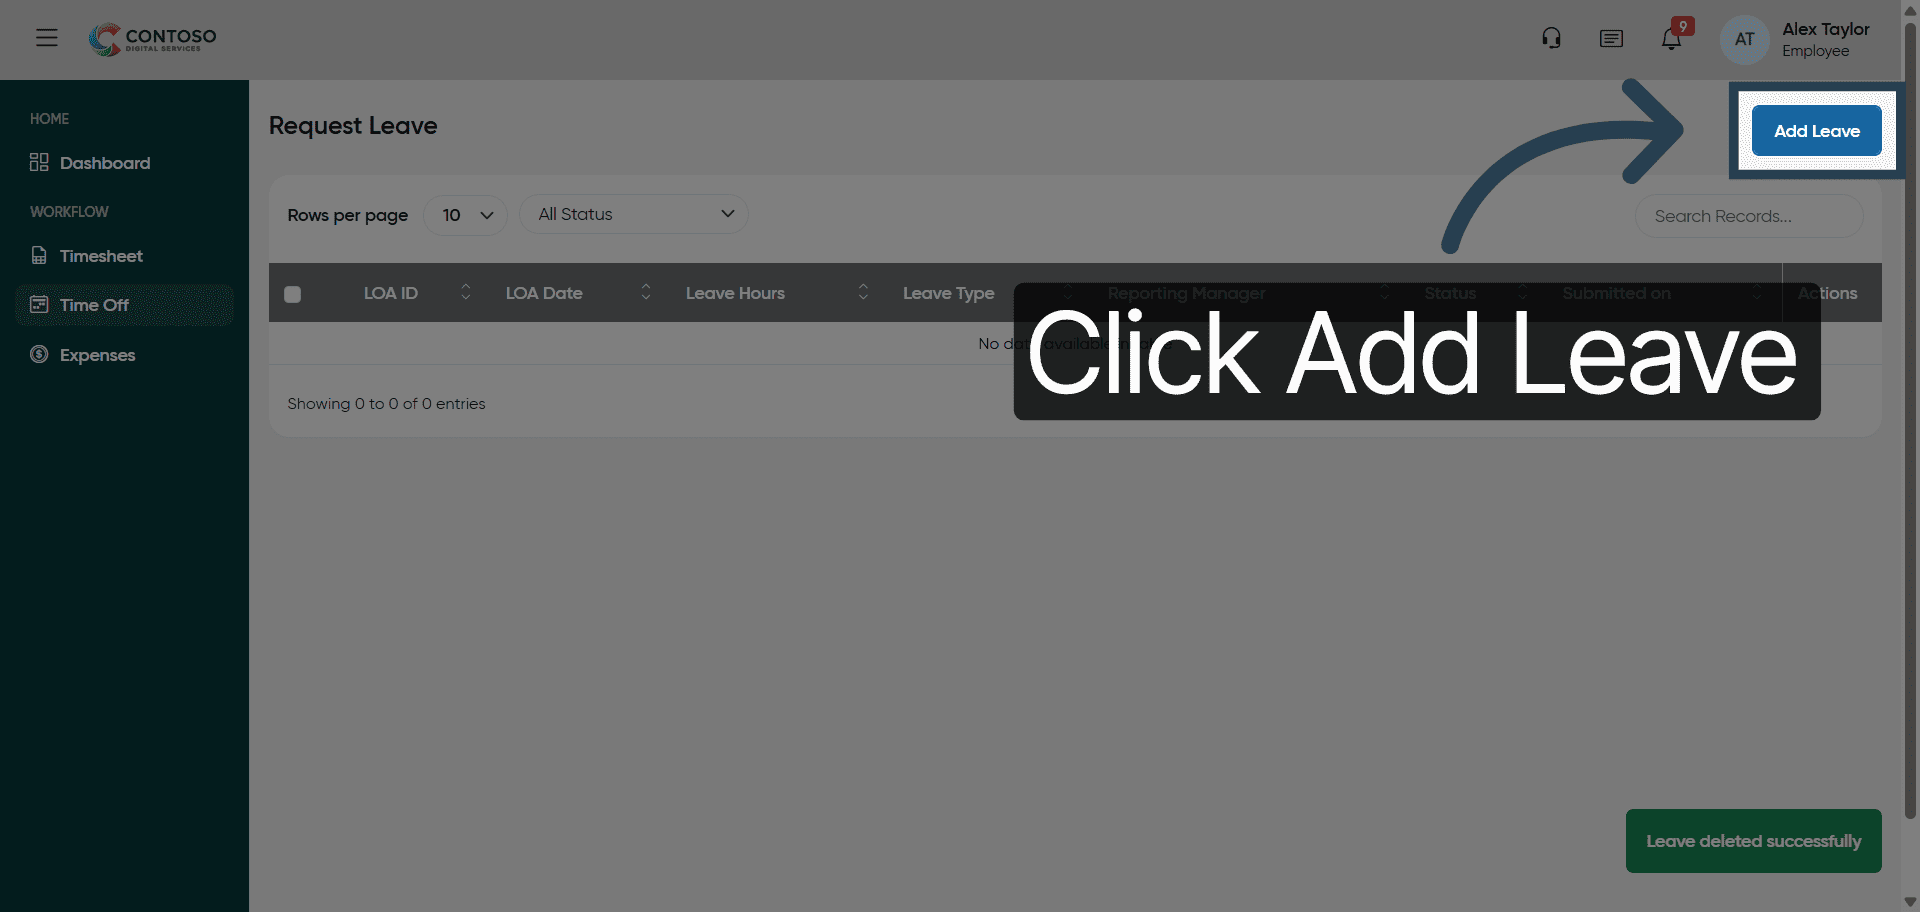
26. Open Add Leave Form
Click “Add Leave” to start a new leave request submission.
27. Initiate Leave Date Entry
Click here to begin entering the leave date for your new request.
28. Enter Leave Start Date
Fill in the leave start date as 2026-03-19 for your request.
29. Select Leave Type
Click the leave type dropdown to choose Sick, Vacation, or Paid-off leave.
30. Specify Leave Category
Fill the leave category by selecting Sick, Vacation, or Paid-off from the options.
31. Begin Entering Leave Duration
Click here to input the number of leave days you are requesting.
32. Input Leave Duration
Enter 8 as the number of leave days in the duration field.
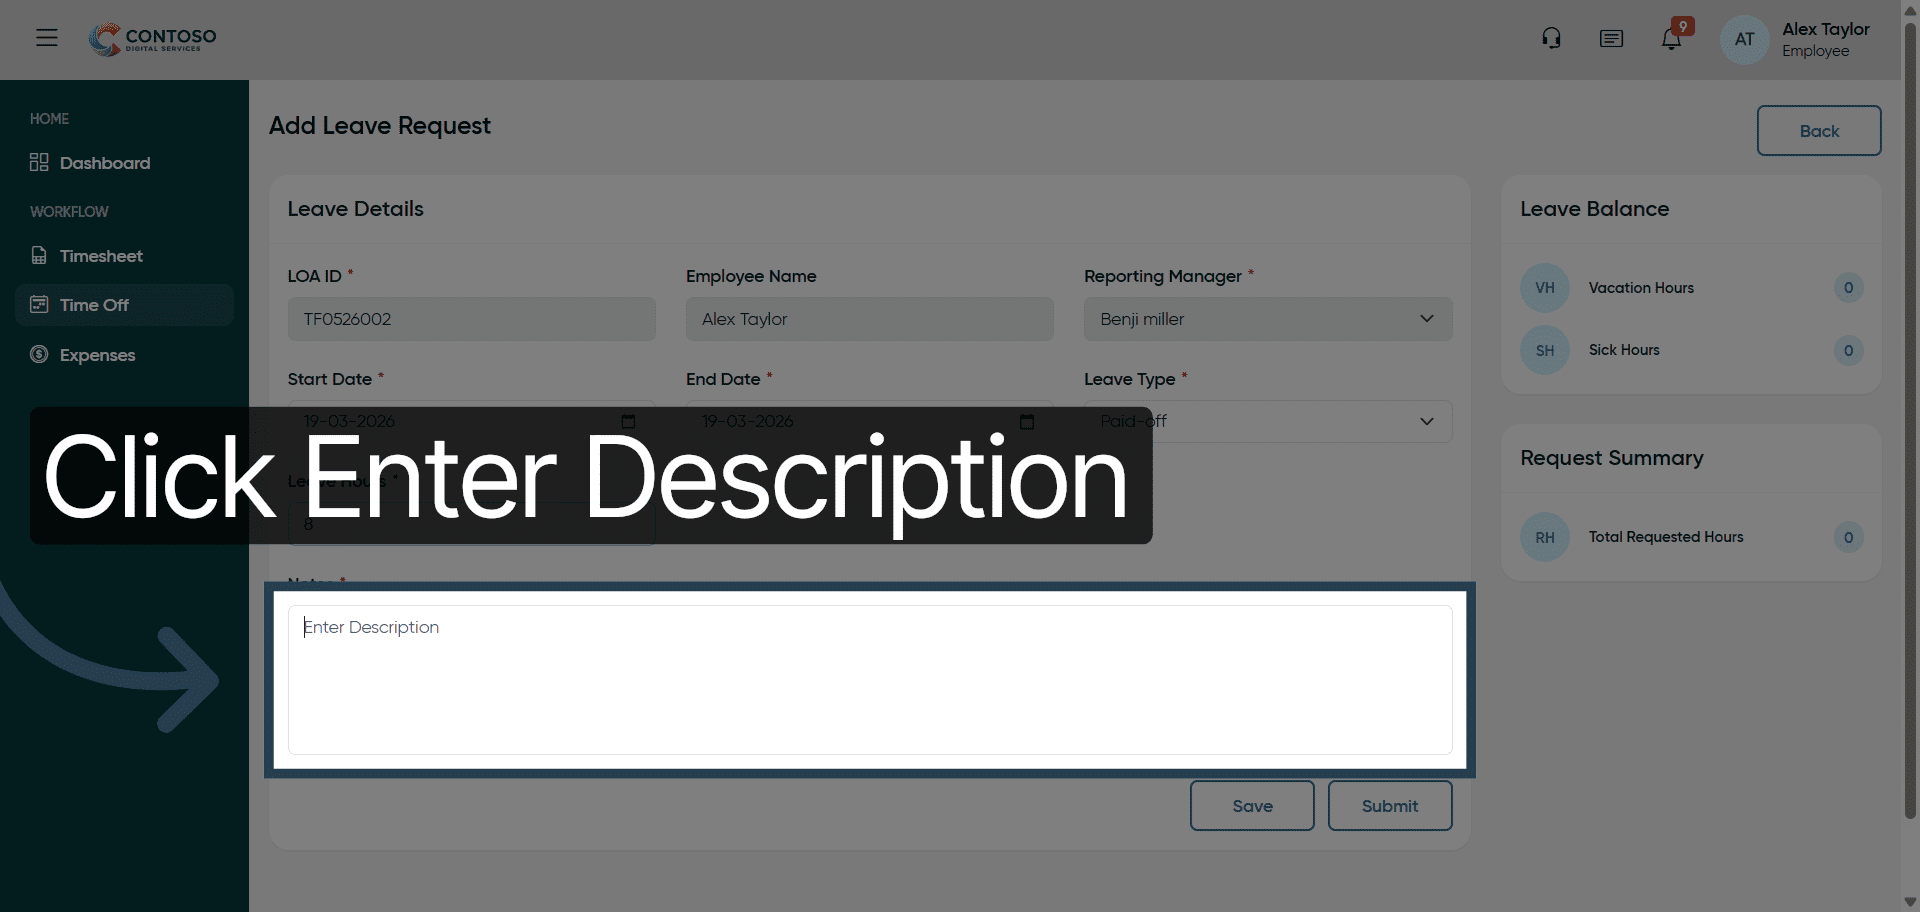
33. Access Description Field
Click “Enter Description” to add details about your leave.
34. Add Leave Reason
Fill the description with “Due to personal work, will be taking the day off.” to explain your leave.
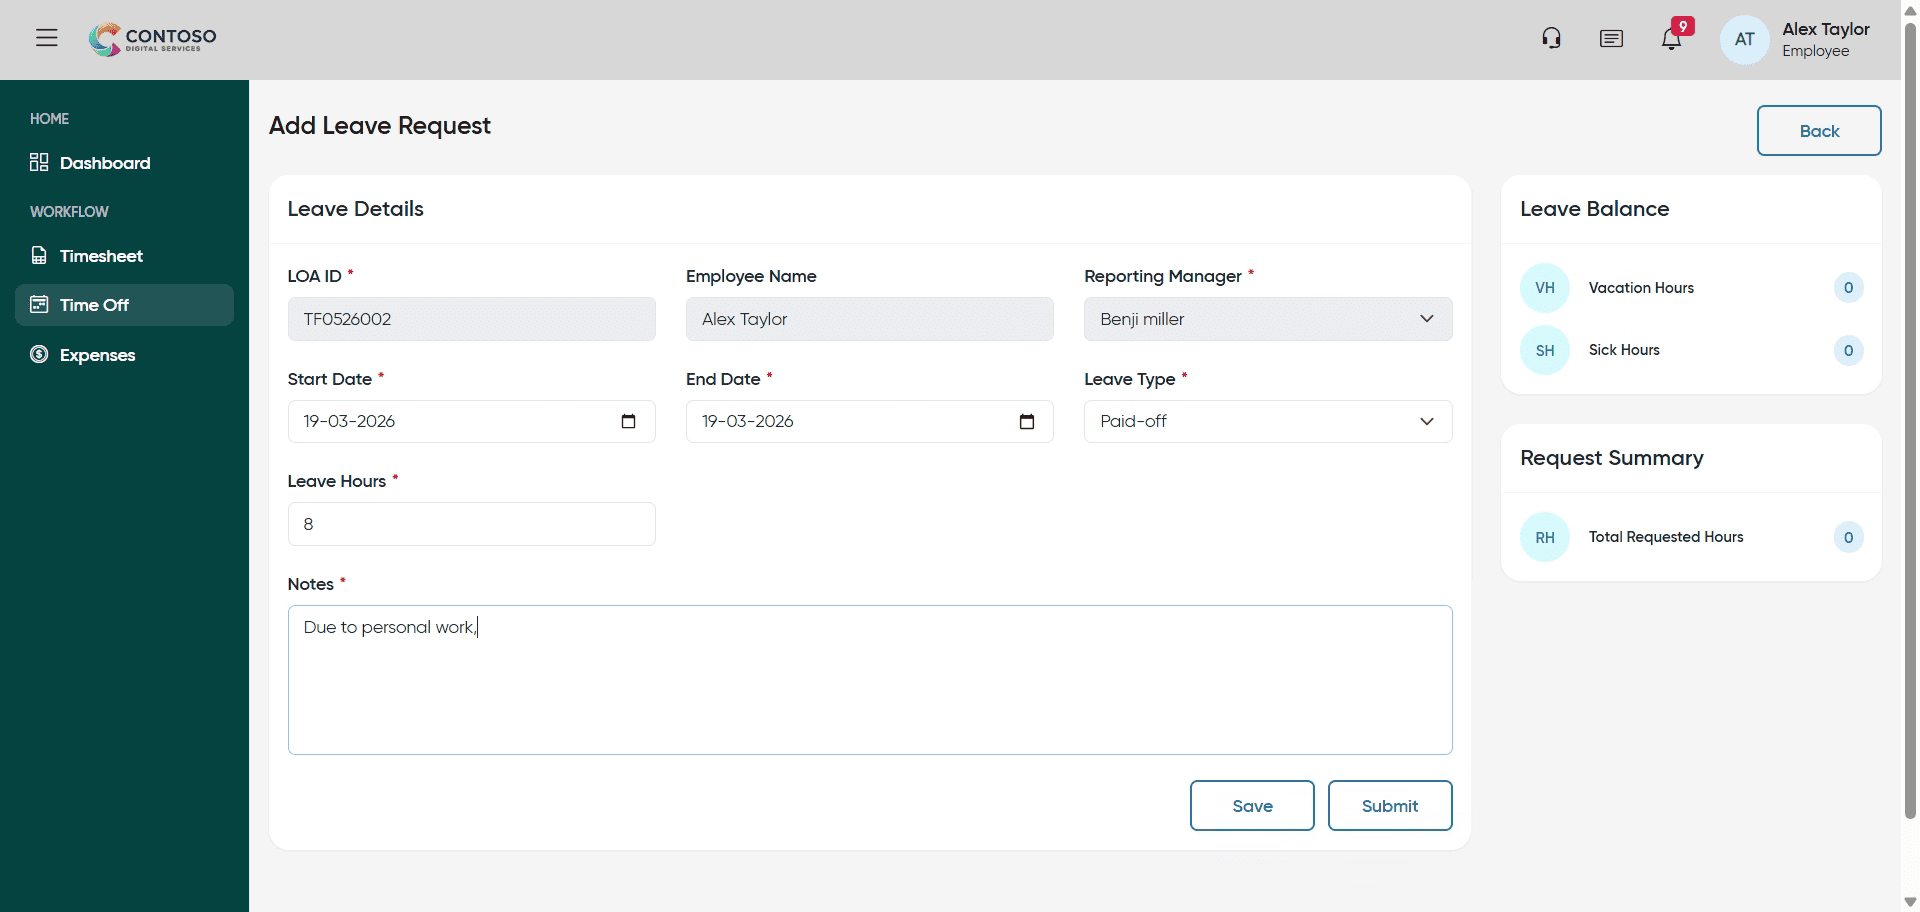
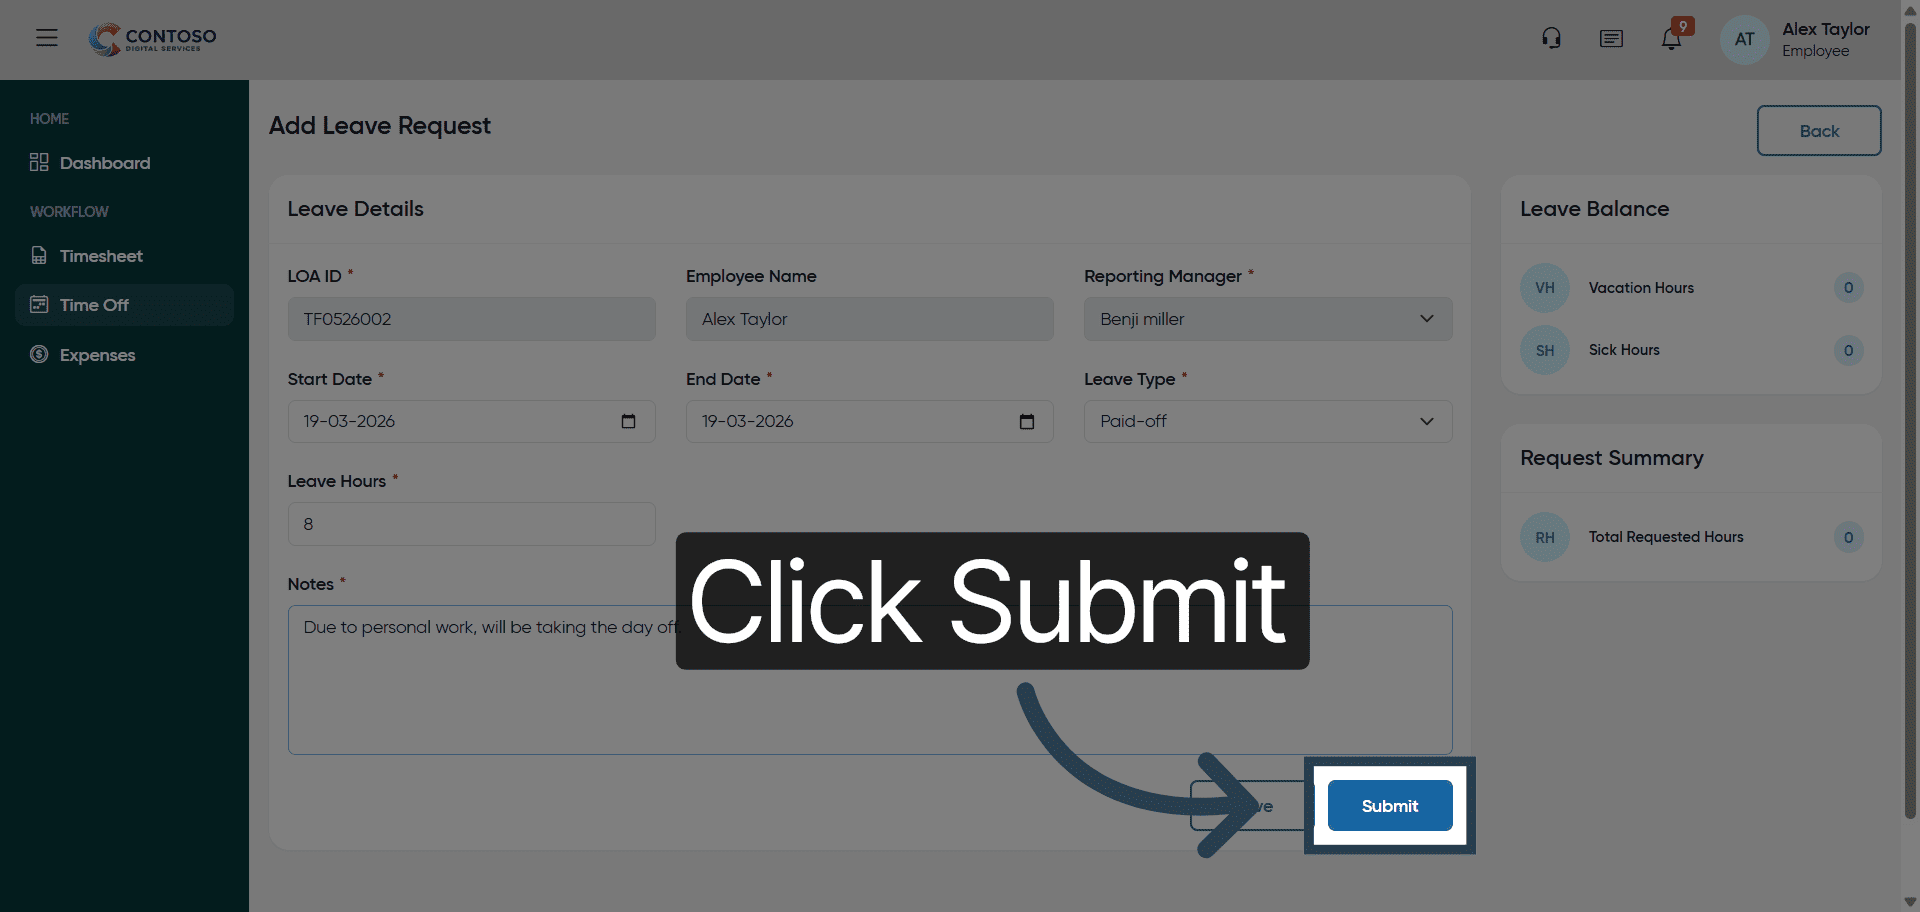
35. Submit Leave Request
Click “Submit” to finalize and send your leave request for approval.
After completing this training, you will be able to efficiently add, edit, and delete leave requests in Office1solution. Practice managing leave entries to maintain accurate employee time off records and ensure smooth workflow.